How to do it
Learn Vasisthasana I, the side plank, before this pose. When you can hold it steadily on both sides, add the raised leg.
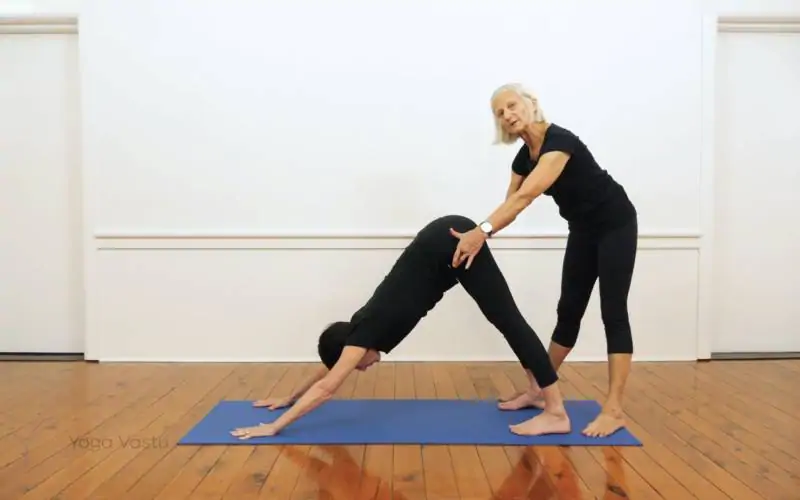
- Start in Adho Mukha Svanasana.
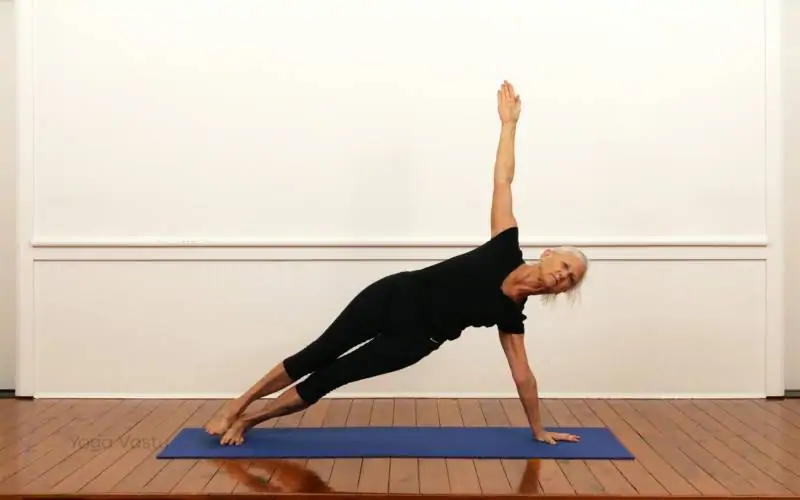
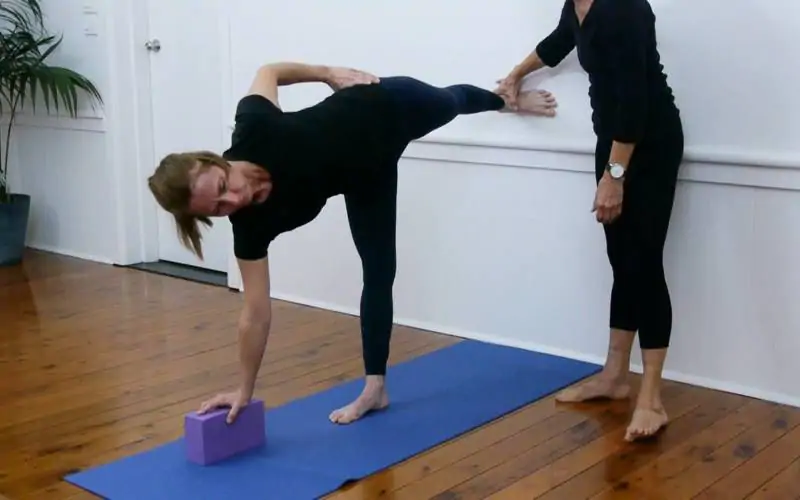
- Shift your weight onto your right hand and turn onto the outer edge of your right foot. Place the left foot on top of the right and rest the left hand on the left hip. Your body is now in a straight diagonal line from the head to the heels.
- Keep the right arm straight and the hand placed so the arm is close to vertical under the shoulder.
- Lift the hips so they are in line with the shoulders and feet. This is Vasisthasana I. Stay here for a few breaths.
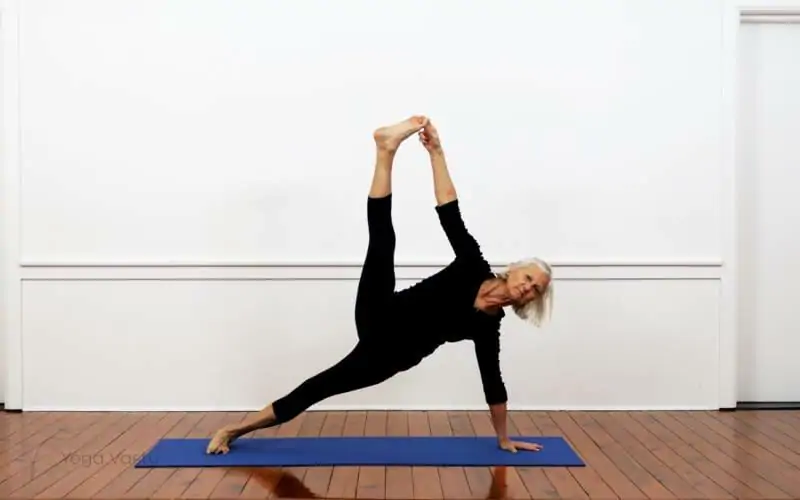
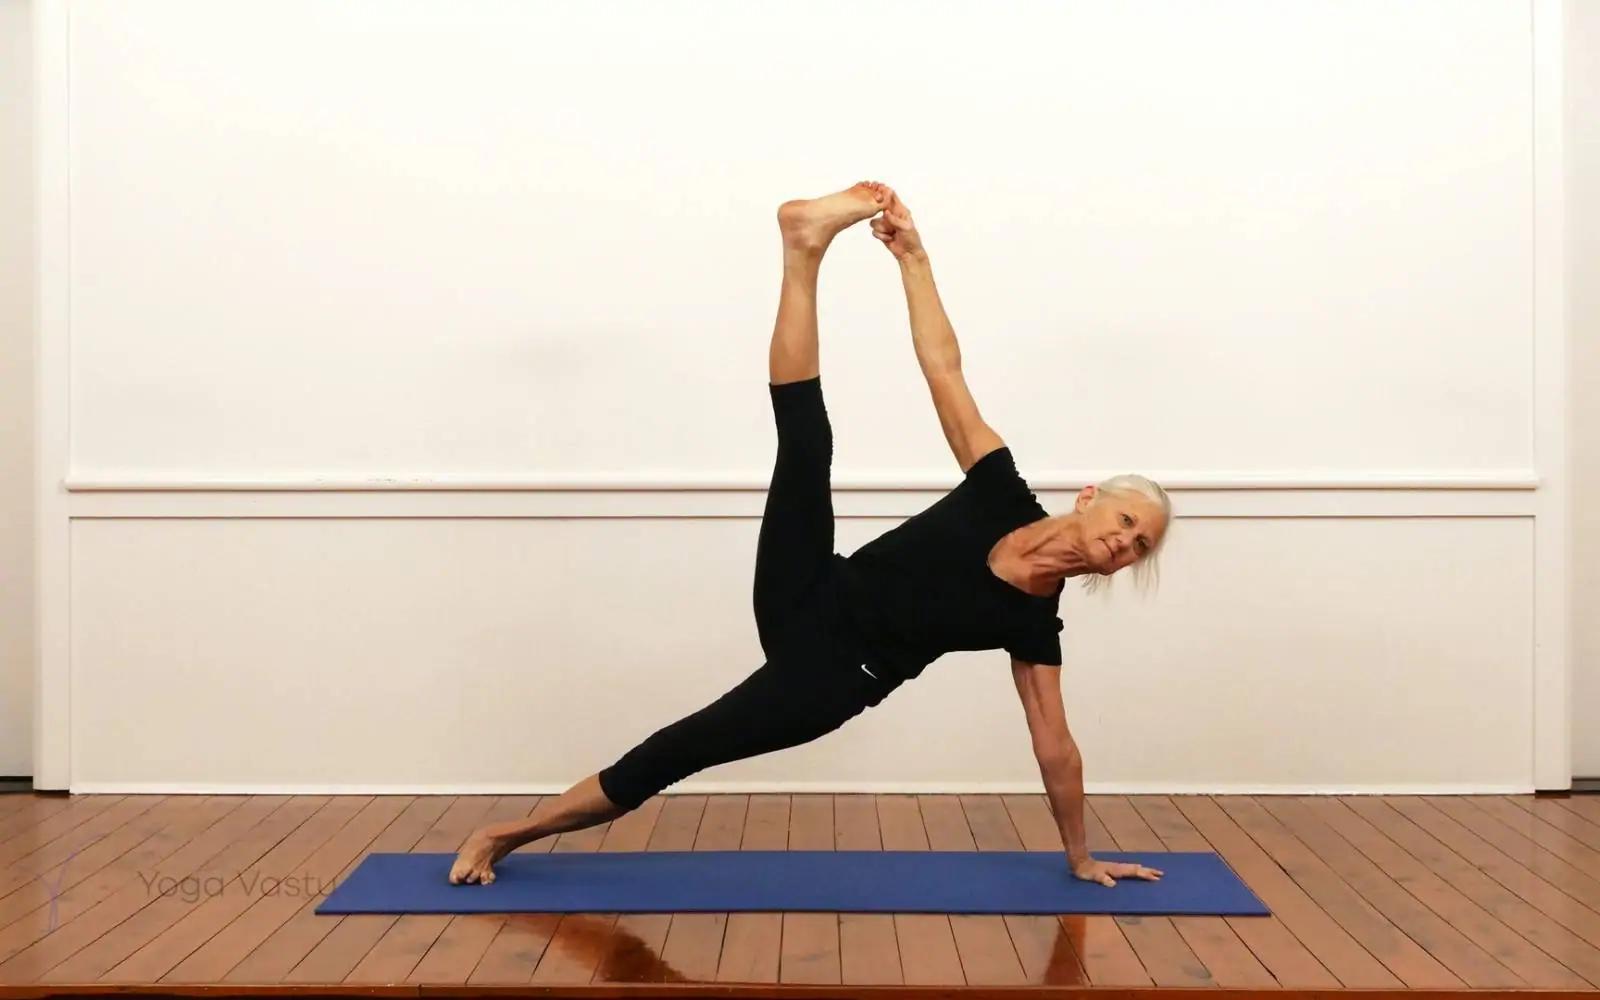
- Bend the left knee and take hold of the left big toe with the thumb, index and middle fingers of the left hand.
- Straighten the left leg up towards the ceiling, keeping the arm straight. Raise the leg only as far as both legs stay straight and the hips stay lifted.
- Look up at the raised hand, or forward if the neck or balance is unsteady.
- Stay for 20 to 30 seconds with even breathing.
- Release the toe, lower the leg onto the bottom leg and return to Adho Mukha Svanasana. Repeat on the other side.
If you cannot hold the toe with a straight leg, loop a belt around the foot. The straight leg matters more than the hand on the toe. In our experienced classes on hand and hip balances, Vasisthasana is built from the side plank in stages like these.
Key actions
- Supporting hand – spread the fingers and press the base of the index finger and thumb into the floor, so the weight does not sink into the heel of the hand.
- Supporting arm and shoulder – lift up out of the supporting shoulder and draw the shoulder blade into the back. Keep the elbow straight without locking it backwards.
- Hips – keep the hips lifted and in line with the body. If they drop or swing back, the weight falls into the wrist and shoulder.
- Bottom leg – press the outer edge of the foot down and extend through the heel. Keep the knee straight and the thigh firm.
- Raised leg – keep it straight, with the kneecap lifted, and take the thigh back in line with the trunk. Do not let the leg come forward of the body.
- Chest – turn the chest up to the ceiling and broaden the collarbones. Keep the breath even.
Props and variations
- Wall at the back – set up with your back along a wall, so the back of the head, shoulders, buttocks and heels touch it. The wall stops you tipping back and shows you whether the body is in one plane.
- Feet against the wall – with the soles of the feet pressing into the base of a wall, the bottom leg has something to push against and the balance is steadier.
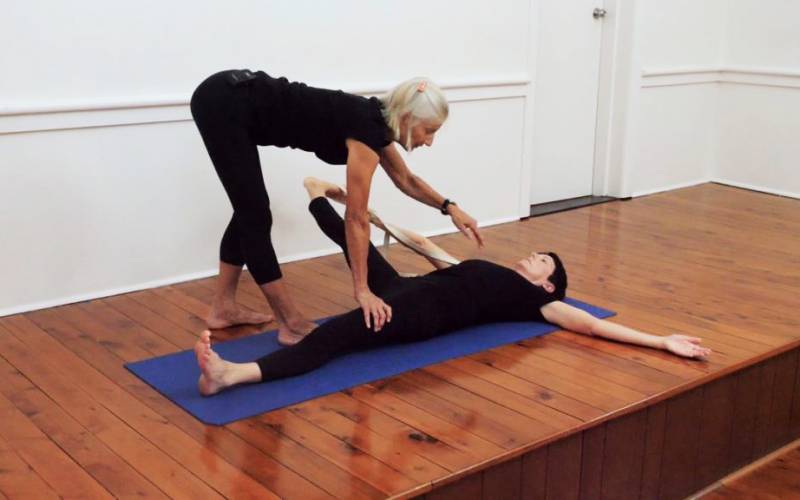
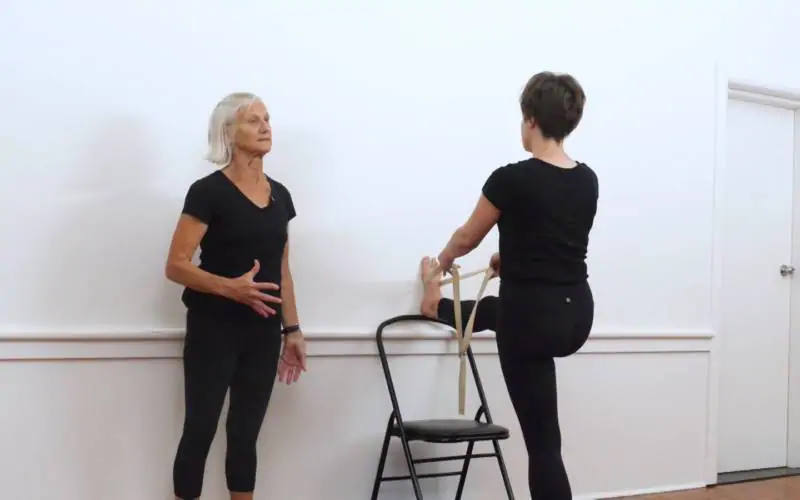
- Belt around the raised foot – lets you keep the raised leg straight if the hamstrings are short.
- Bottom knee down – lower the knee of the bottom leg to the floor, with the shin behind you. This takes much of the weight off the wrist while you build strength.
- Top foot in front – in the side plank, place the top foot on the floor in front of the bottom leg for a wider base.
- Vasisthasana I – the side plank with the top arm raised, the preparation for this pose.
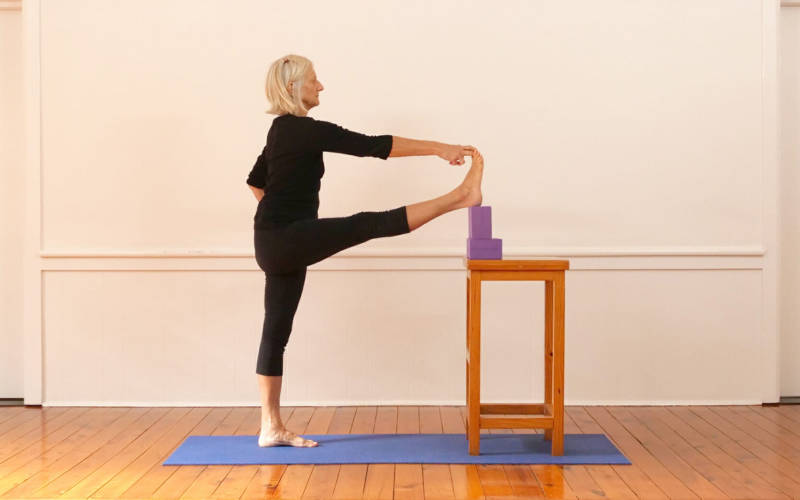
- Utthita Hasta Padangusthasana – the standing pose with the same leg action, a good way to learn the raised leg with no weight on the arm.
Cautions
- Wrists – Vasisthasana puts a lot of weight on one wrist. If you have wrist pain, carpal tunnel symptoms or a recent wrist injury, avoid it or work with the knee down and a teacher’s guidance.
- Shoulders – avoid the full pose with a shoulder injury or a history of shoulder dislocation. Build strength in Vasisthasana I first.
- Elbows – if your elbows hyperextend, keep a slight lift in the inner elbow rather than locking the arm.
- Hamstrings – use a belt and keep the leg lower if you have a hamstring strain.
- Pregnancy – avoid this pose unless you have an established practice and are guided by an experienced teacher.
- Recent injury or surgery – wait for clearance after wrist, shoulder or abdominal surgery.
Benefits
Vasisthasana strengthens the wrists, arms and shoulders, and the legs and the sides of the trunk that hold the body in a straight line. Raising the top leg adds a stretch to the hamstrings and inner thigh.
Balancing on one side shows you quickly which side is weaker, so practising both sides evenly builds balance and steadiness over time. Students often find it demands full attention, which is part of its value in a practice.
Common questions
What is the difference between Vasisthasana I and II?
On Yoga Vastu, Vasisthasana I is the side plank: one hand and one foot on the floor, the other arm raised, legs stacked. Vasisthasana II, shown here, adds the top leg raised with the big toe held. In Light on Yoga, this full version is the pose simply called Vasisthasana.
How do I make Vasisthasana easier?
Practise with your back against a wall so you do not tip backwards, and loop a belt around the raised foot if you cannot hold the big toe with a straight leg. You can also lower the knee of the bottom leg to the floor to take weight off the wrist.
How long should you hold Vasisthasana?
About 20 to 30 seconds on each side, with even breathing. Return to Adho Mukha Svanasana between sides.
Who was Vasistha?
Vasistha was a sage of Indian tradition, one of the seers associated with the Vedas. Several yoga poses are named after sages; this one honours him.
Is Vasisthasana suitable for beginners?
Beginners should start with Vasisthasana I, the side plank, and build wrist and shoulder strength first. The full pose suits students with a steady side plank and enough hamstring length to raise the leg.
About the teacher
Pixie Lillas: Pixie Lillas first went to the Ramamani Iyengar Memorial Yoga Institute in Pune, India in 1977. She co-founded the Balmain Iyengar Yoga Studio in 1980 and has been director and principal teacher there ever since.