How to do it
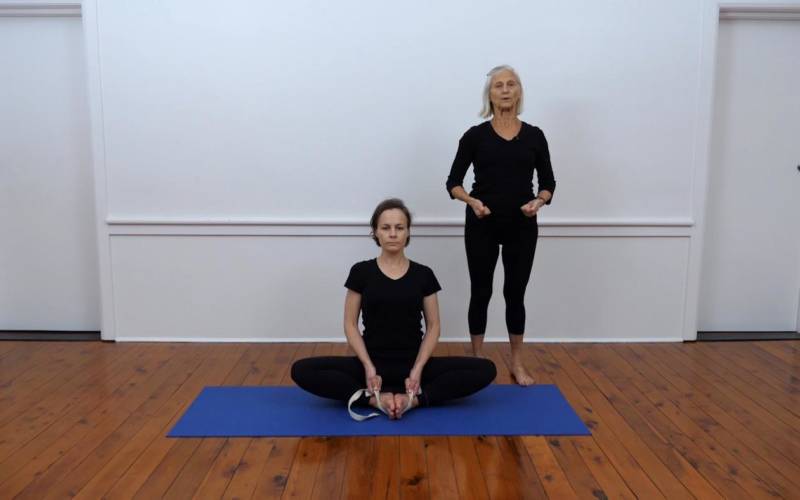
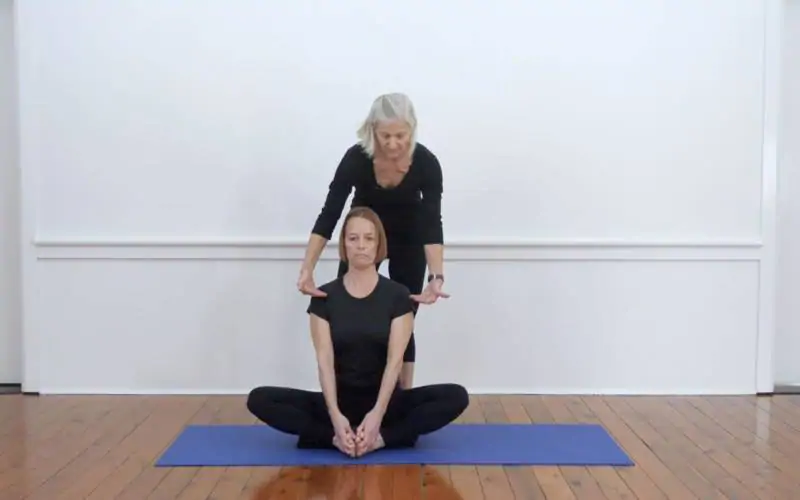
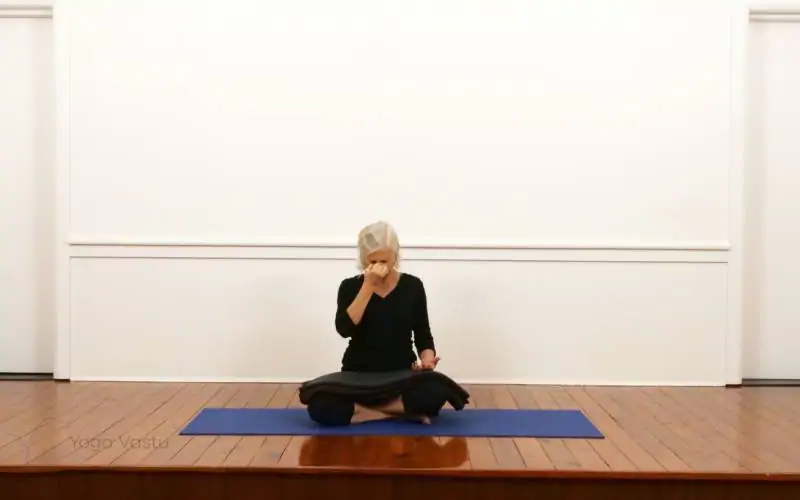
Siddhasana is best learned after you can sit comfortably in Swastikasana and Baddha Konasana. You need a folded blanket, and something soft to put under the ankles if the floor is hard.
- Sit in Dandasana with your legs straight in front of you. If your hips are stiff, sit on the front edge of a folded blanket.
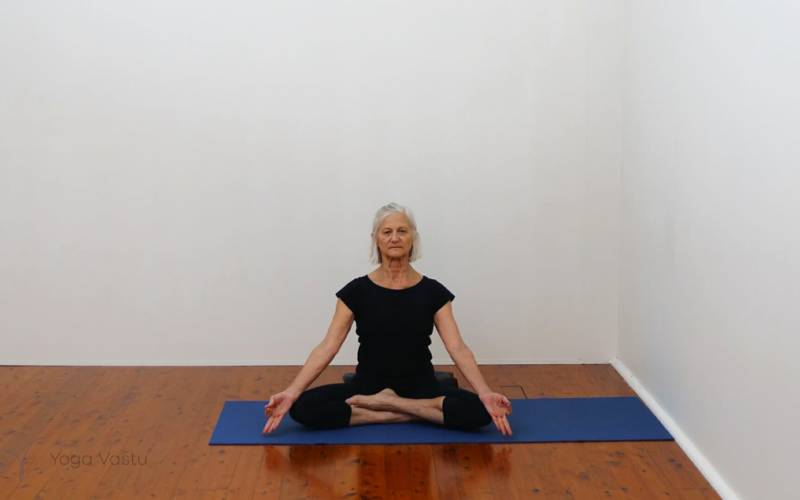
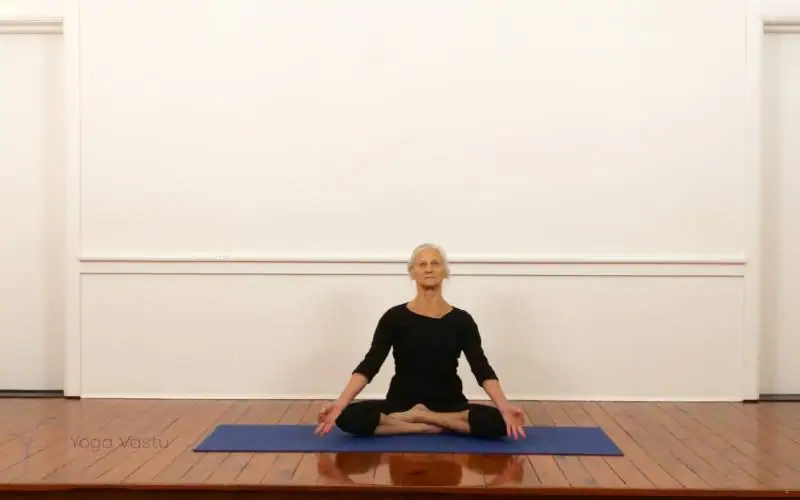
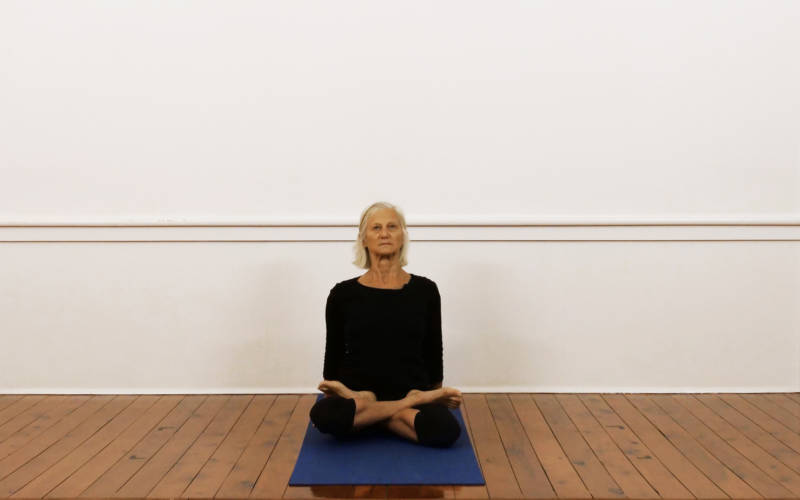
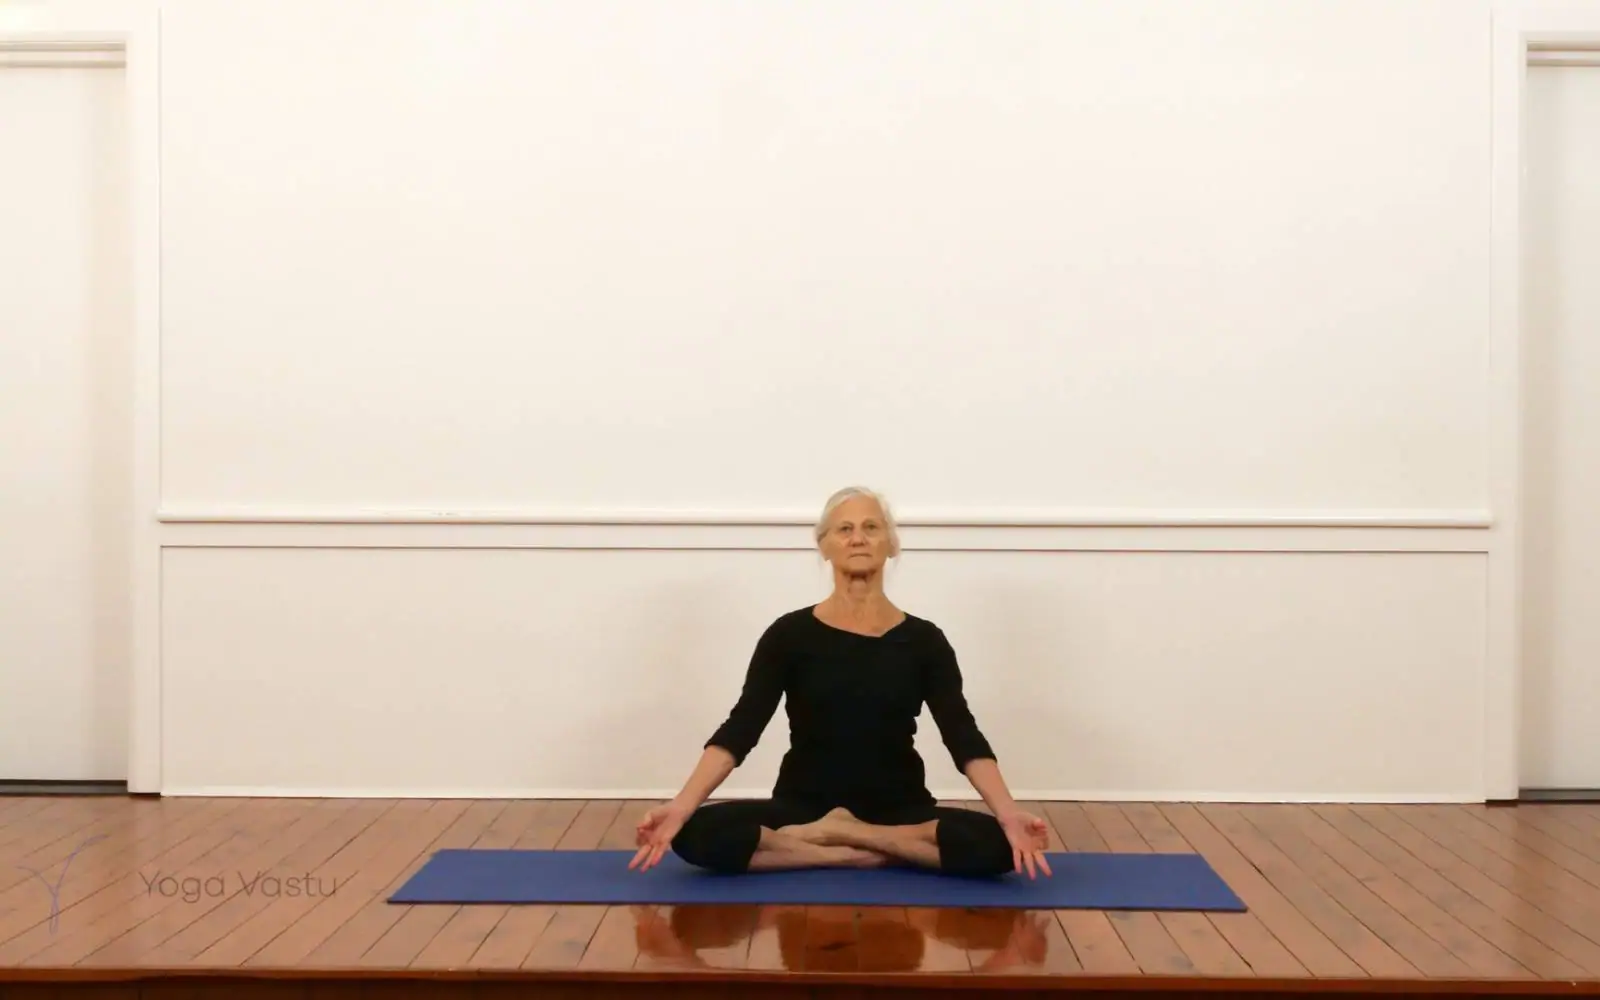
- Bend your left knee and draw the left foot in. Place the left heel against the perineum, the area between the anus and the genitals, with the sole of the foot resting against the inner right thigh.
- Bend your right knee and place the right foot over the left ankle, with the right heel against the pubic bone. The two heels sit one above the other at the centre of the body.
- Tuck the toes of the right foot into the space between the left calf and thigh.
- Let the knees widen and settle towards the floor.
- Lift the spine from its base. Rest the backs of the wrists on the knees with the palms up and the thumb and index finger touching, or place the palms down on the knees.
- Keep the head level, or lower it slightly for pranayama if your teacher asks you to. Close your eyes or look softly down.
- Stay for as long as you can keep the lift without strain. Then release the legs, straighten them in Dandasana, and repeat with the right heel underneath.
In the Iyengar method, the evenness of the base matters more than how long you sit. If one knee rides up or the trunk leans to one side, come out and adjust the height under you.
Key actions
- Heels in the centre – line the heels up with the centre of the body. If they slide to one side, the pelvis tilts and the spine follows.
- Sitting bones – keep both sitting bones evenly on the blanket. Move the flesh of the buttocks back and out with your hands before you settle.
- Spine – lift the lower back in and up, then the back ribs, then the upper chest. Do not lean back to make it easier.
- Abdomen – draw the lower abdomen gently in and up. The upper abdomen and the throat stay soft.
- Shoulders and arms – roll the shoulders back and down, broaden the collarbones and let the arms rest without pressing.
- Knees and hips – let the thighs release down from the hip joints. The turn of the legs should come from the hips, not from twisting the knees.
Props and variations
- Blanket under the buttocks – the main prop. Sit higher until the knees can drop below the hips.
- Support under the knees – a block or rolled blanket under each knee lets the legs rest when the knees float high.
- Padding under the ankles – the outer ankle of the lower foot presses into the floor. A folded mat or cloth under it removes the discomfort.
- Wall – sit with your back near a wall to learn the lift of the spine, then come away from it.
- Swastikasana – the simpler crossed-leg seat, used while the hips and knees are not ready for Siddhasana.
- Padmasana – lotus pose, the next stage for students whose hips and knees allow it. Learn it from a teacher.
Cautions
- Knees – Siddhasana turns the legs strongly at the hips. If the hips are stiff, the knees twist instead. Stop if you feel pain in or around the knee, sit higher, and go back to Swastikasana until the hips open. After knee injury or surgery, ask a teacher first.
- Ankles – the ankle bones carry pressure in this pose. Pad them, and come out if the feet go numb or tingle.
- Hips and sacroiliac joint – sit higher and keep the time short at first. Always do both sides so the hips stay even.
- Lower back – a sagging lower back means you need more height under the buttocks.
- Pregnancy – the pose can usually be practised in pregnancy with plenty of height. Let the knees go wider and choose Swastikasana if the hips feel unstable.
Benefits
Siddhasana gives you a steady, symmetrical seat. With the heels at the centre of the body, the pelvis is even, and an even pelvis makes it easier for the spine to lift and stay lifted. That is why it has long been used for pranayama and meditation, and why the Hatha Yoga Pradipika gives it a place of honour among the seated poses.
It also opens the hips and keeps the knees and ankles moving. Students often find that a few minutes of sitting in Siddhasana, with the breath steady, quiets the mind at the start or end of a practice.
Common questions
What does siddhasana mean?
Siddha means an adept or perfected one in Sanskrit, so Siddhasana is often translated as perfect pose or the pose of the adepts. It is one of the classical seats for meditation.
How is Siddhasana different from Swastikasana?
In Swastikasana the shins cross and each foot rests under the opposite knee. In Siddhasana both heels are drawn to the centre of the body, one against the perineum and one against the pubic bone. Siddhasana needs more opening in the hips and more care for the knees and ankles.
How long should you sit in Siddhasana?
As long as you can keep the spine lifted and the knees comfortable. Start with a few minutes on each side and build up gradually. Always repeat with the legs changed.
Is Siddhasana safe if you have knee problems?
Take care. If the hips are stiff, the knees take the strain of the foot position. Sit higher, support the knees, and use Swastikasana instead if the knees hurt.
Should you sit on a blanket for Siddhasana?
Most students should. A folded blanket under the buttocks lets the knees settle down towards the floor and the spine lift. Use the height you need for the knees to rest lower than the hips.
About the teacher
Pixie Lillas: Pixie Lillas first went to the Ramamani Iyengar Memorial Yoga Institute in Pune, India in 1977. She co-founded the Balmain Iyengar Yoga Studio in 1980 and has been director and principal teacher there ever since.