How to do it
Supta Padangusthasana is taught as a sequence. Most searches for the pose mean the first version, with the raised leg straight up, so the instructions start there. The bent-knee variation shown in the photo comes after it. You need a belt, a wall and, for some variations, a block.
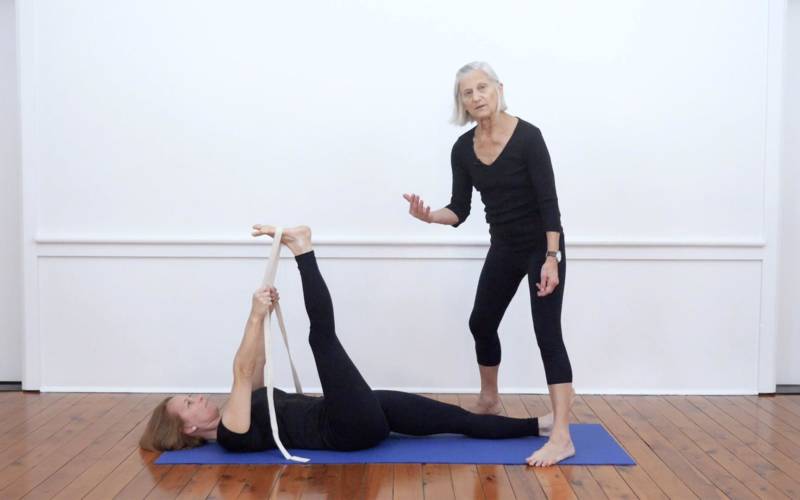
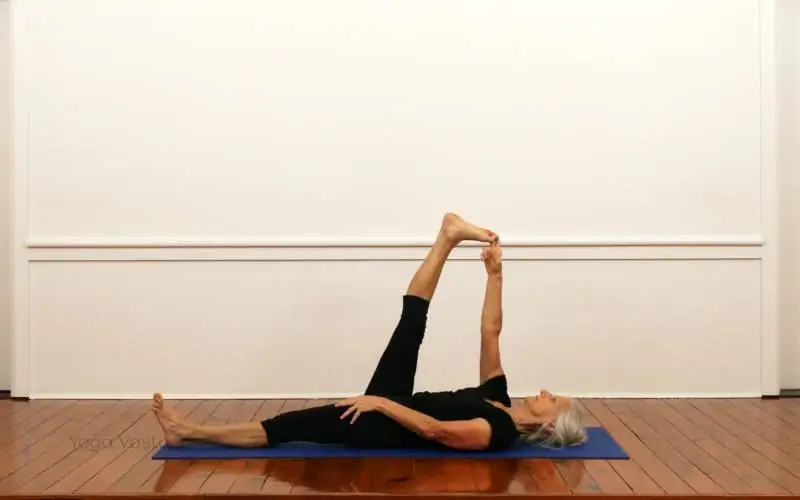
Supta Padangusthasana I (leg up)
- Lie on your back with your feet against a wall, heels on the floor and soles pressing into the wall. Your legs are straight and together.
- Loop a belt around the ball of your right foot.
- Bend the right knee towards your chest, then straighten the leg up towards the ceiling, holding the belt with both hands. Walk the hands up the belt until the arms are straight.
- Keep the left leg straight and pressing into the floor, with the foot pressing into the wall and the toes pointing up.
- Stay for 30 seconds to a minute. Bend the right knee, lower the leg and repeat on the left.
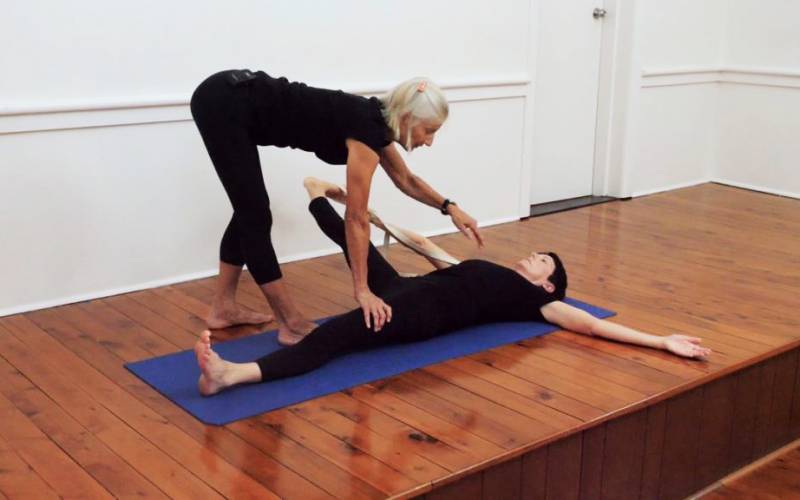
Supta Padangusthasana II (leg to the side)
Holding the belt in the right hand, take the right leg out to the right and down towards the floor. Keep the left hip and left leg firmly on the floor; if the left hip lifts, the leg has gone too far. A block or bolster under the outer right thigh lets you stay without strain. Bring the leg back up and change sides.
Supta Padangusthasana III (leg across)
Holding the belt in the left hand, take the right leg across the body to the left, turning the pelvis with it while the right shoulder stays down. This variation is a twist. Bring the leg back up and change sides.
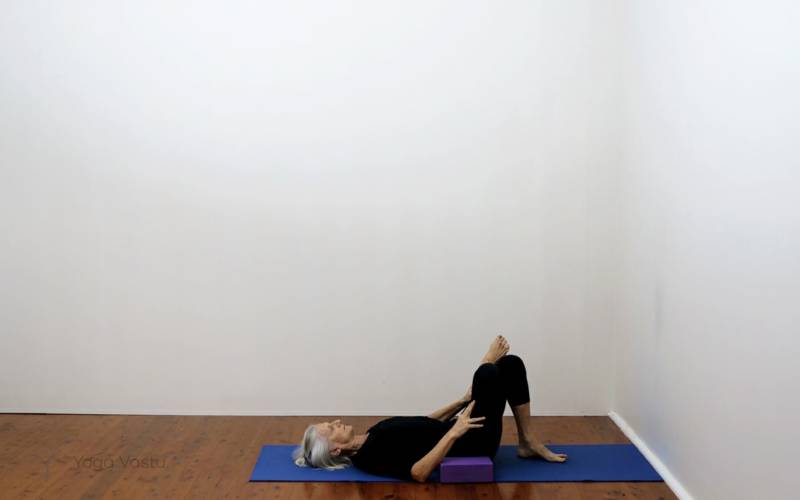
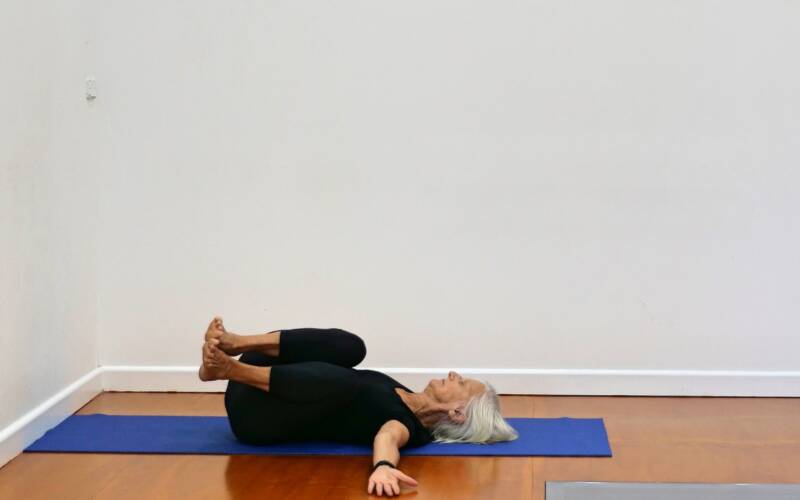
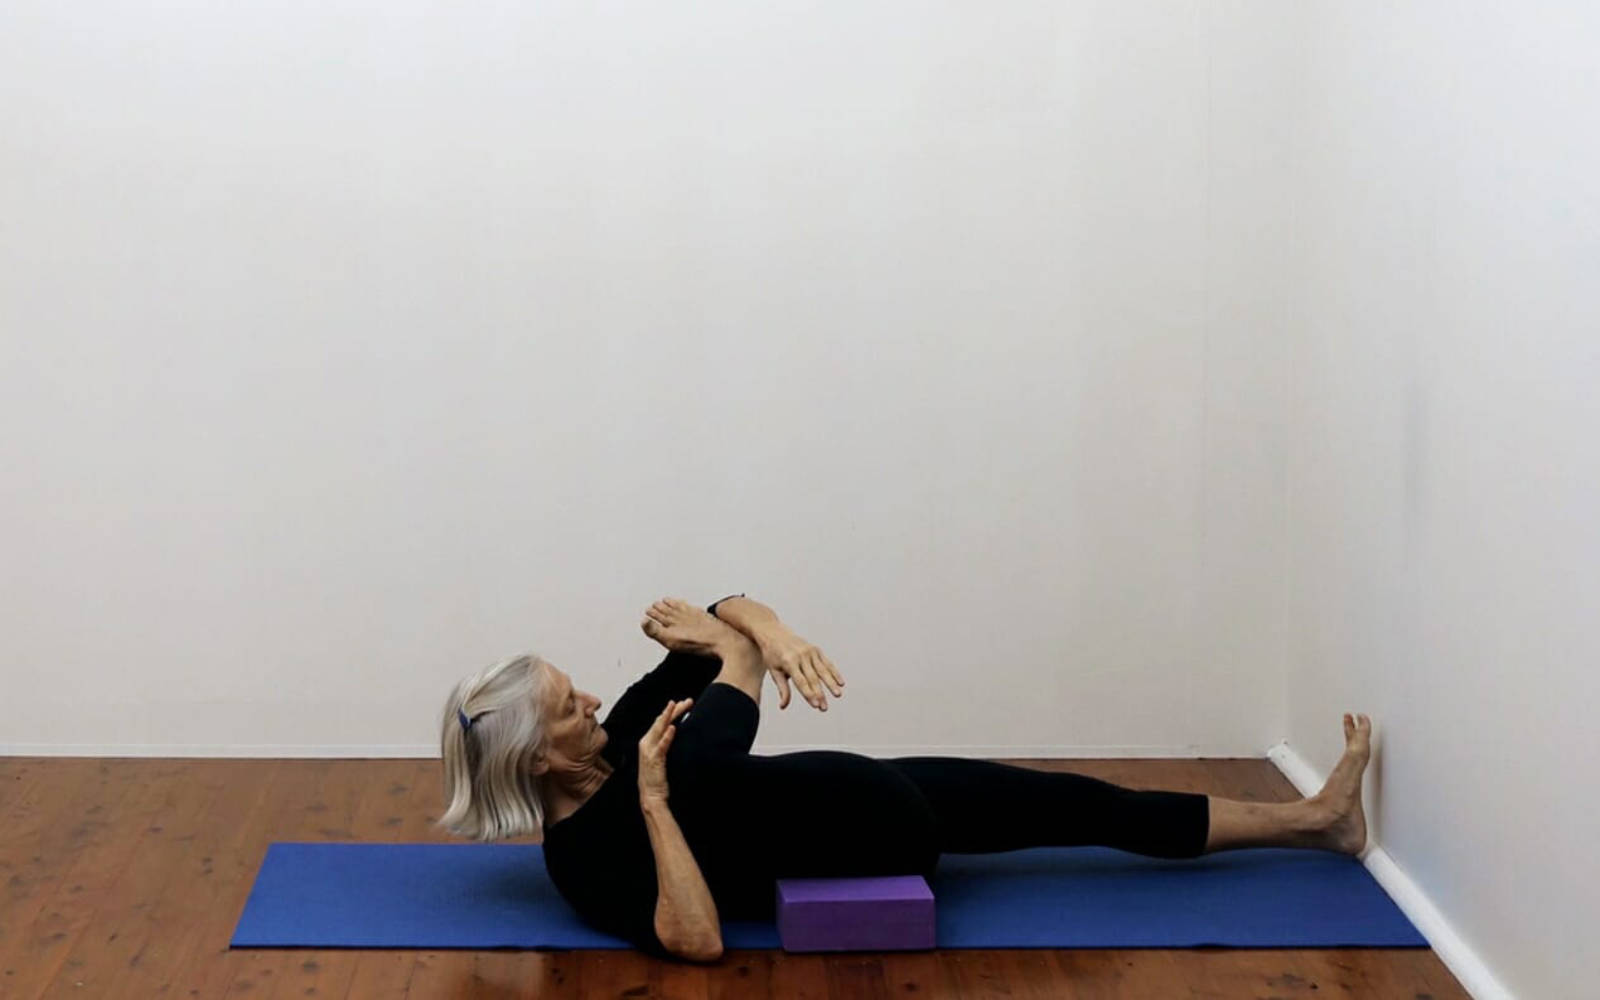
Supta Padangusthasana IV (bent knee, shown here)
- Lie with both legs straight and the left foot pressing into the wall.
- Bend the right knee and turn it out. Take hold of the right foot and lower leg and draw the shin across towards your chest, so it lies roughly across your body.
- Bring the shin as close to your head as the hip allows, keeping the left leg straight and pressing down.
- Keep the back of the head on the floor if you can. If the hold lifts your head, rest it on a folded blanket.
- Stay for 30 seconds to a minute, then release and repeat on the left.
I often give these variations in a row, taking the leg up, to the side and across, and use them to prepare for inversions or to finish a backbend class.
Key actions
The straight leg on the floor matters as much as the moving leg.
- Lower leg – press the thigh down, the heel into the wall and the toes up. If this leg rolls out or the knee bends, the stretch is lost from the other leg.
- Pelvis – keep both hips level and on the floor. In versions II and IV in particular, the hip of the lower leg tends to lift.
- Raised leg – keep the knee straight and the kneecap lifted. Extend through the heel and the ball of the foot, not the toes alone.
- Shoulders and arms – keep both shoulders on the floor and the arms straight. Walk the hands down the belt if the shoulders lift.
- Head and throat – keep the back of the head on the floor and the throat soft. Do not lift the head to bring it towards the leg.
Props and variations
- Belt – the main prop. Loop it around the ball of the foot so the leg can stay straight.
- Wall – the foot of the lower leg presses into it, which anchors the pelvis.
- Block or bolster – placed under the outer thigh in version II, it supports the leg so the opposite hip stays down.
- Folded blanket – under the head if the chin lifts or the neck feels tight.
- Toe loop – in some classes I use a small loop around the big toe for the side variation, to work the inner leg.
- Bent lower leg – if your lower back is uncomfortable, bend the knee of the lower leg and put that foot on the floor until the back settles.
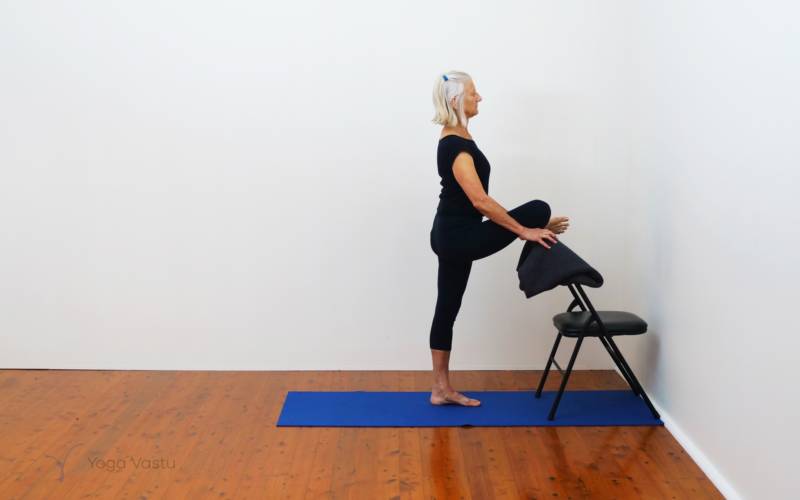
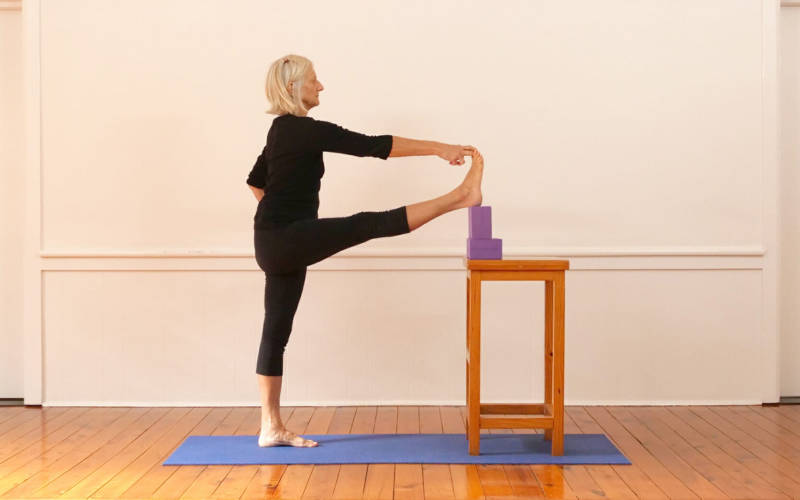
- Standing version – Utthita Hasta Padangusthasana works the same leg positions standing, with balance added.
Cautions
These poses are safe for most students when the lower leg stays down and the stretch is gradual.
- Hamstring injury – work well within your range, with the belt long, and avoid strong stretching while a hamstring tear heals.
- Lower back or sciatic pain – bend the lower knee and keep the movements small. Stop if pain travels down the leg.
- Hip replacement – versions III and IV take the leg across the body and turn the hip. Follow your surgeon’s guidance on crossing the leg and on rotation, and leave these variations out until you are cleared.
- Knees – in version IV, hold the shin and foot, not the knee, and do not force the knee towards the head.
- Pregnancy – later in pregnancy, lying flat on the back for long can be uncomfortable. Raise the head and chest on a bolster or ask a teacher for a supported version.
Benefits
Supta Padangusthasana lengthens the hamstrings and calves while the floor supports the back, so the stretch reaches the legs without loading the spine. Working the leg up, to the side and across gives the hips movement in several directions in one short sequence.
The bent-knee variation adds a stretch to the outer hip and buttock. Students often find the sequence settles the lower back, which is why Iyengar teachers place it at the start of a class, before standing poses, or near the end, after backbends. It is a good daily practice for people who sit for long hours.
Common questions
What are the variations of supta padangusthasana?
On Yoga Vastu, version I takes the raised leg straight up, II takes it out to the side, III takes it across the body into a twist, and IV (this page) bends the knee and draws the shin towards the chest. Books and schools number them differently, so go by the description rather than the number.
Should I use a belt in supta padangusthasana?
Yes, unless you can hold the big toe with a straight arm and a straight leg. The belt lets you keep both legs straight and the shoulders on the floor, which matters more than how high the leg goes.
What are the benefits of supta padangusthasana?
It lengthens the hamstrings and calves, works the hips in several directions and lets you stretch the legs with the back supported. Iyengar teachers use it to prepare for standing poses and forward bends, and to settle the legs and lower back after backbends.
Why press the foot into the wall?
Pressing the foot of the straight leg into the wall keeps that leg active and the pelvis level. It stops the hip of the lower leg lifting as the other leg moves.
How long should you hold each variation?
About 30 seconds to a minute on each side for each variation. Repeat both sides before moving to the next one.
About the teacher
Pixie Lillas: Pixie Lillas first went to the Ramamani Iyengar Memorial Yoga Institute in Pune, India in 1977. She co-founded the Balmain Iyengar Yoga Studio in 1980 and has been director and principal teacher there ever since.