How to do it
- Lie face down on your mat with your legs together and straight, the tops of the feet on the floor and the toes pointing straight back.
- Place your palms flat on the floor beside your lower ribs, fingers pointing forward, elbows drawn in towards the body.
- Press the tops of the feet and the front thighs into the floor and lift the kneecaps.
- Firm the buttocks and move the tailbone towards the pubic bone. Press the pubic bone into the floor.
- Inhale, press into the hands and lift the head and chest. Straighten the arms gradually, only as far as the pubic bone stays on the floor and the lower back stays comfortable.
- Roll the shoulders back and draw the shoulder blades into the back, so the chest moves forward and up.
- Take the head back only as far as the neck is comfortable, keeping the throat soft.
- Stay for 20 to 30 seconds with normal breathing. Exhale, bend the elbows and lower down. Rest with your head turned to one side, then repeat two or three times.
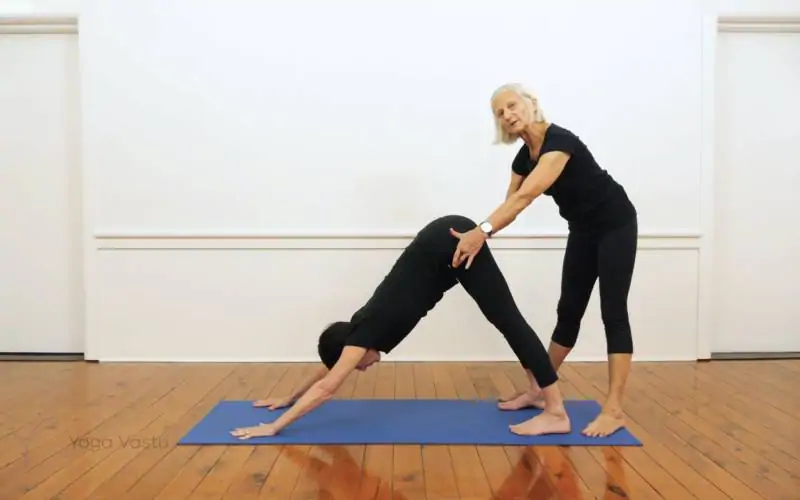
The photo shows a teacher placing a hand on the student’s upper back to guide the lift of the chest. In our backbend classes the cobra is used to learn where the backbend comes from before the deeper poses.
Key actions
The aim is an even curve through the whole spine, so the lower back does not take all the bend.
- Legs – keep the legs straight, together and active, with the kneecaps lifted and the front thighs pressing down. Active legs support the pelvis.
- Buttocks and tailbone – firm the buttocks and move the tailbone in, towards the pubic bone. This lengthens the lower back and protects it.
- Pubic bone – keep it on the floor. If it lifts, you have gone too high for now.
- Shoulder blades – draw them into the back and down, away from the ears. The chest moves forward through the arms rather than the shoulders hunching up.
- Upper back – lift the back ribs in towards the chest so the curve spreads into the upper back. Soften the lower front ribs and lengthen the tailbone, so the backbend does not pinch the lower back.
- Arms – straighten the arms by lifting the chest, not by locking the elbows. Keep the elbows pointing back, not out.
- Breath – keep it even. Holding the breath hardens the abdomen and the back.
Props and variations
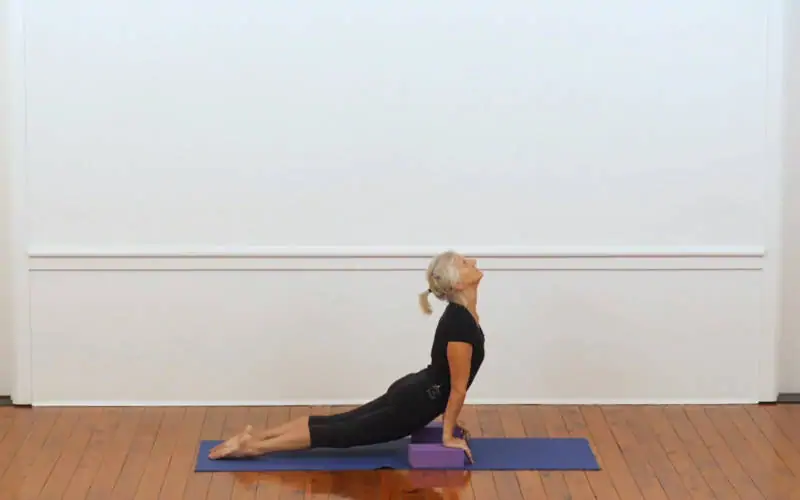
- Salamba Bhujangasana (sphinx) – rest on the forearms, elbows under the shoulders. The backbend is lower and supported, a good start if your back is stiff or sore.
- Blocks under the hands – raising the hands lets the chest lift with less bend in the lower back.
- Feet against the wall – press the toes or tops of the feet into the wall to keep the legs active.
- Belt around the thighs – a belt just above the knees stops the legs drifting apart.
- Folded blanket under the pelvis – softens pressure on the hip bones and pubic bone on a hard floor.
- Bent arms – keep the elbows bent and the chest lower if straightening the arms strains the lower back.
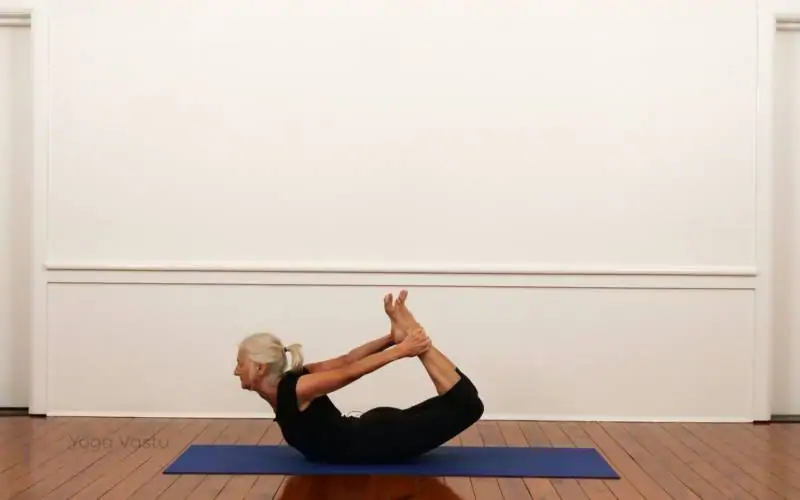
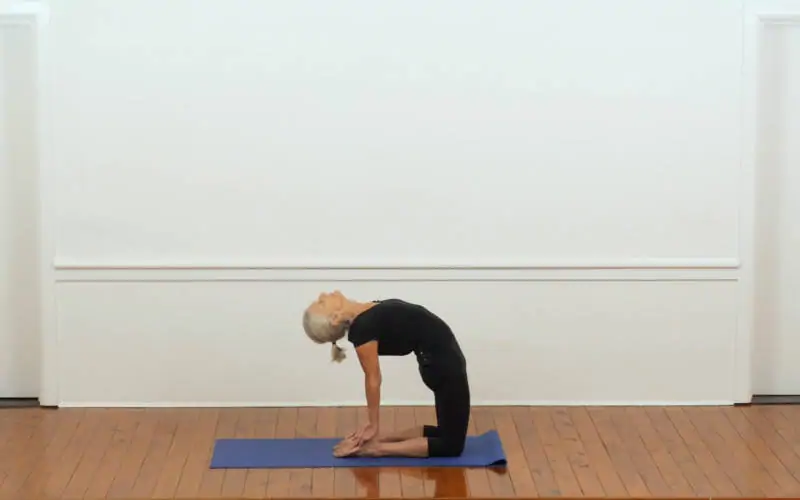
- Next stages – Urdhva Mukha Svanasana (upward-facing dog) lifts the legs and pelvis off the floor. Dhanurasana and Ustrasana build on the same actions of the legs and shoulder blades.
Cautions
- Lower back – if you have a disc problem, a recent back injury or sharp pain, start with Salamba Bhujangasana or leave the pose out and ask a teacher. Stop if pain increases or travels into the leg.
- Pregnancy – avoid lying on the abdomen. Ask a teacher for a supported backbend instead.
- Abdomen – avoid the pose after recent abdominal surgery, or with a hernia, until you have been cleared.
- Neck – do not throw the head back. Keep the back of the neck long and look forward or slightly up.
- Wrists – if your wrists hurt, work on the forearms or raise the hands on blocks.
- Menstruation – some students find lying on the abdomen uncomfortable during menstruation. Choose supported, reclining backbends instead.
Benefits
Bhujangasana brings movement into the spine and opens the front of the chest and shoulders. It strengthens the muscles of the back, buttocks and arms, which support the deeper backbends.
Because the legs and pelvis stay on the floor, it is a safe place to learn the basic backbend actions: firm legs, a lengthened tailbone and shoulder blades moving into the back. Students often say backbends leave them feeling more awake, and Bhujangasana is a gentle way to find that effect early in a practice.
Common questions
What is the difference between cobra pose and sphinx pose?
In sphinx pose (Salamba Bhujangasana) you rest on your forearms, elbows under the shoulders, so the backbend is lower and supported. In cobra pose (Bhujangasana) you press on your hands and straighten the arms, which lifts the chest higher and deepens the backbend.
Where should your hands be in Bhujangasana?
Palms flat on the floor beside the lower ribs or waist, fingers pointing forward, with the elbows drawn in towards the body. Your teacher may move the hands slightly forward or back to suit your proportions and how far your back bends.
Is cobra pose good for lower back pain?
It can help some people and aggravate others. If your lower back is sore, start with Salamba Bhujangasana on the forearms, keep the buttocks firm and the tailbone moving in, and stop if pain increases or travels down the leg. Ask a teacher to check your pose.
How long should you hold cobra pose?
About 20 to 30 seconds with normal breathing. Come down, rest, and repeat two or three times rather than staying longer.
What does bhujangasana mean?
Bhujanga is Sanskrit for serpent or cobra. In the pose the chest and head rise like a cobra about to strike, with the legs lying flat like its tail.
About the teacher
Pixie Lillas: Pixie Lillas first went to the Ramamani Iyengar Memorial Yoga Institute in Pune, India in 1977. She co-founded the Balmain Iyengar Yoga Studio in 1980 and has been director and principal teacher there ever since.