Overview of this sequence
Standing poses are, in many ways, the most corrective of all the asanas, and they also create a well-grounded feeling.
This sequence aims at refining your understanding and perception in the standing poses. The idea here is to start to use the standing poses that you are already familiar with in order to investigate the poses further and use them to explore imbalances in the body.
Step by step sequence steps
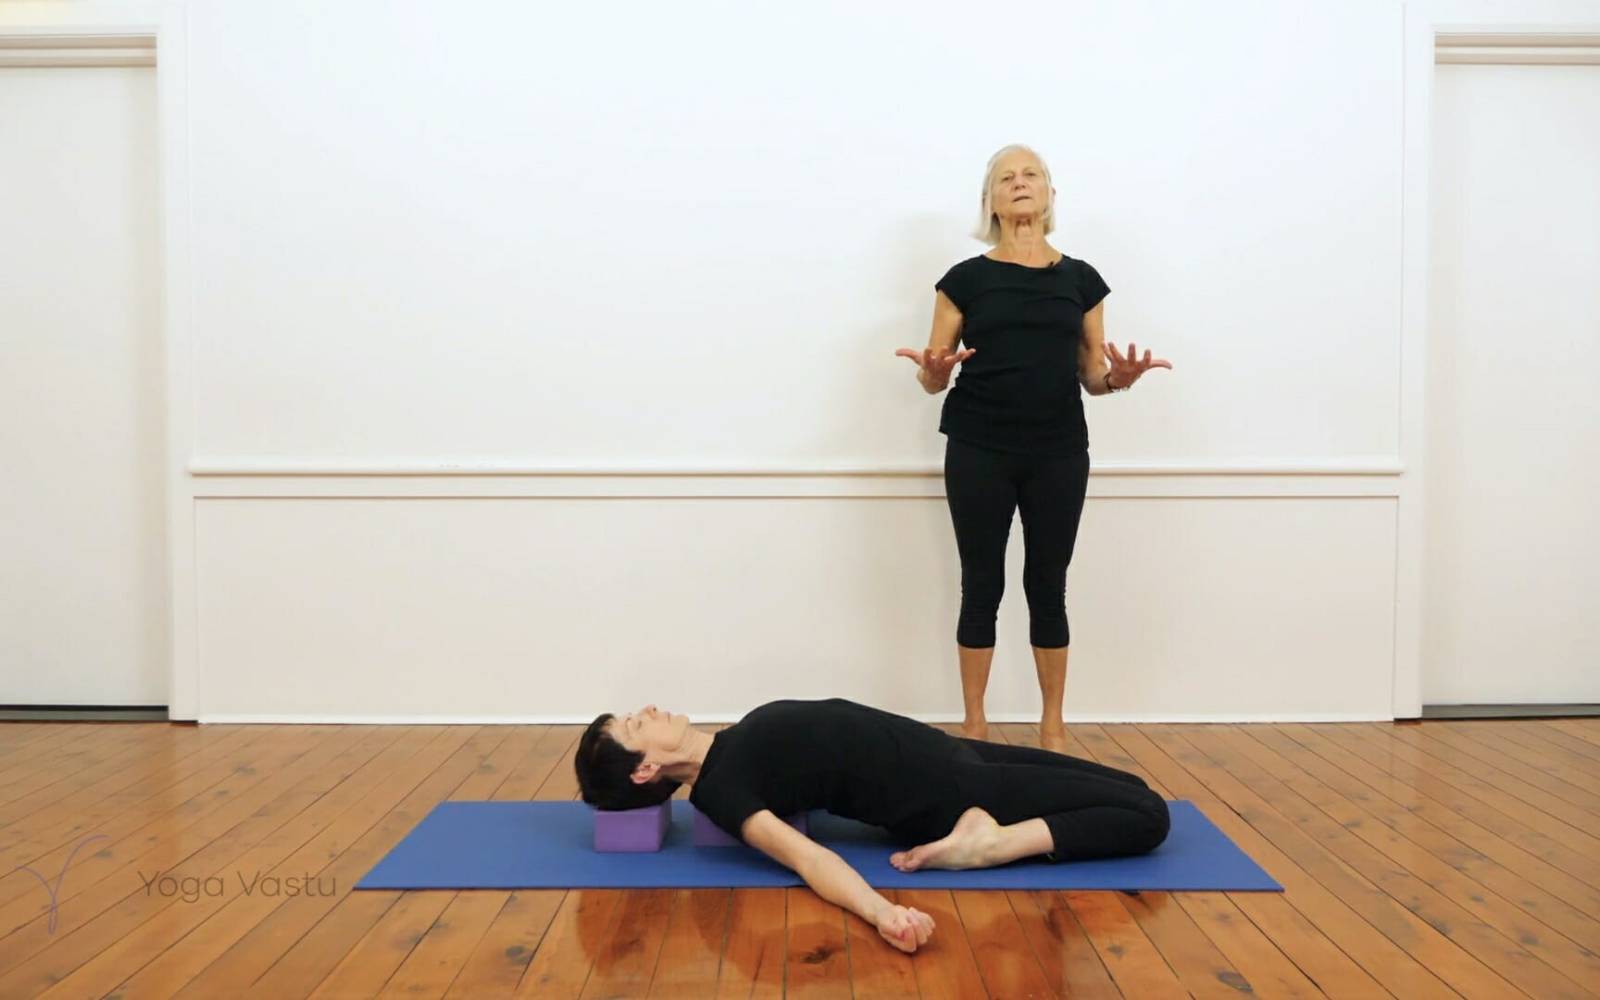
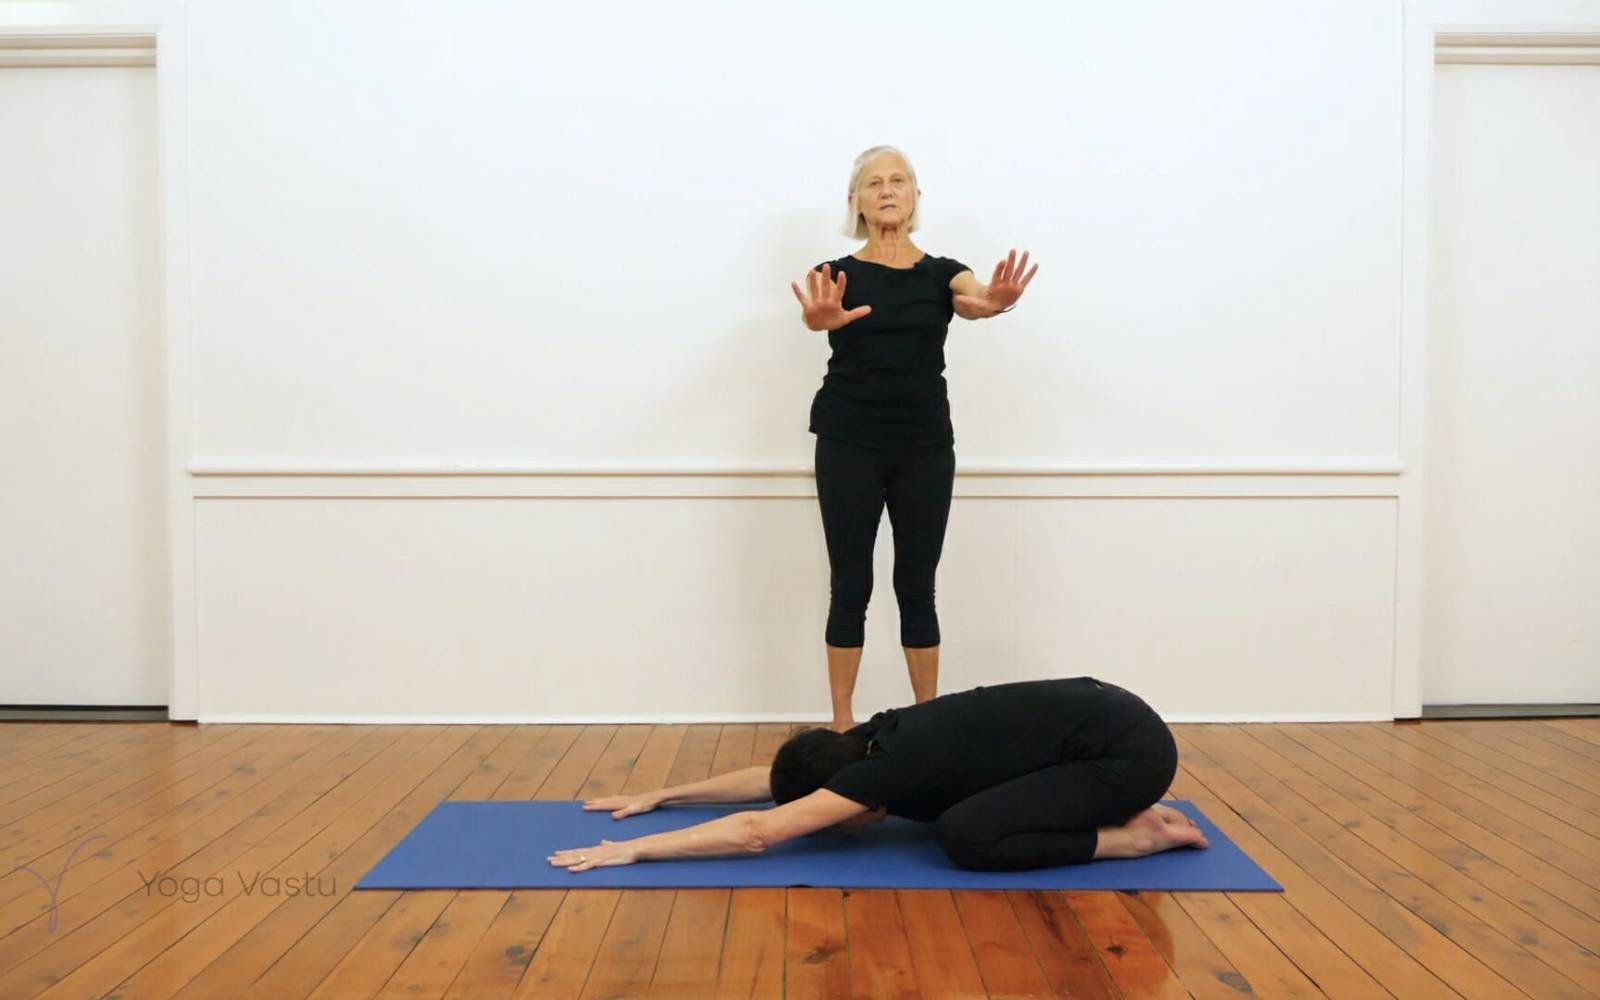
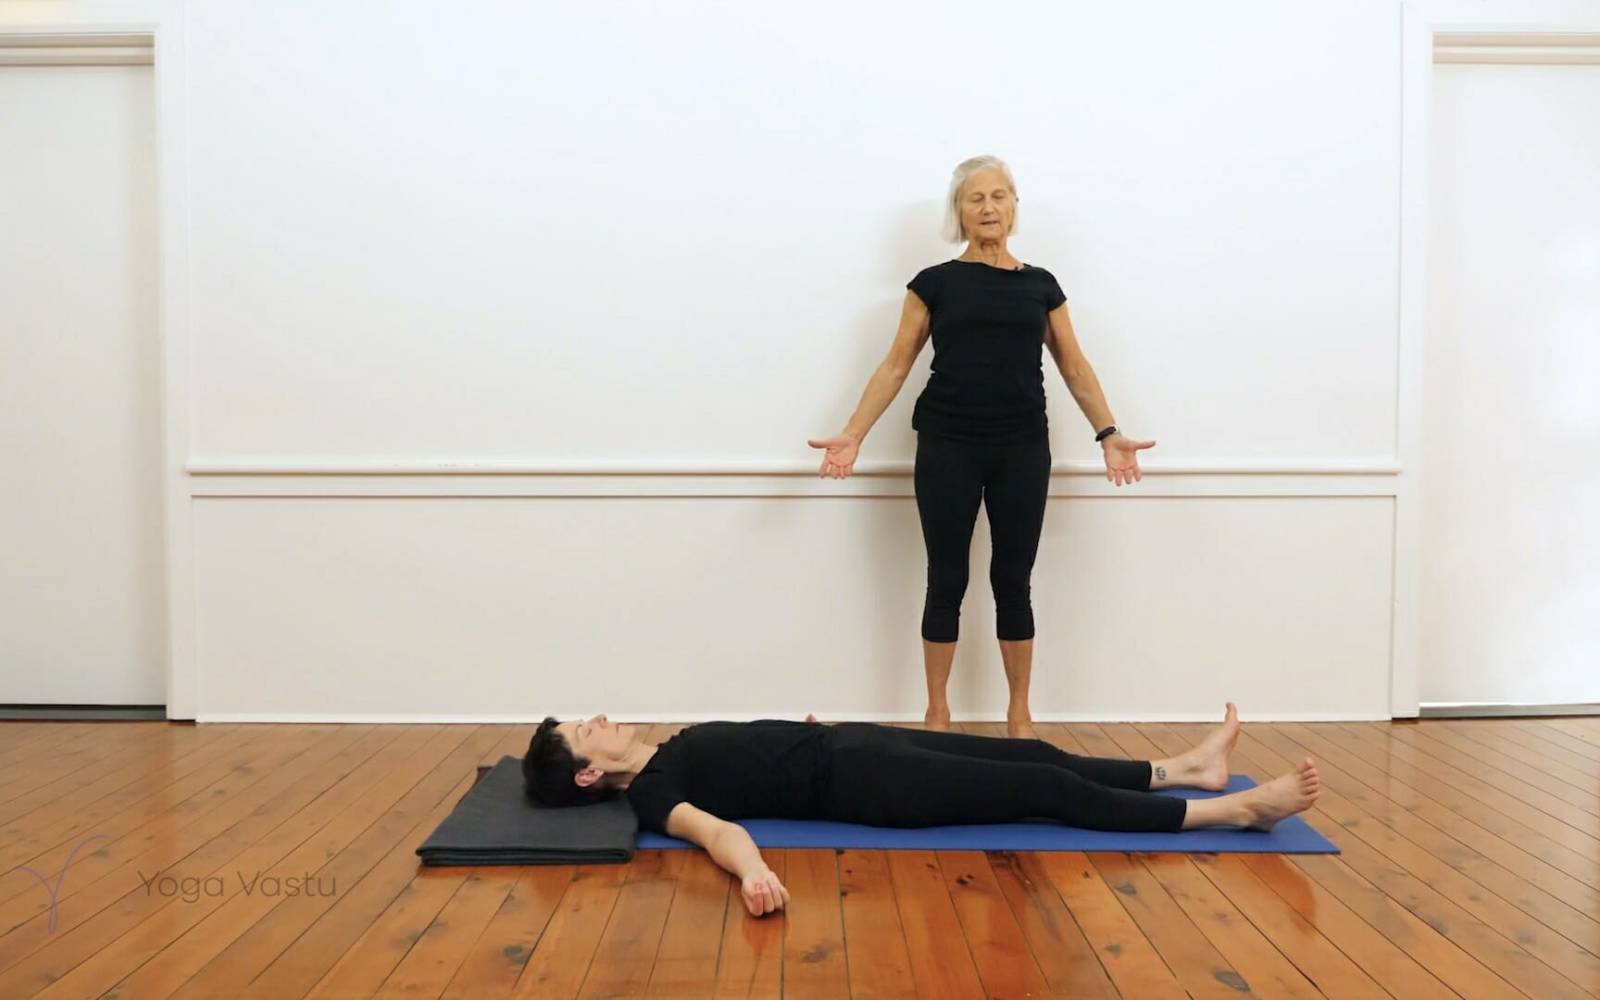
Start off in Supta Virasana, using support as needed. Come up and go forward in Virasana.
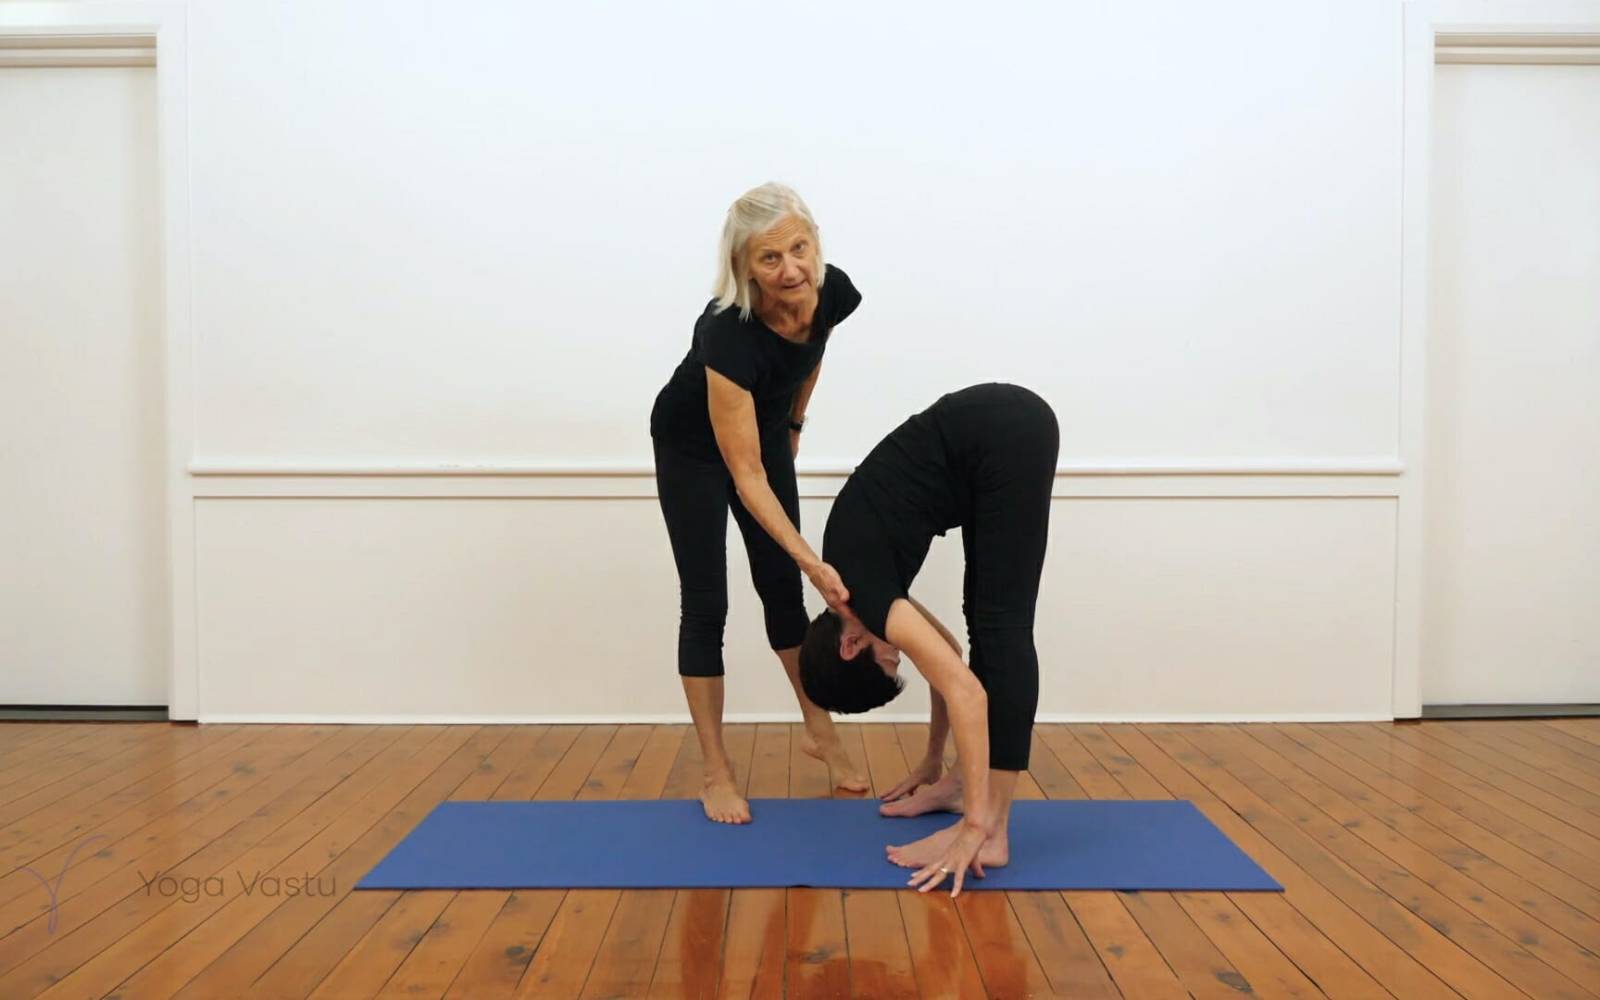
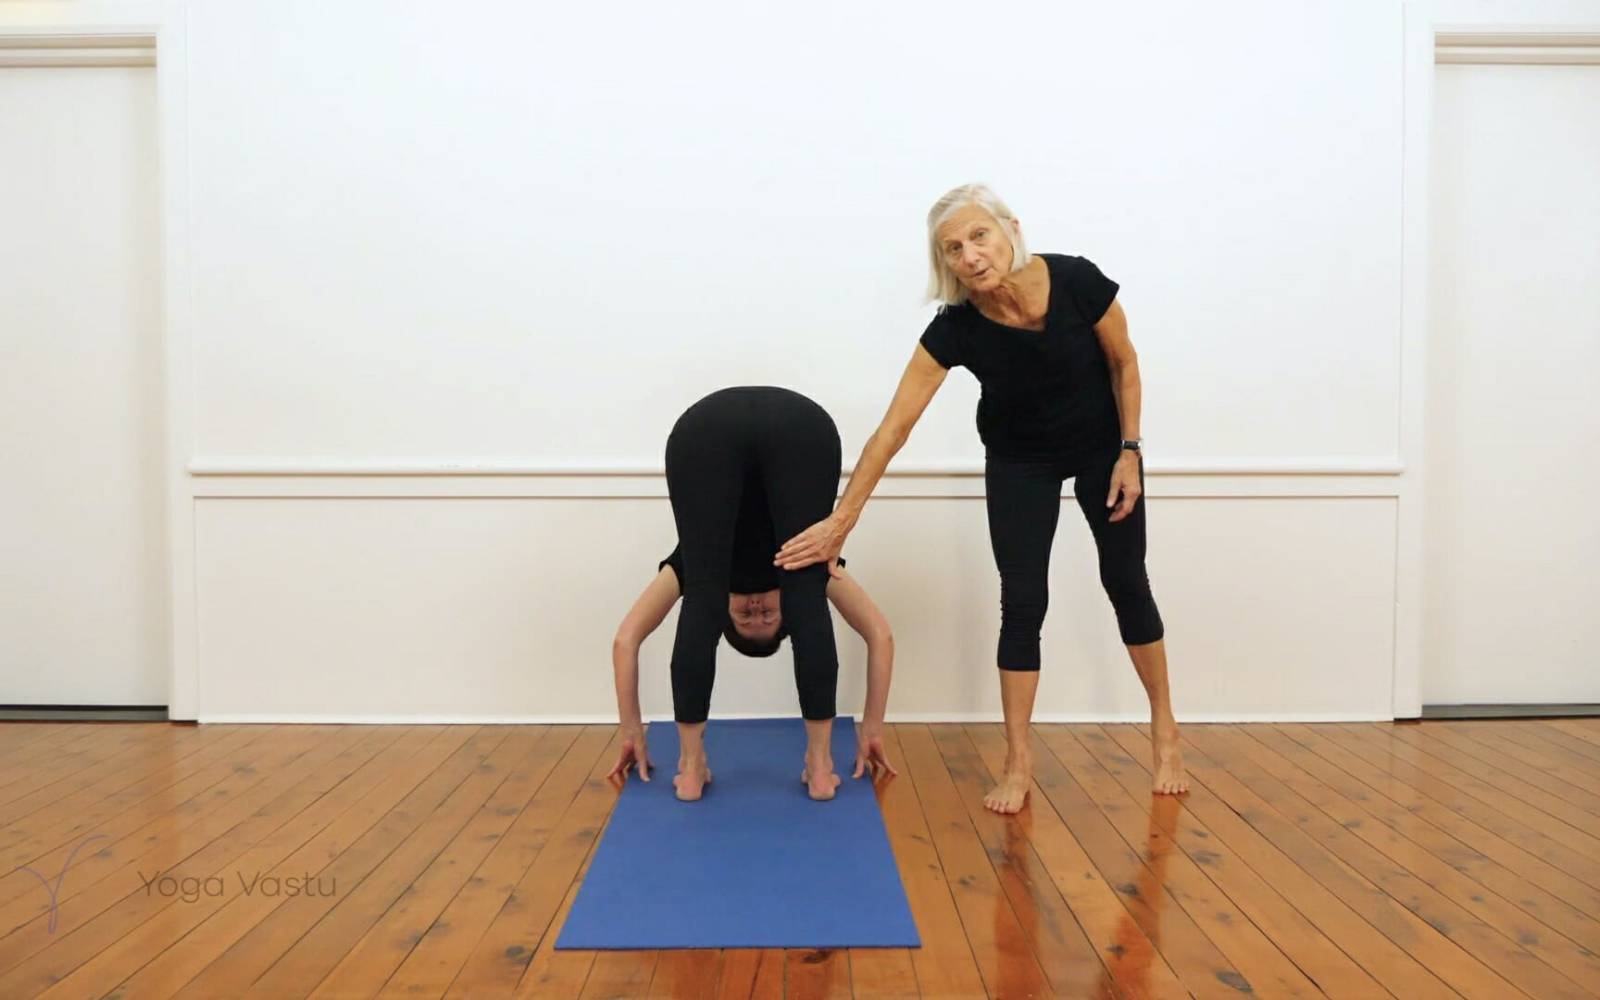
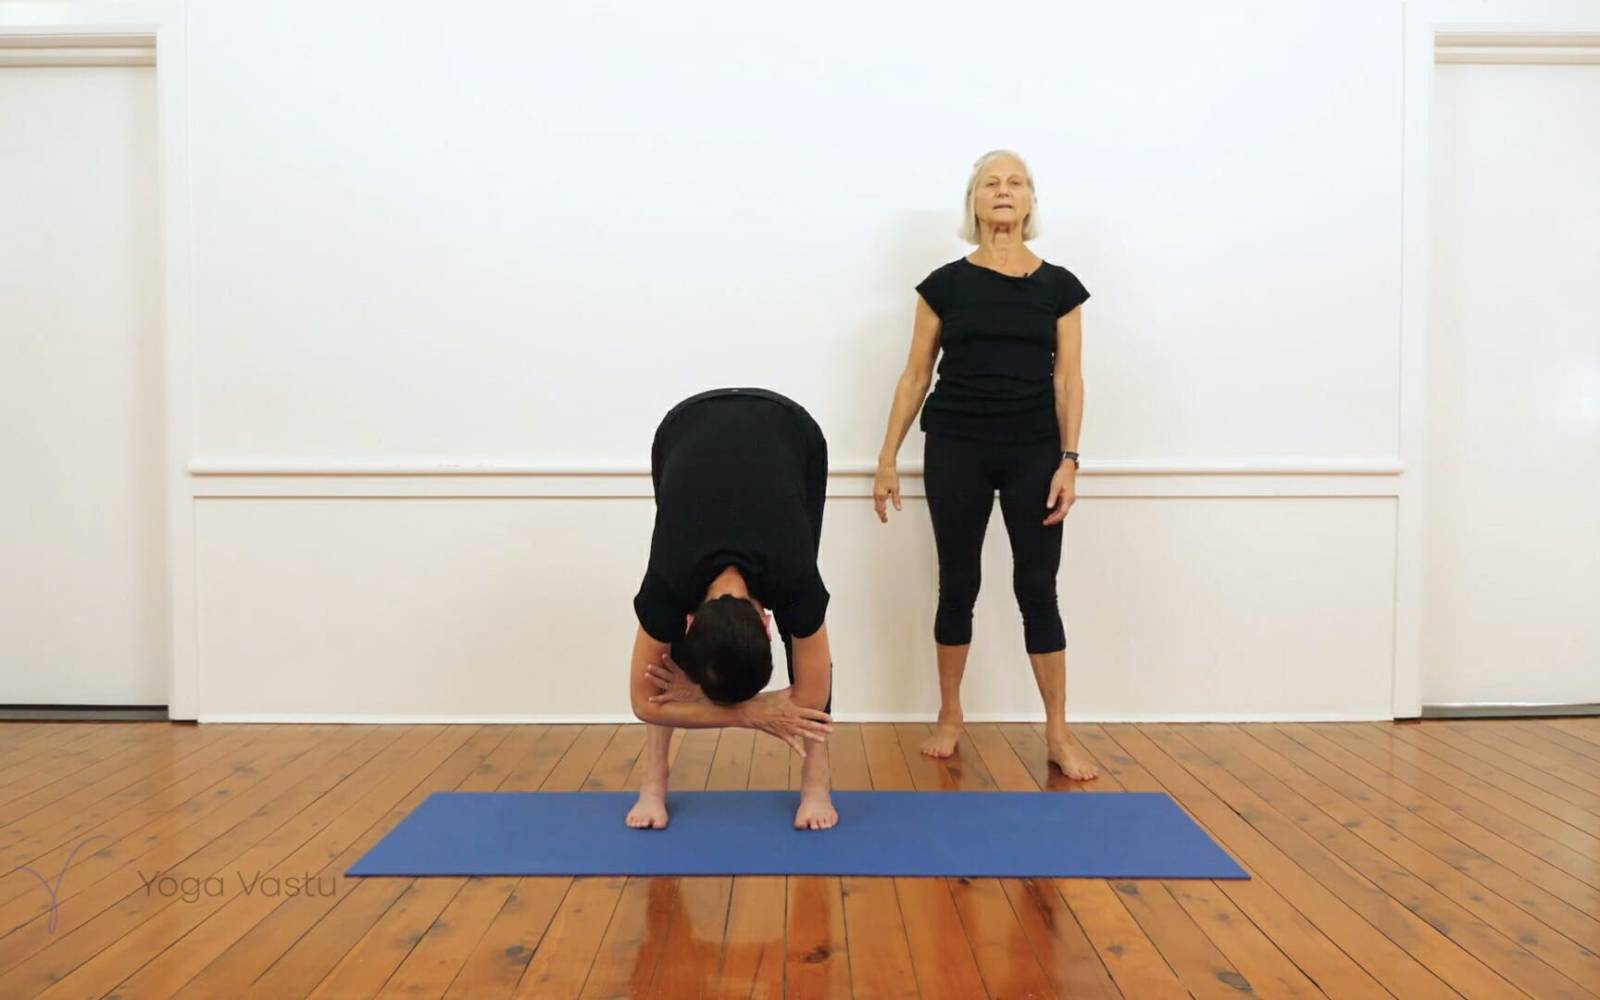
Now come to standing and go to Uttanasana, feet apart, to quieten head energy and to find out how the legs are responding today at the start of the sequence.
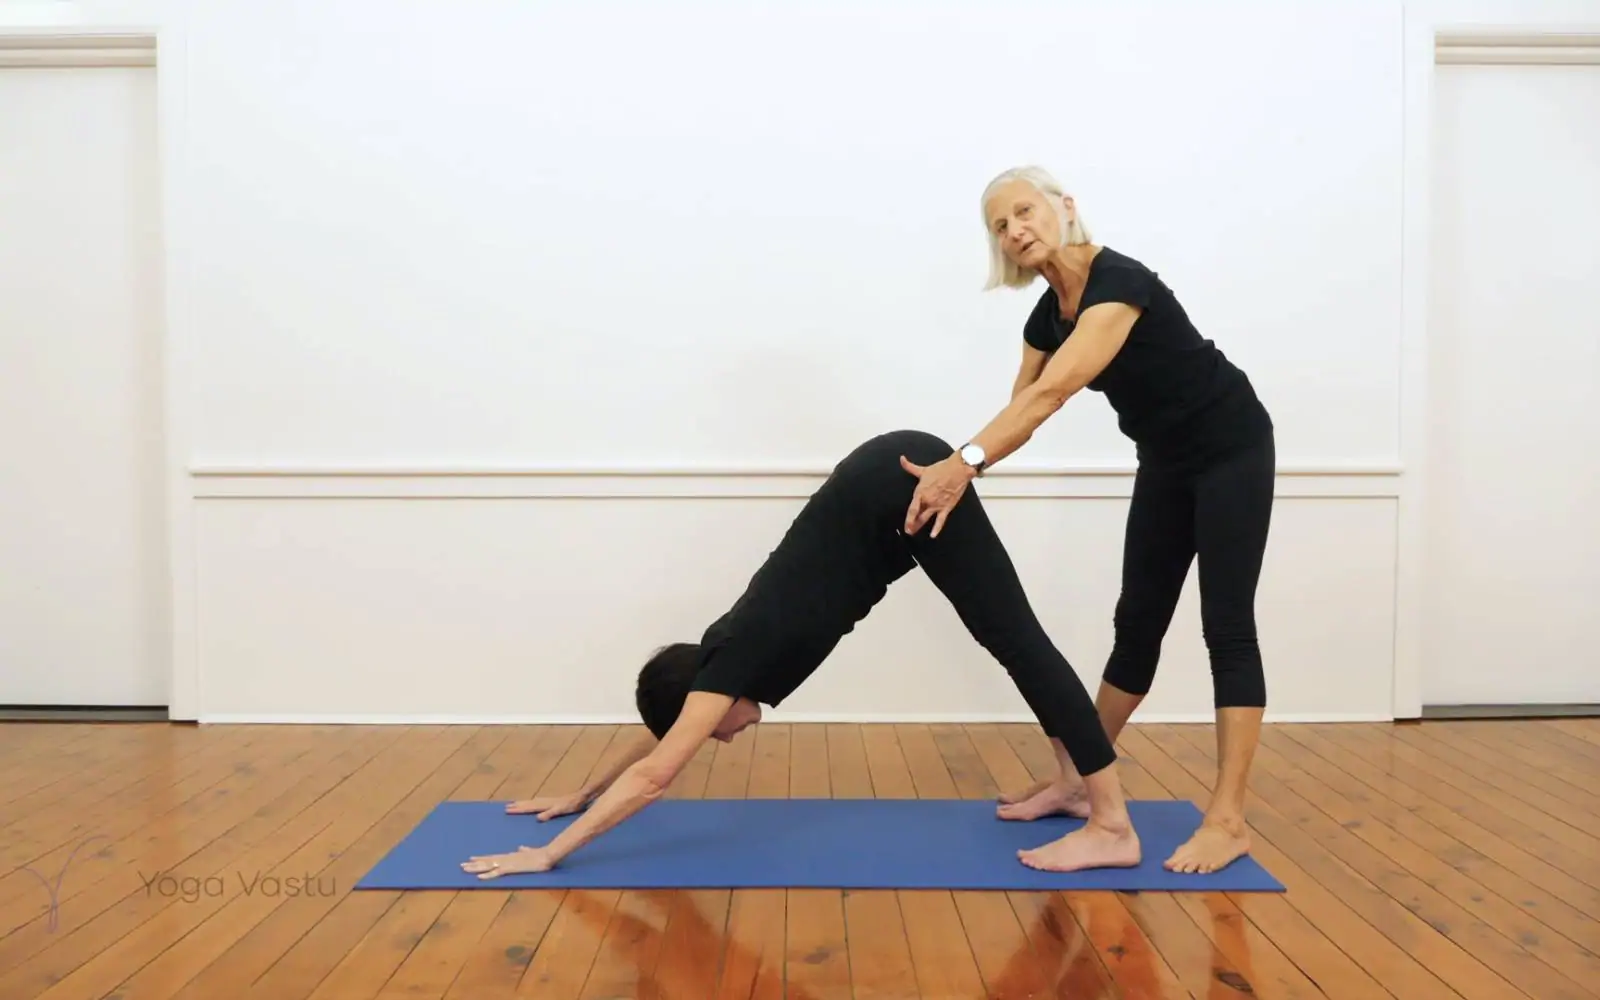
Adho Mukha Svanasana, Dog Pose, to connect the arms and the legs to the trunk and spine.
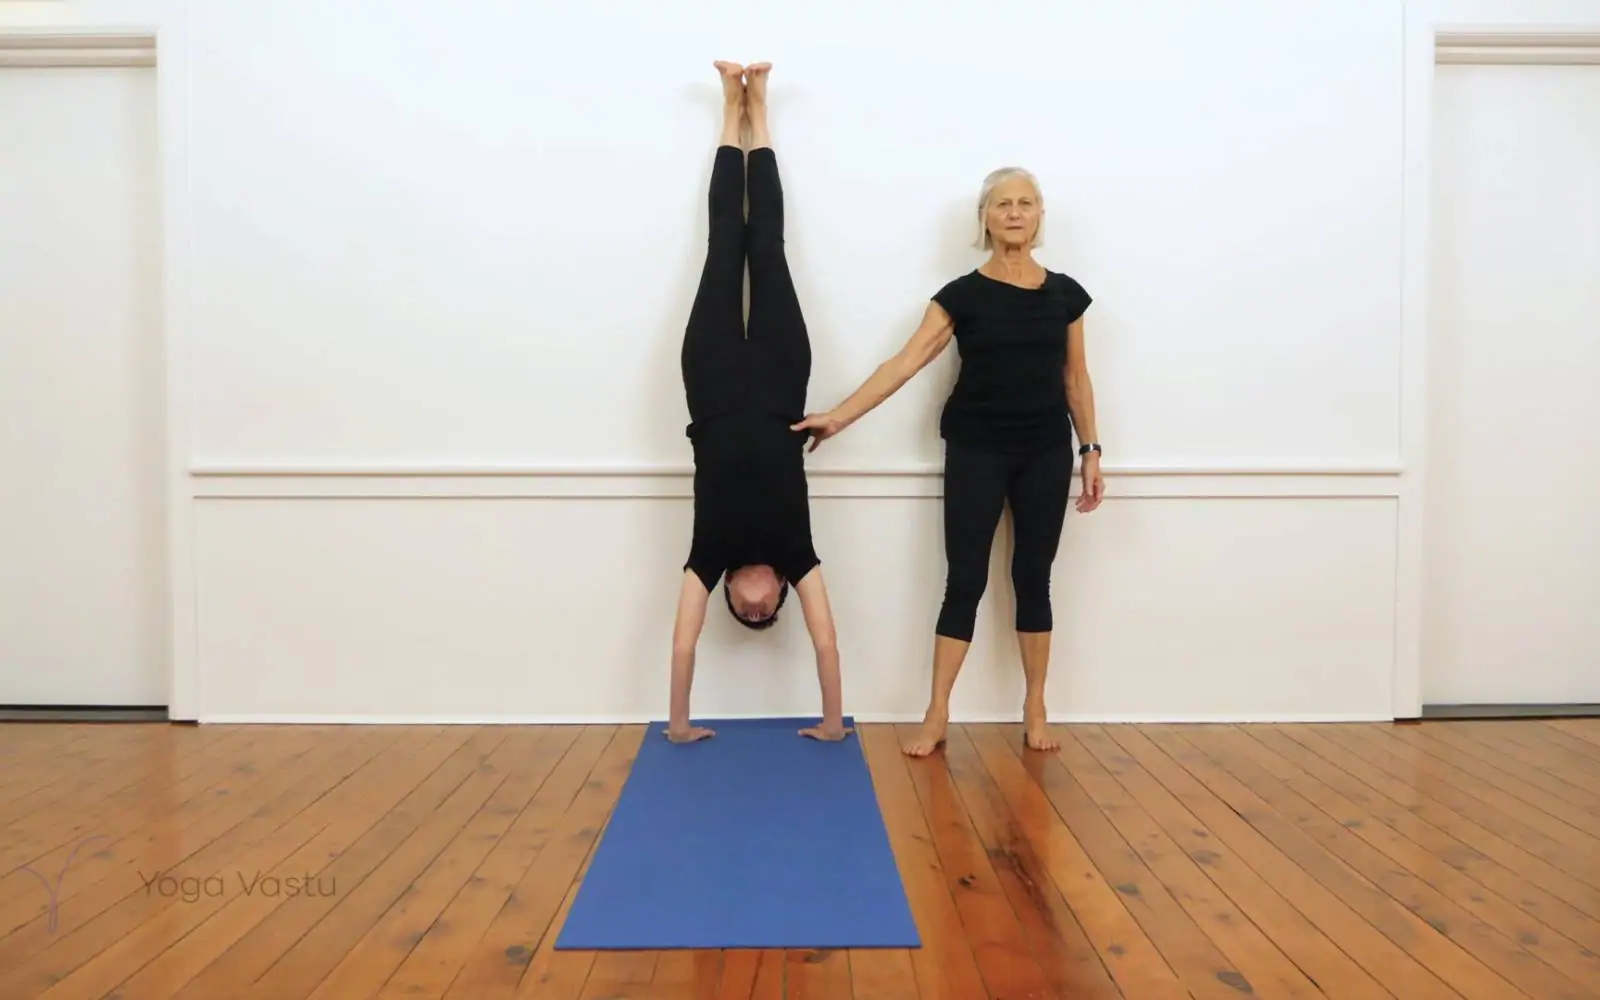
Follow with Adho Mukha Vrksasana, Full Arm Balance, to stimulate mental energy at this point in the session. Pincha Mayurasana comes next, to open the shoulders and to continue to stimulate energy through the upper chest opening.
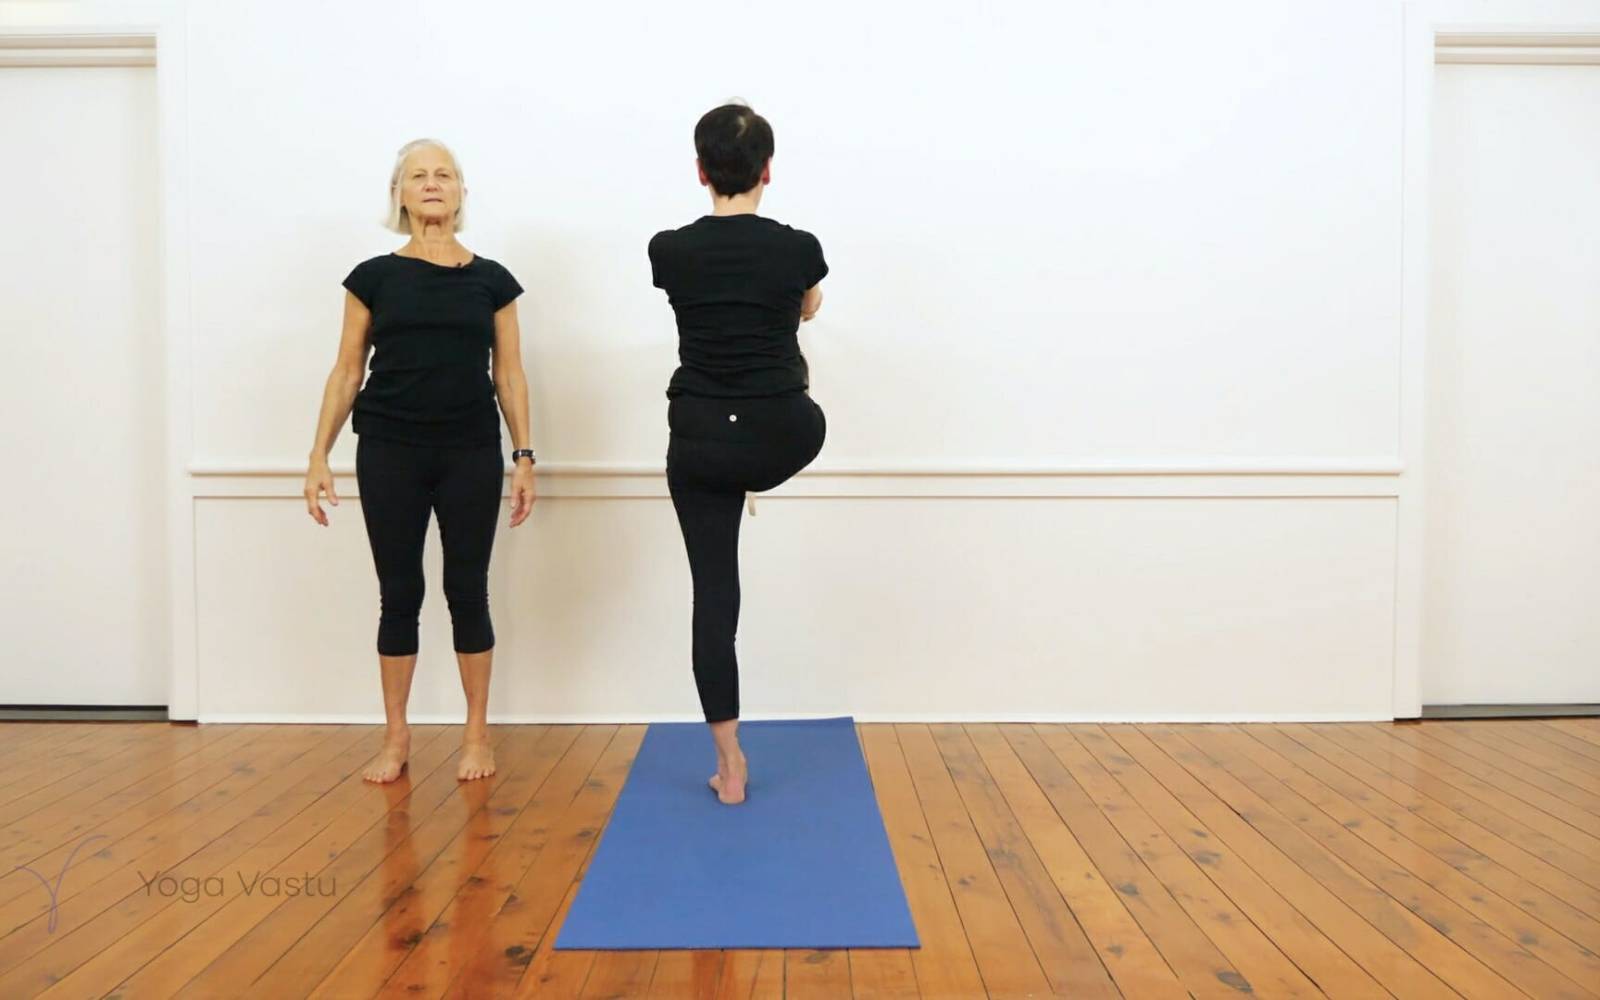
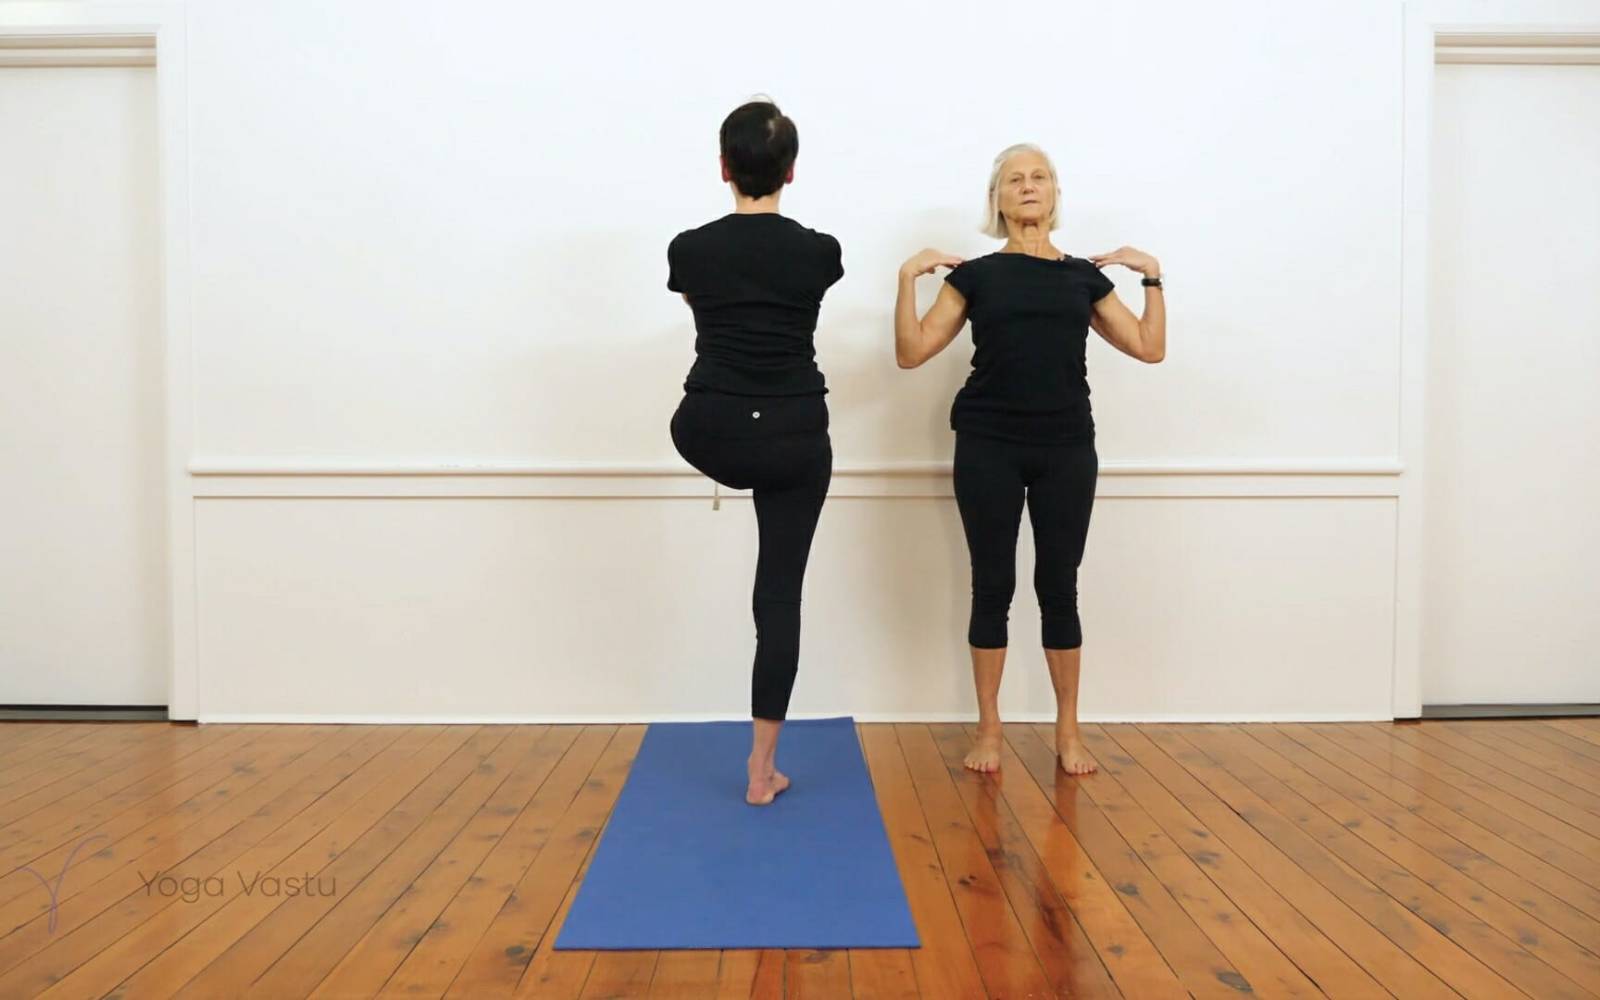
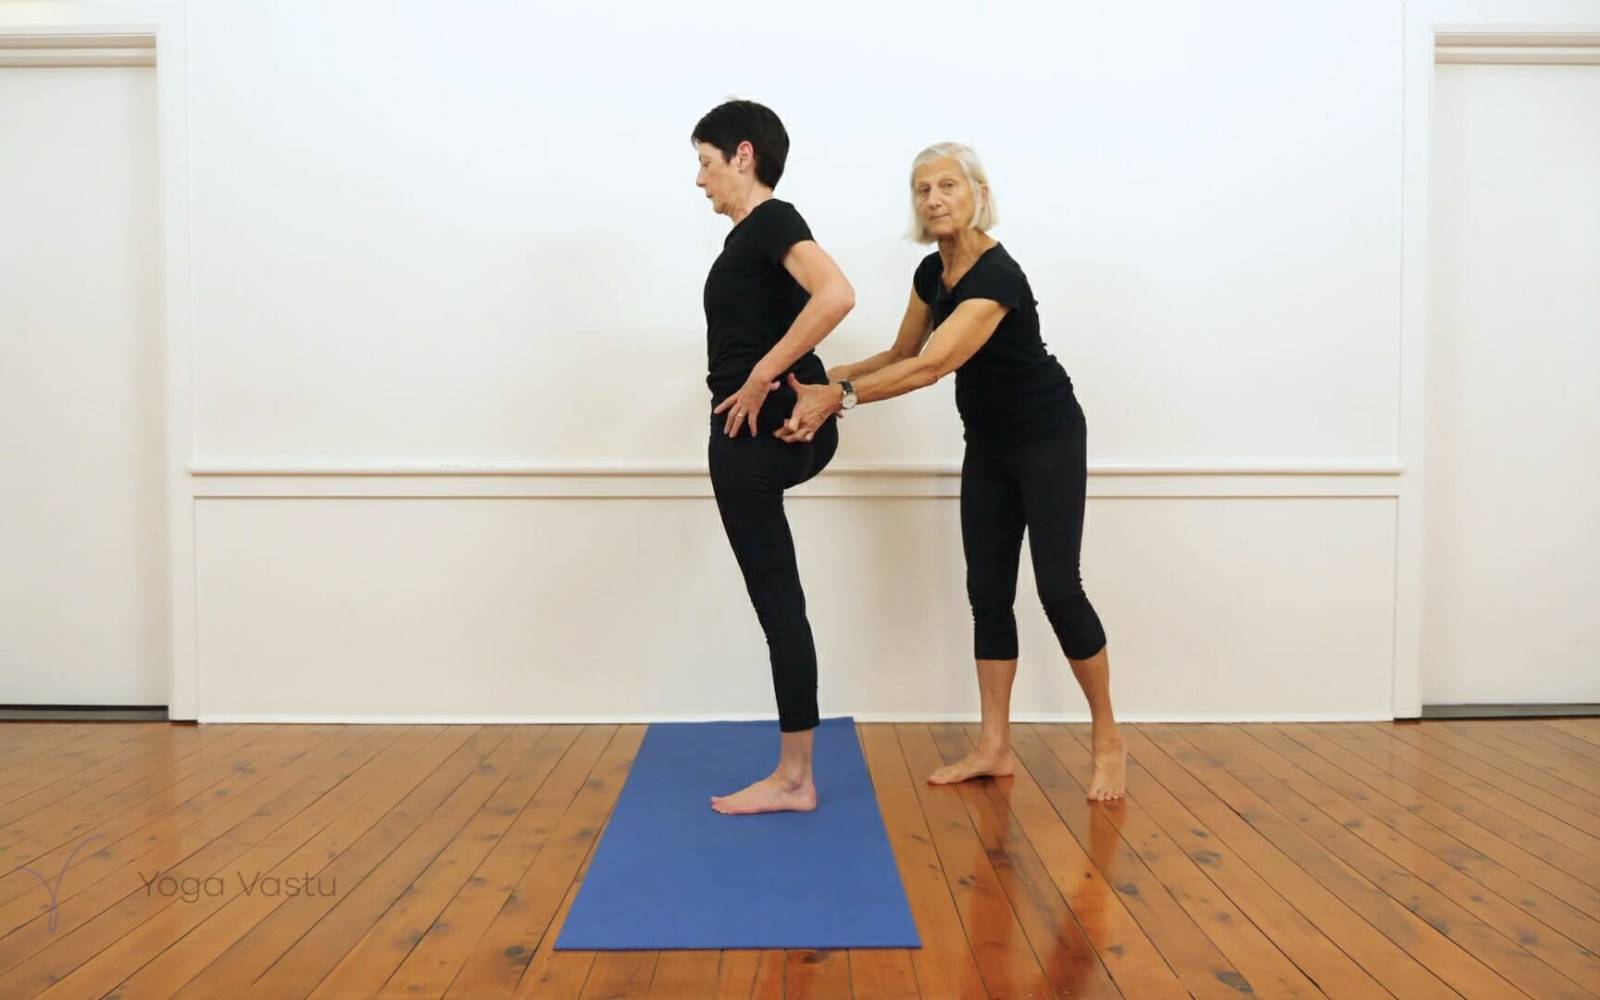
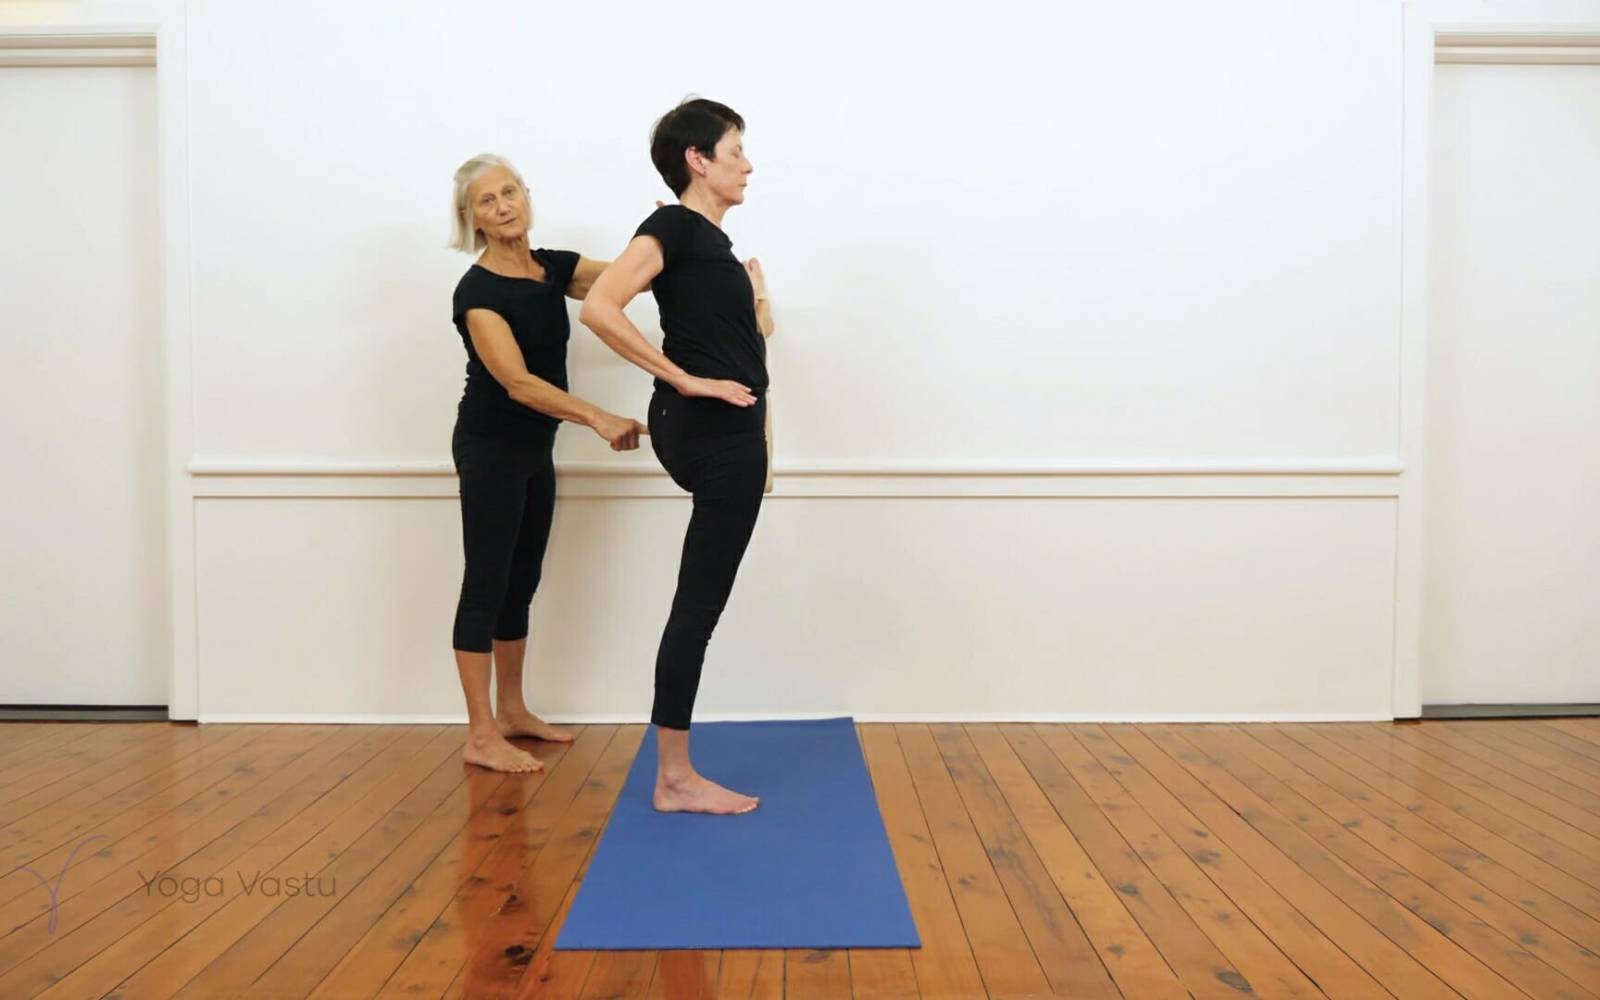
Let’s start now on stabilising from our base, opening up the hips, and correcting leg alignment through Utthita Hasta Padangusthasana 1 and 2. These are in effect standing poses, but from a more static base and here done with wall support.
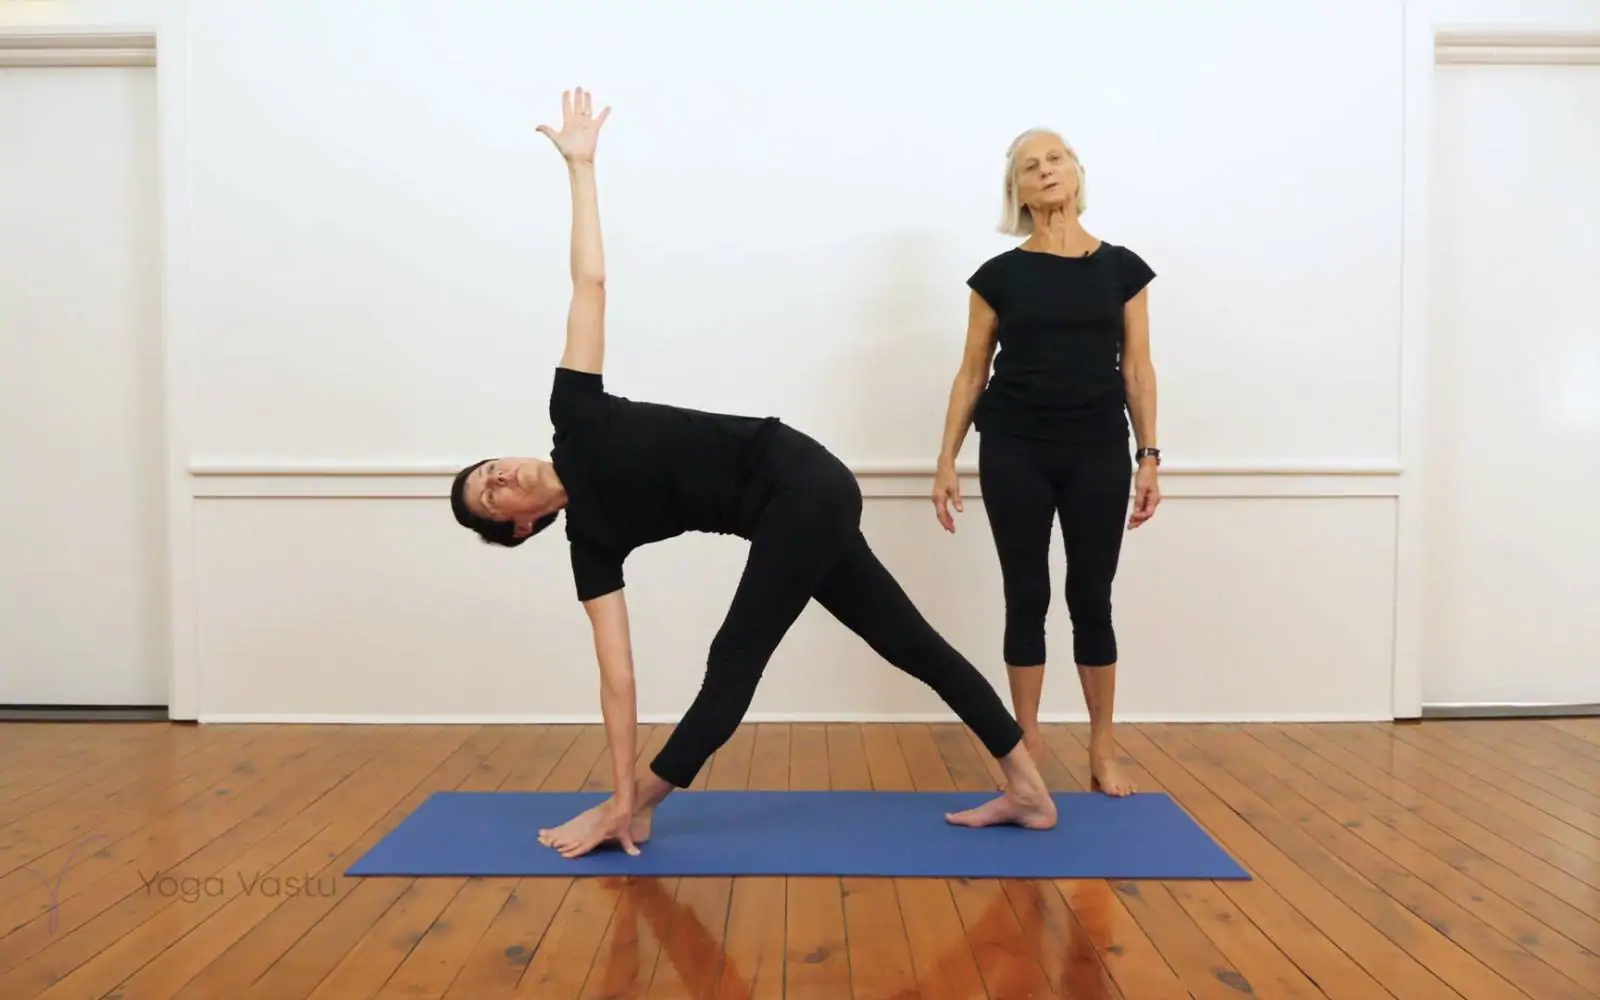
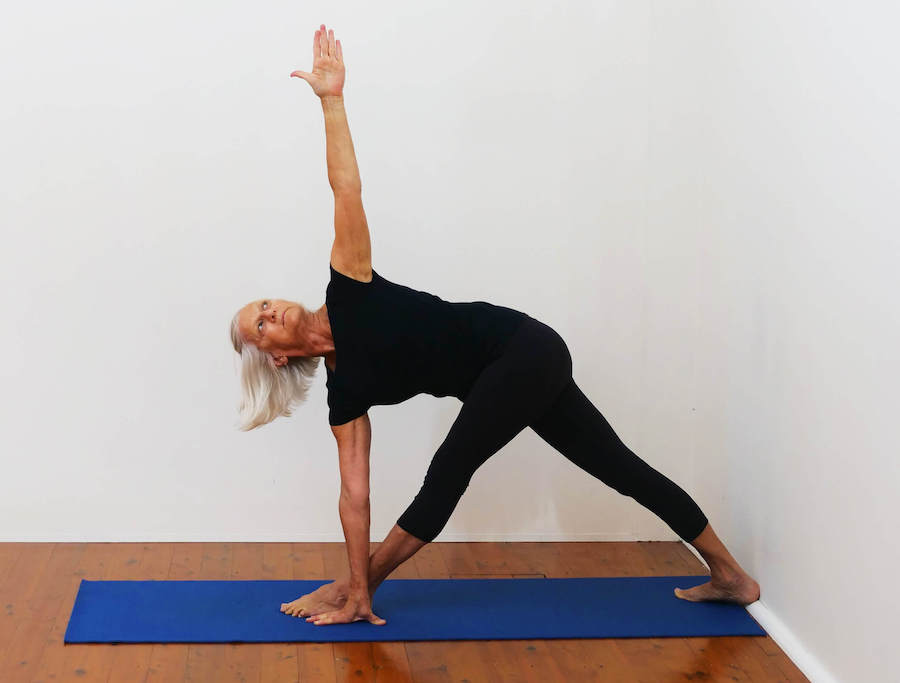
Move now into Trikonasana to start the Standing Pose sequence proper.
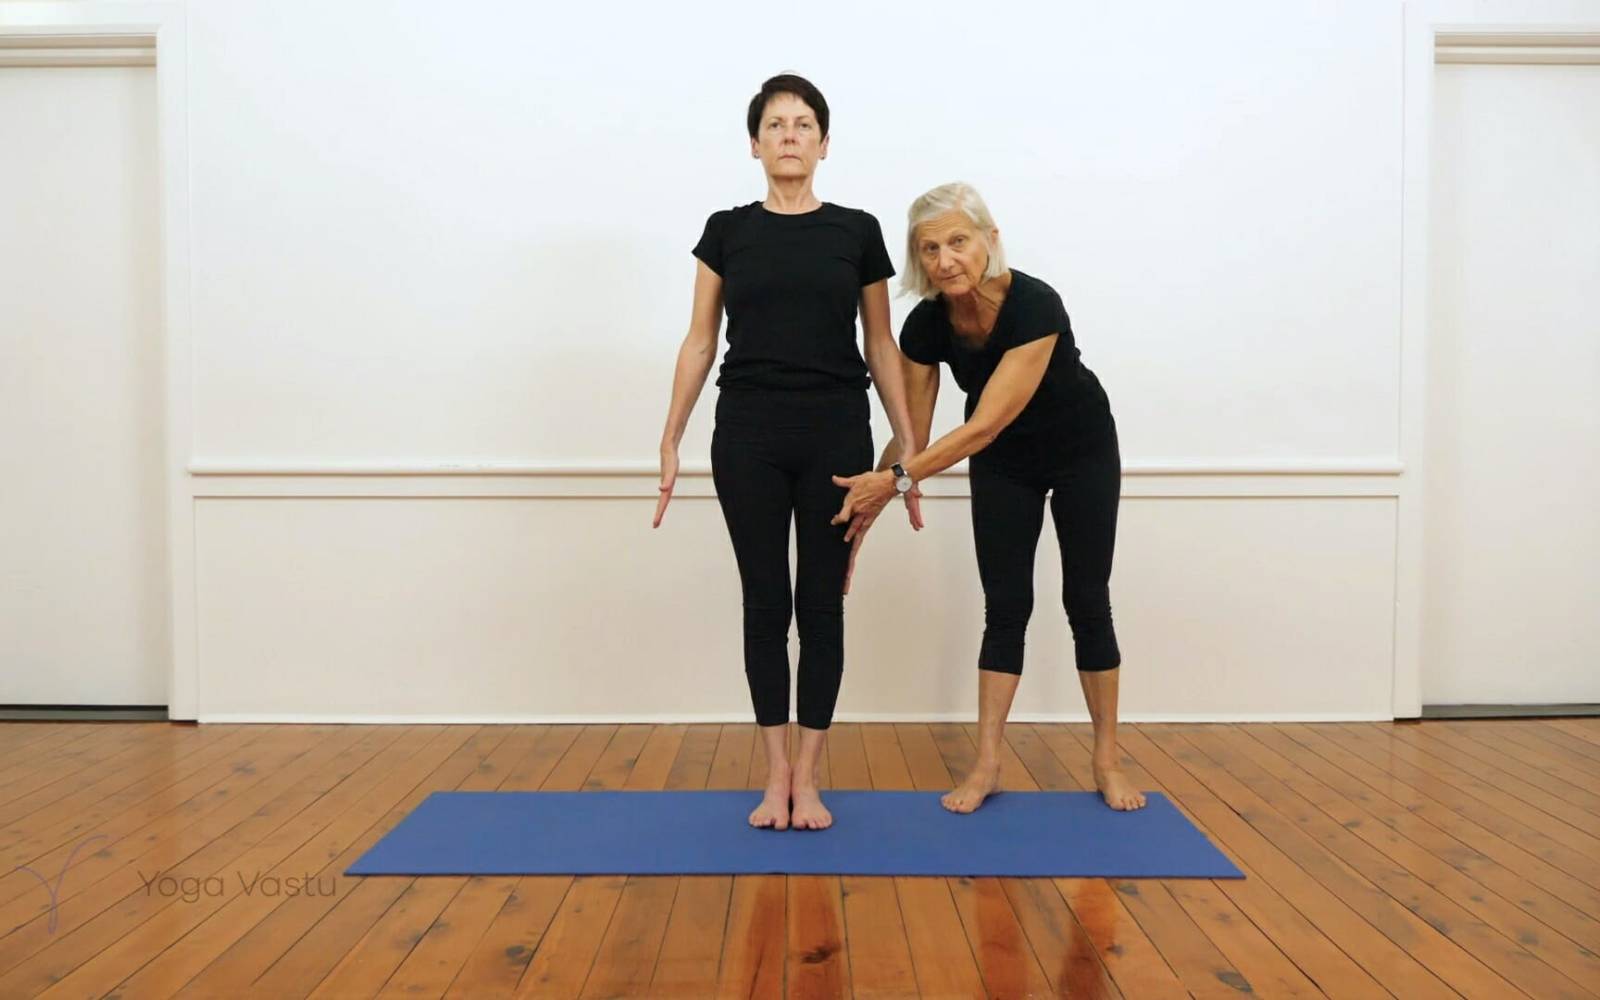
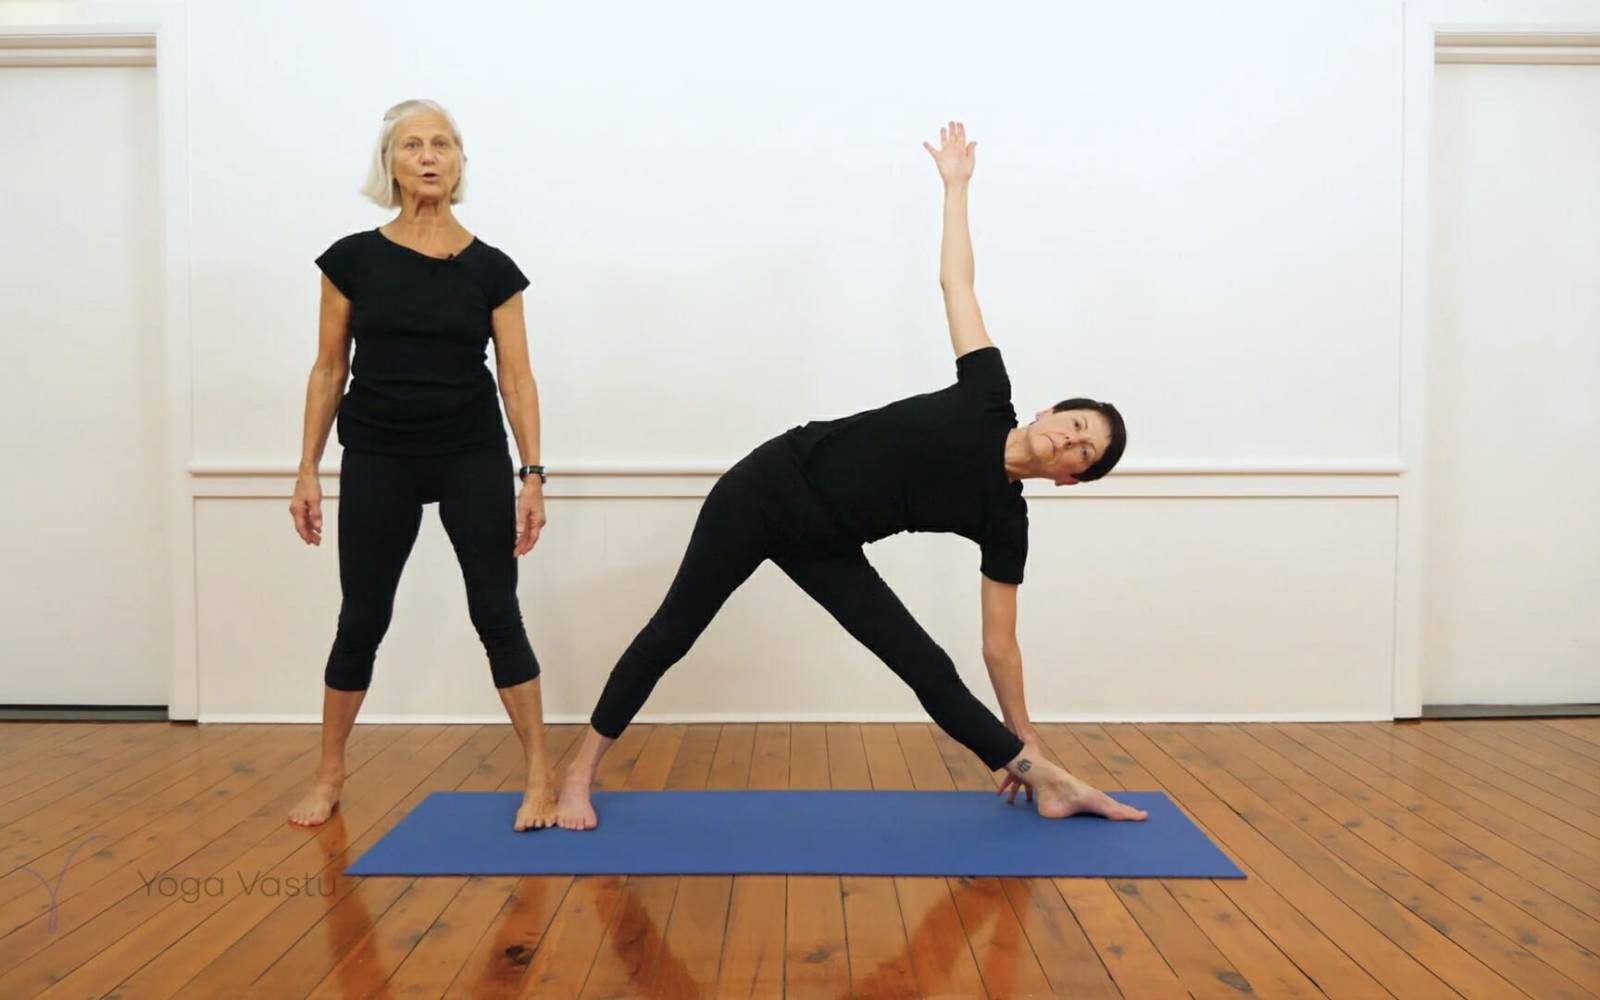
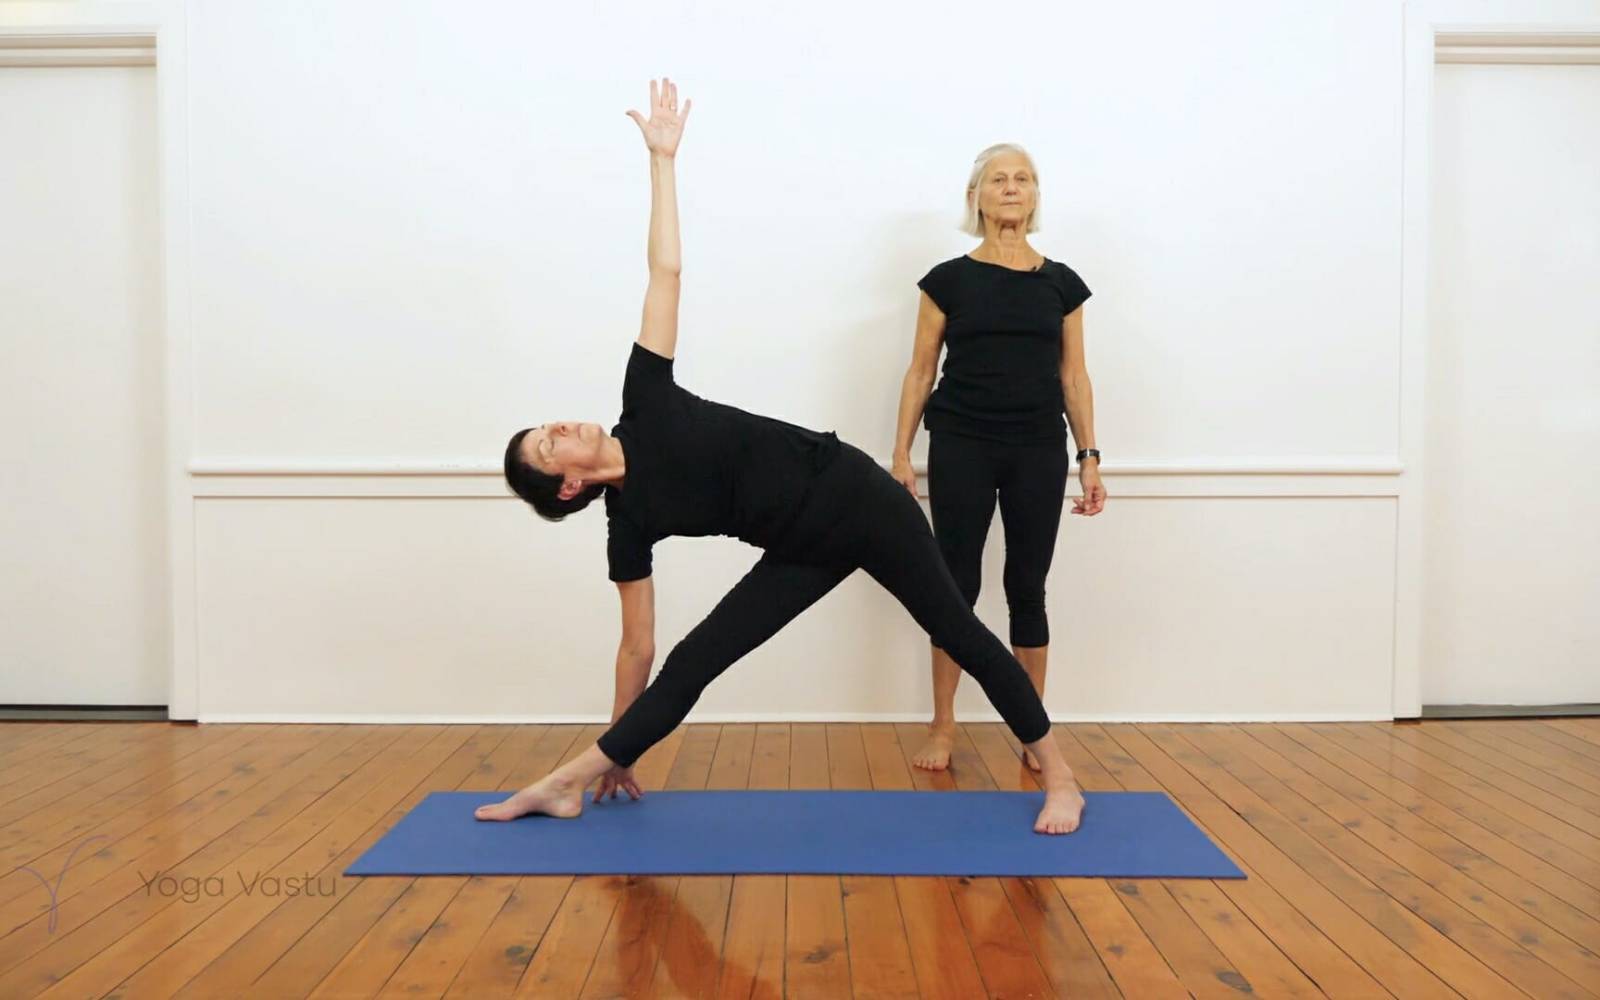
Trikonasana is our first full standing pose and it will start to give a sense of how our feet, legs, and hips are responding. Observe carefully your alignment as described and see what your body is telling you today. Correct the obvious imbalances and see what that brings to the pose.
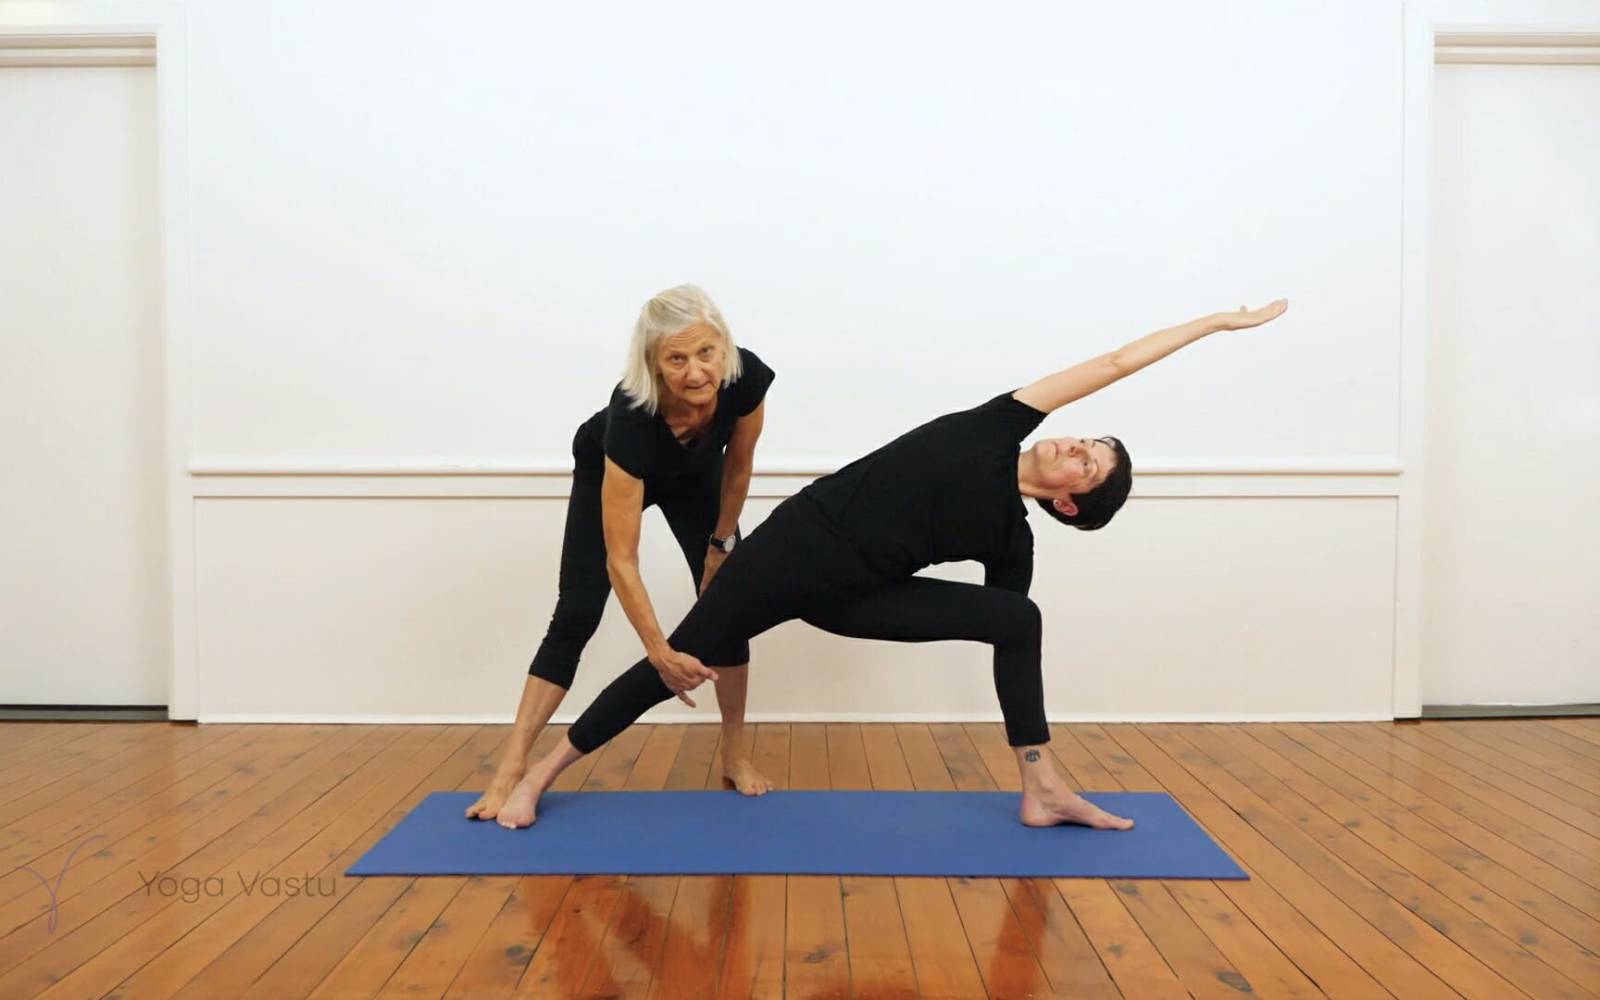
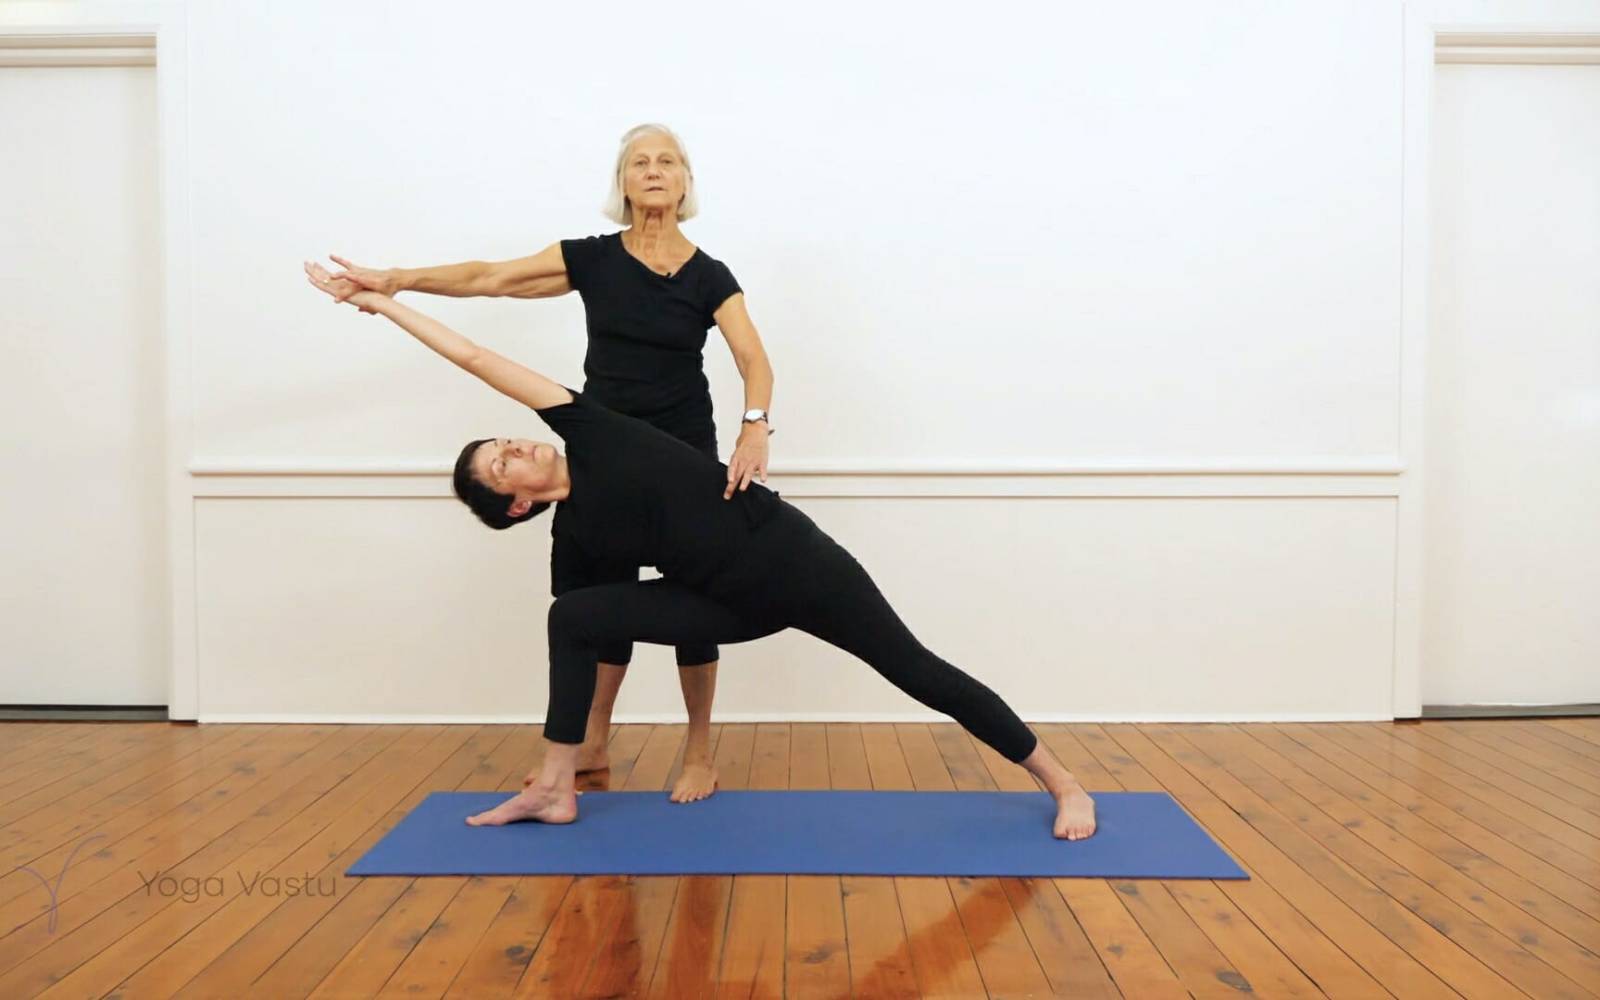
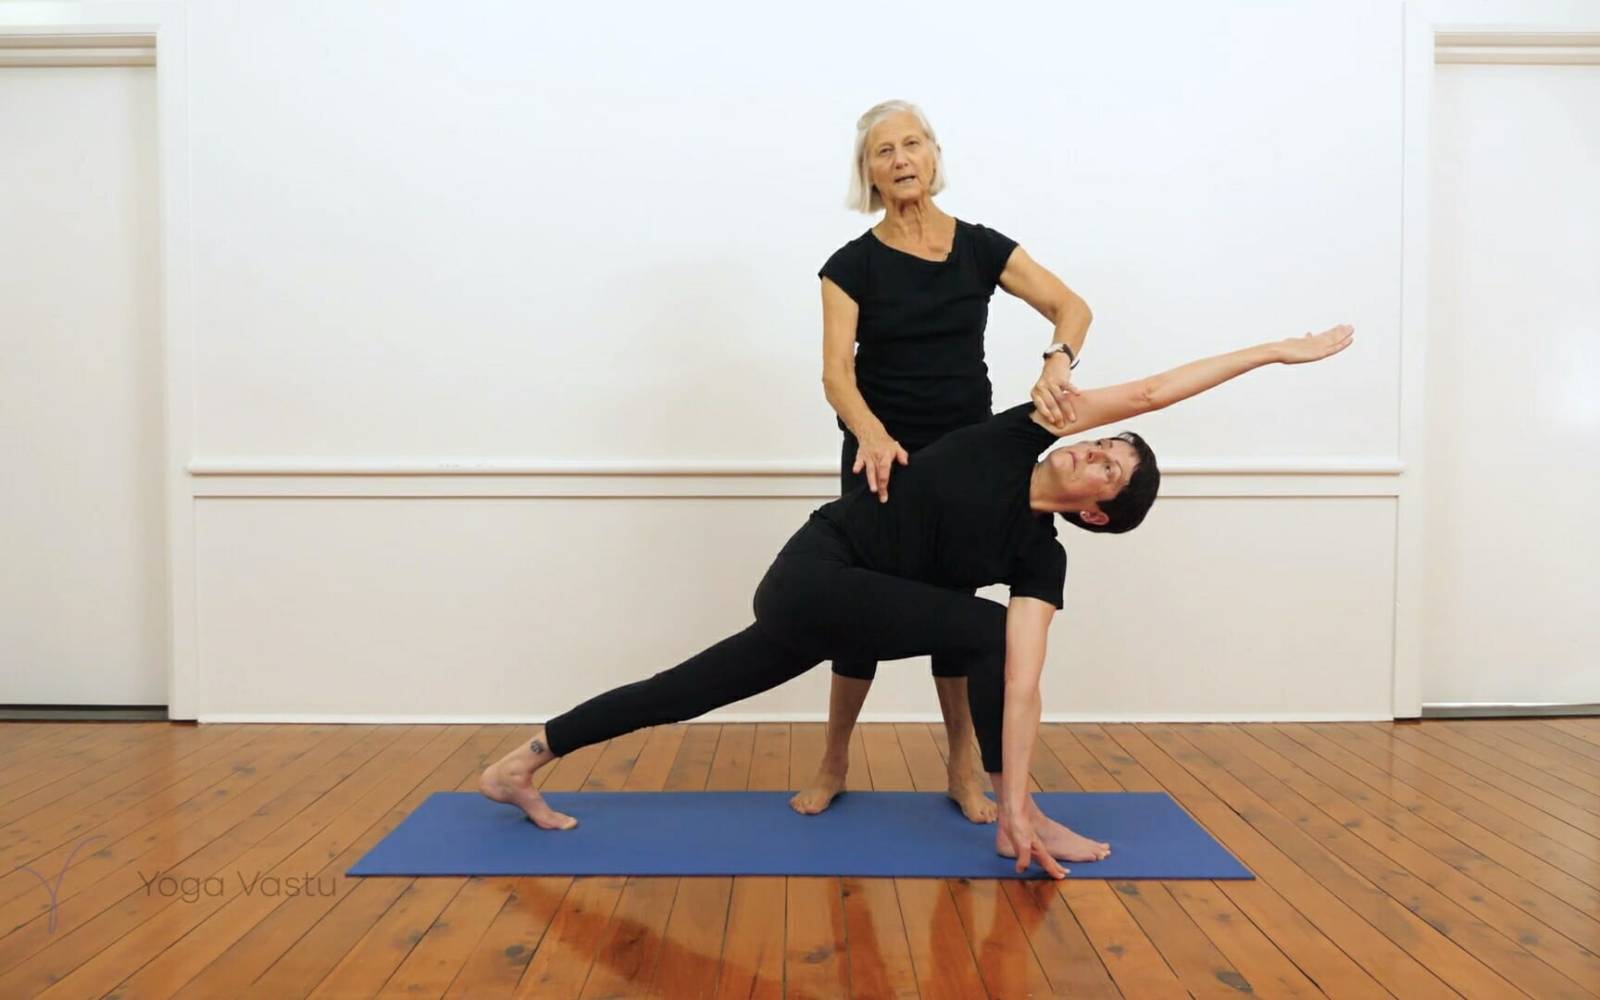
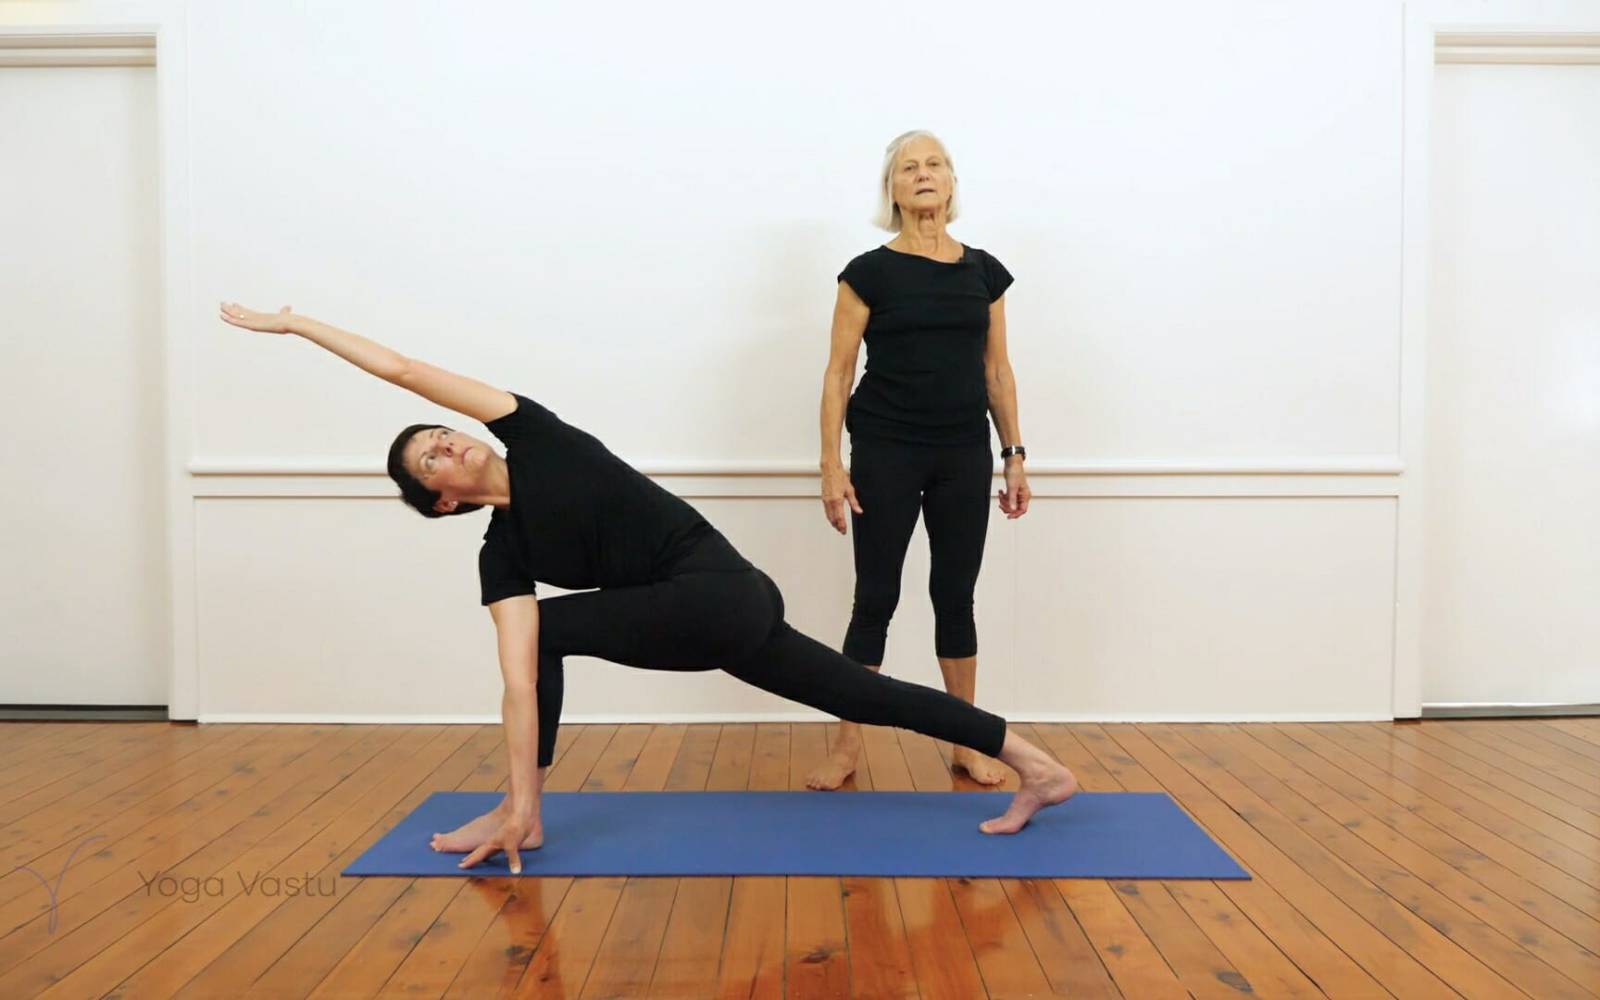
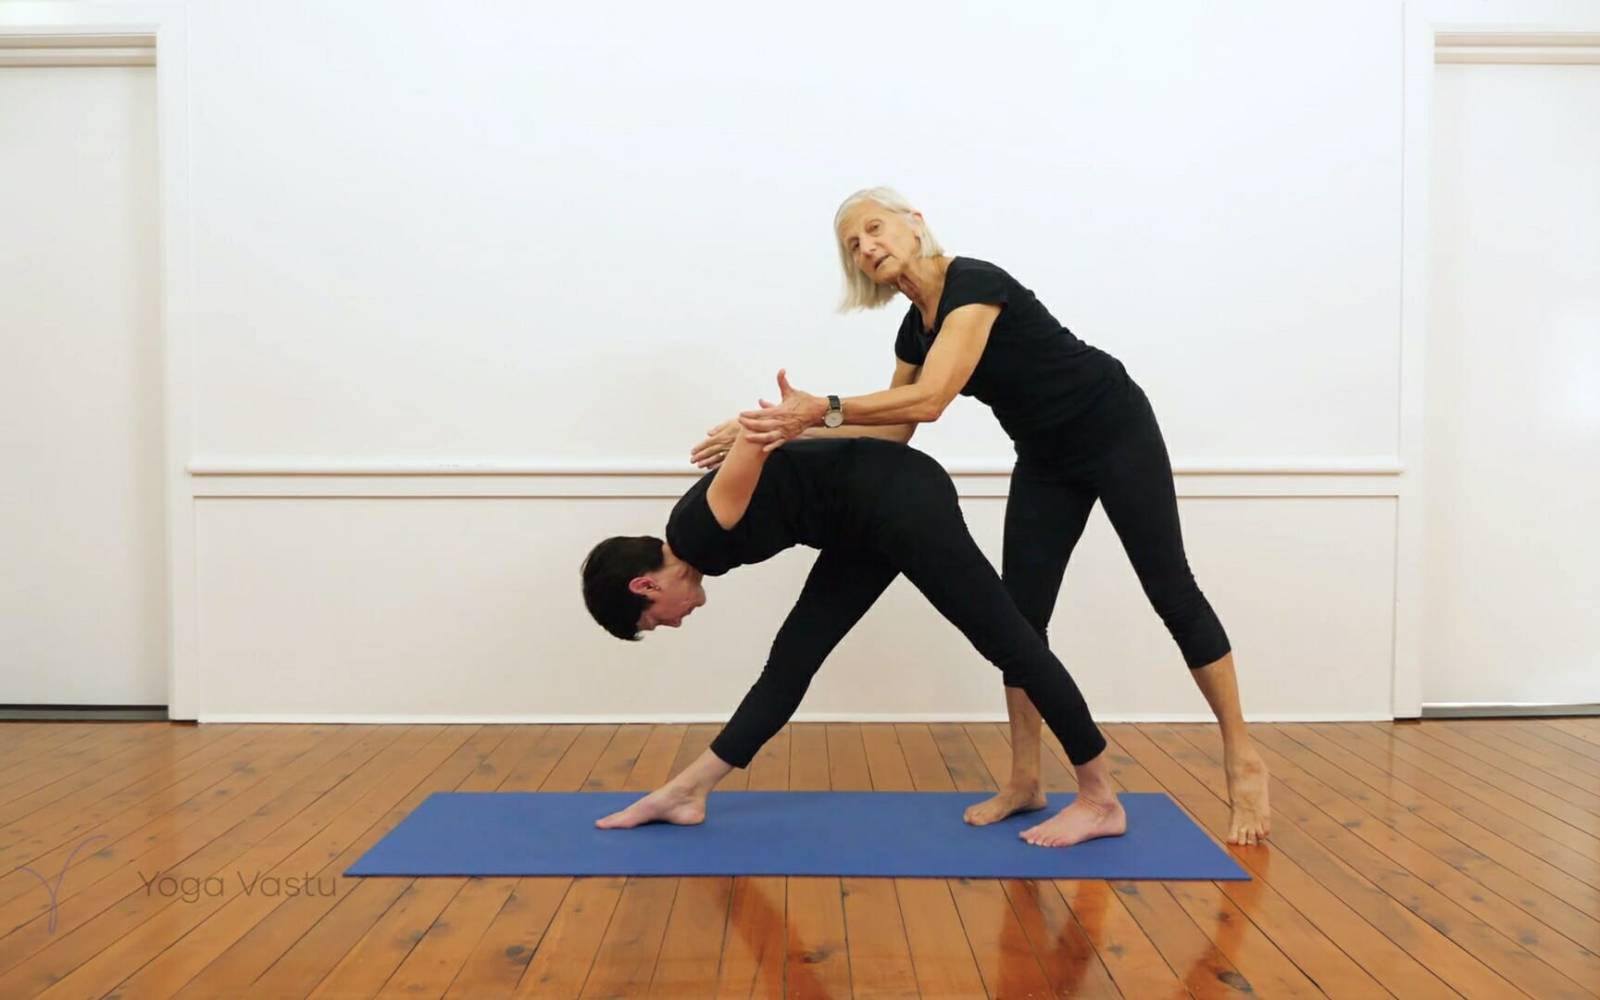
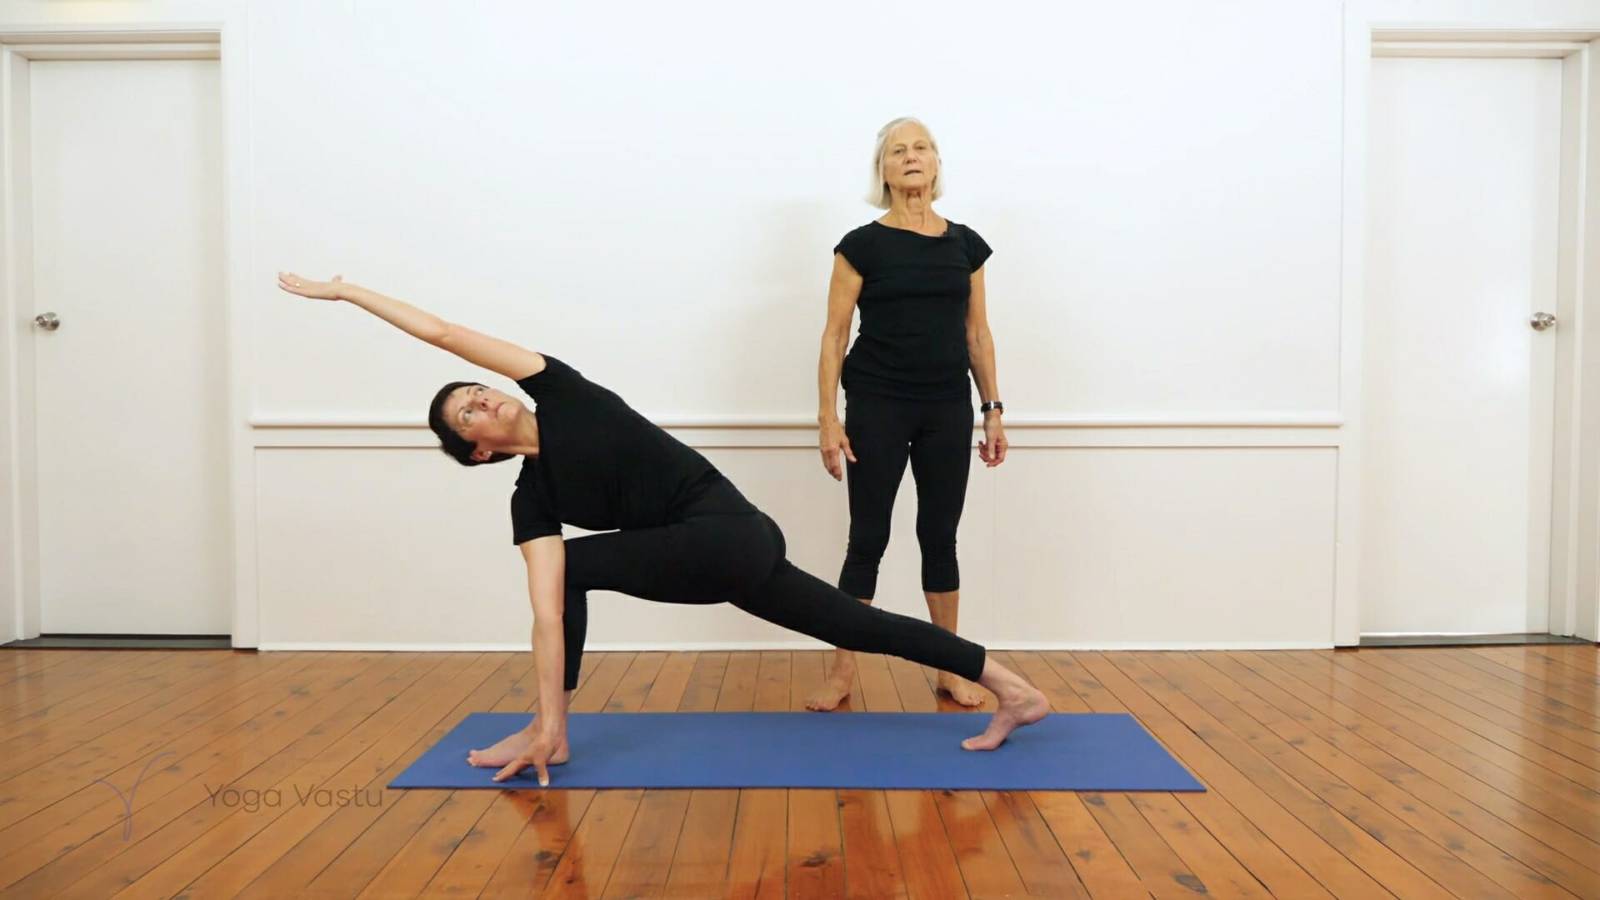
Parsva Konasana is second. Pay attention to the back outer foot and roll it down to anchor the back leg and to keep length on the inner leg, checking also the bend of the front knee and the upper arm extension. See what you can discover as you observe the different points given in the pose.
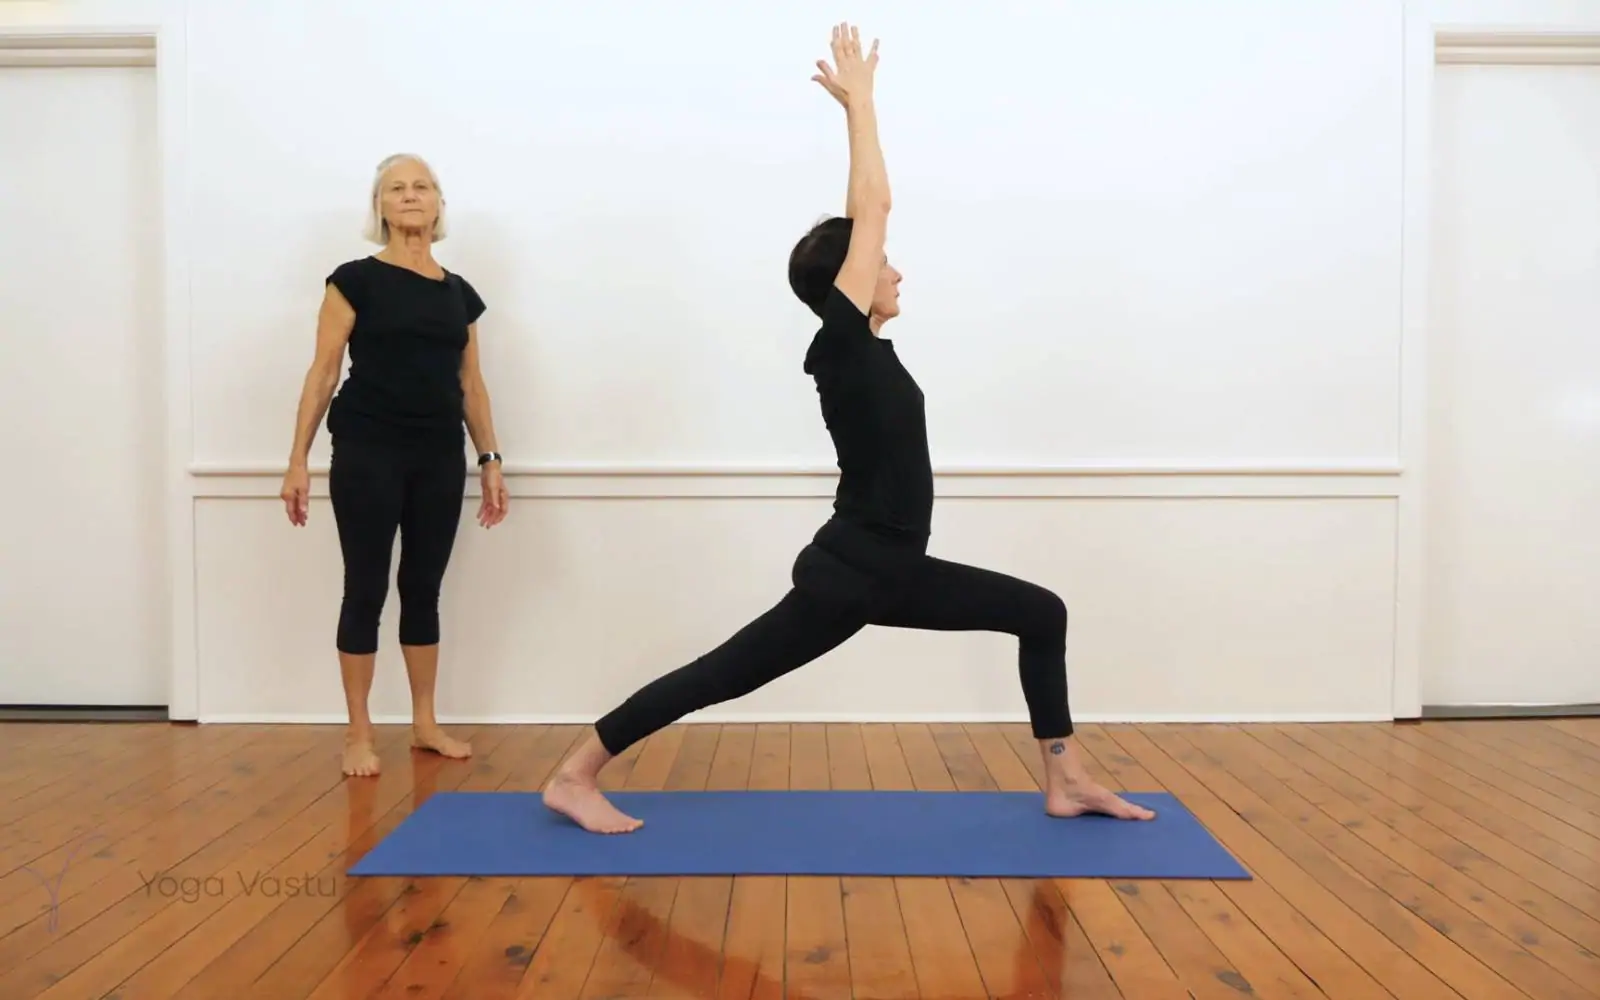
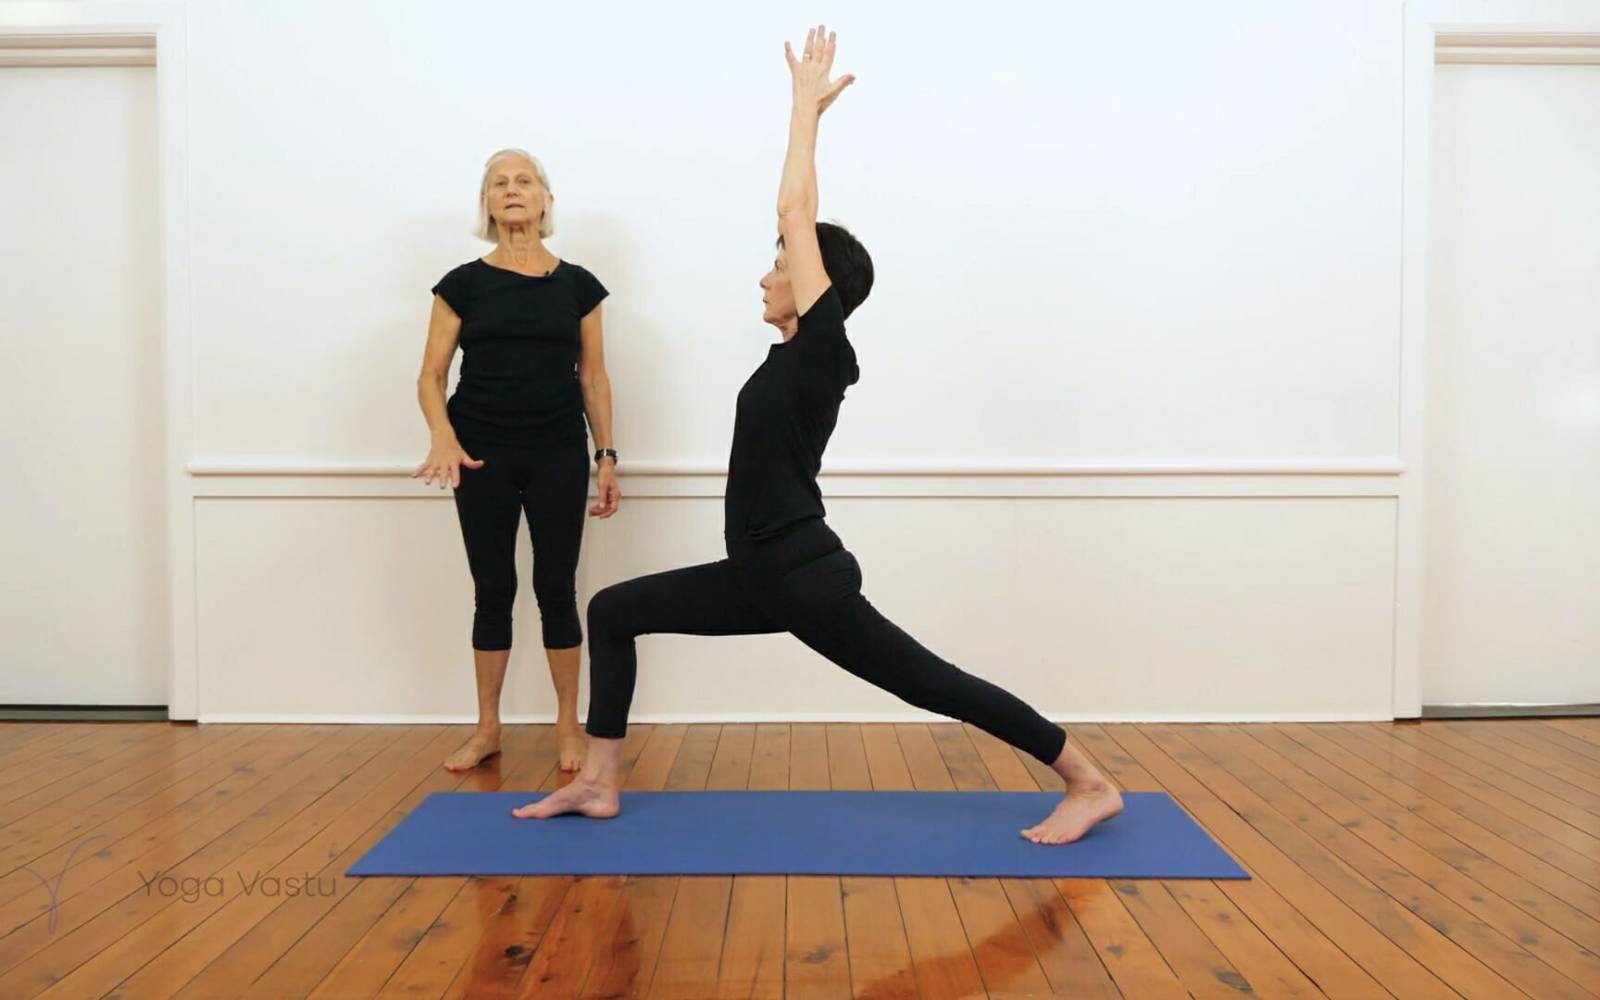
Virabhadrasana 1. Work to turn the pelvis fully so that the back hip turns to face forward, without bending the back knee. Lengthen the lumbar spine as you extend the arms up.
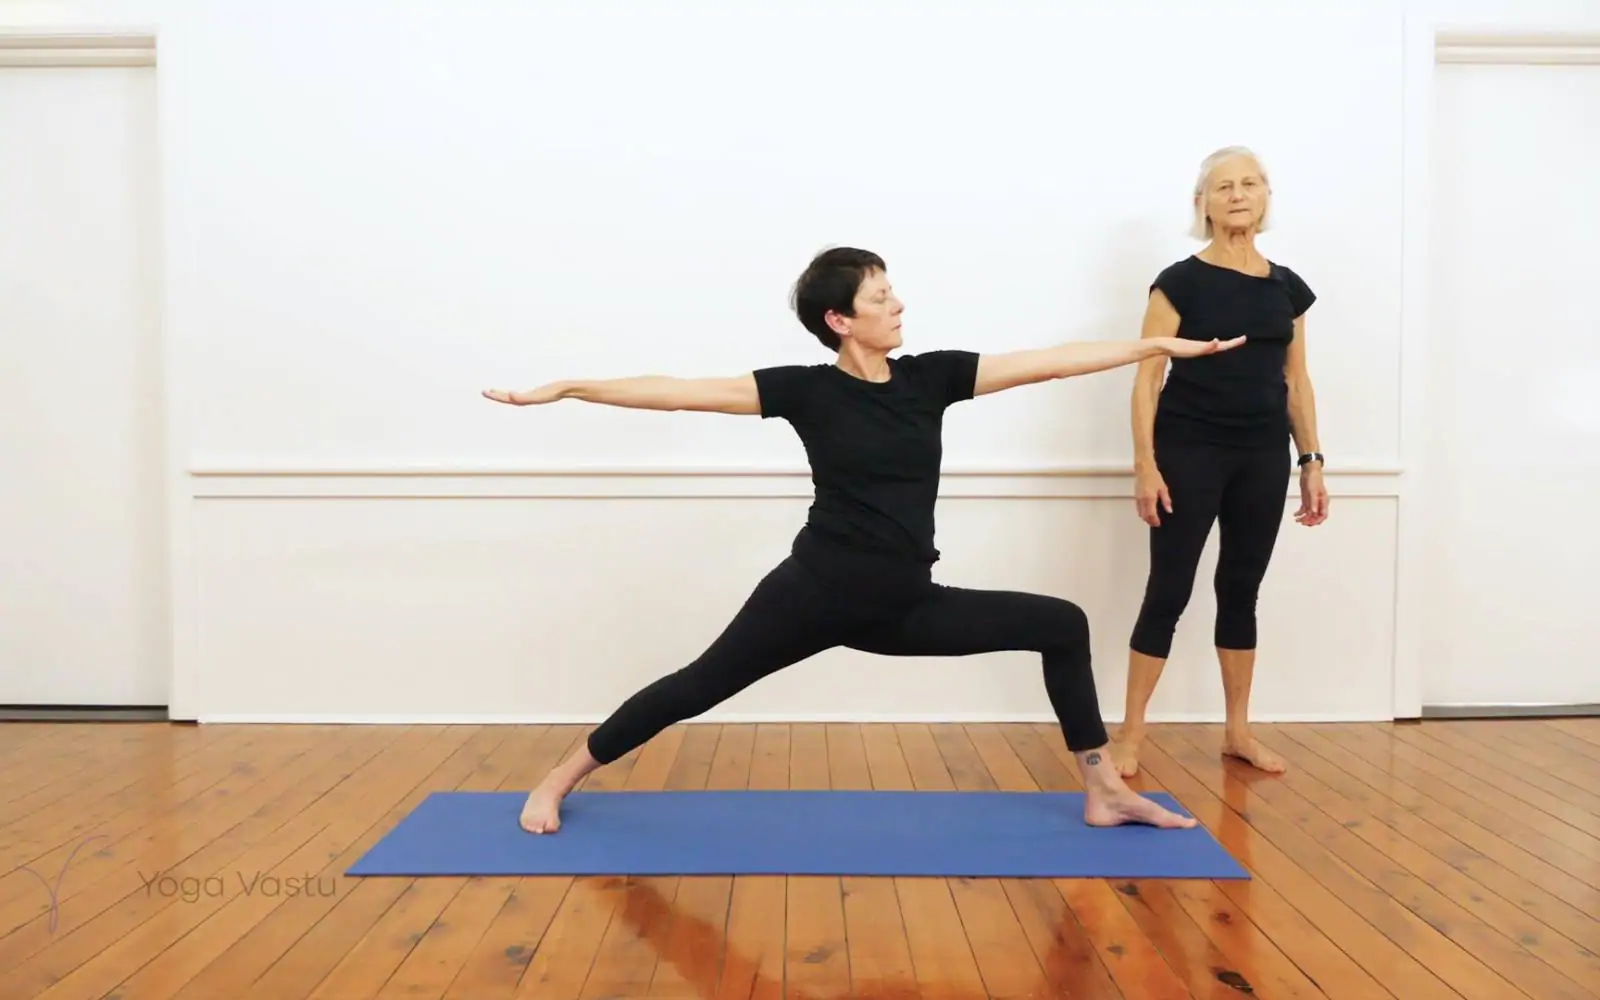
Virabhadrasana 2. Back to the lateral opening in the hips with full sidearm extension.
A short rest in Uttanasana to quieten the face and breath.
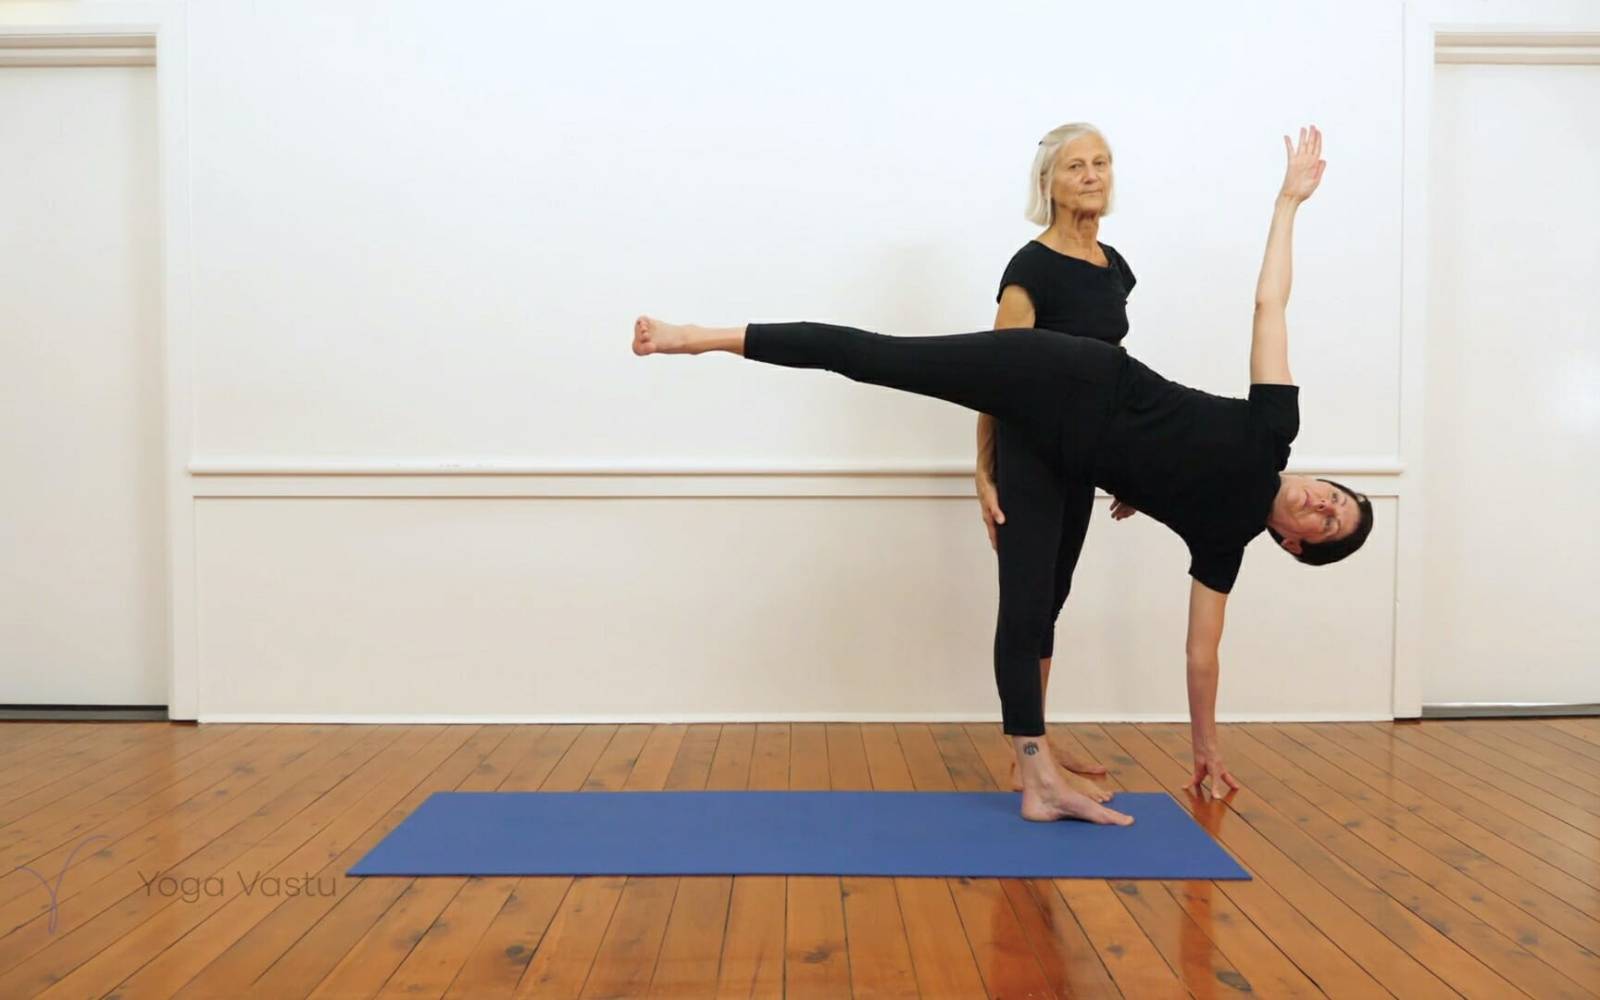
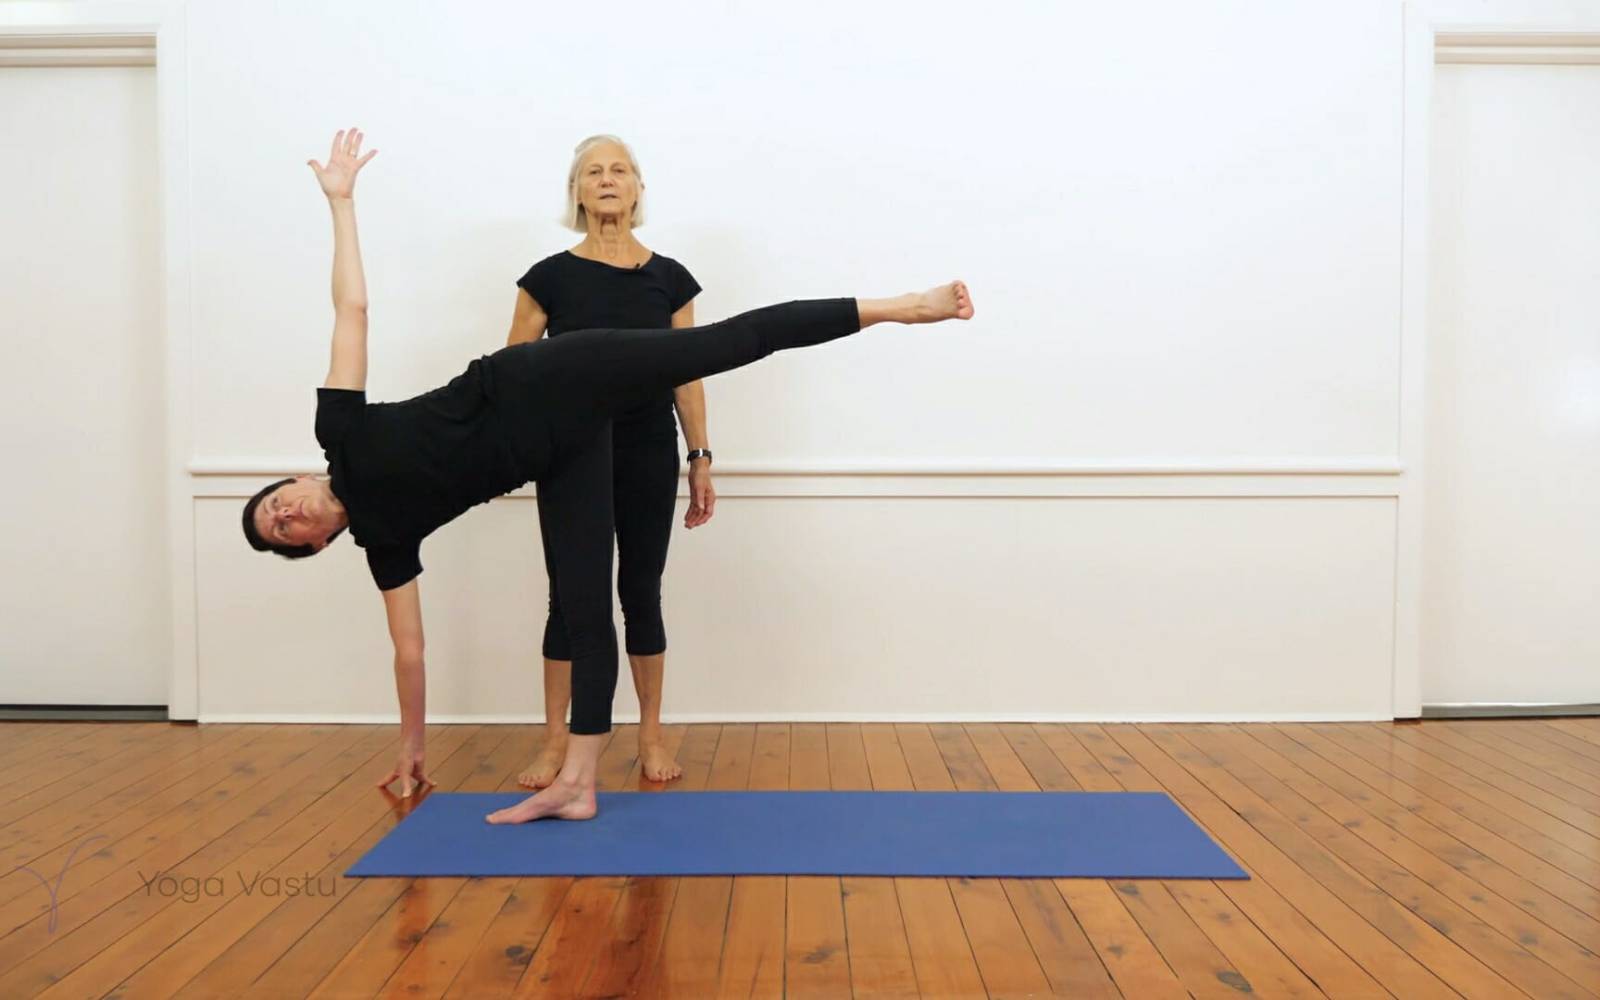
Balancing on one leg now: Ardha Chandrasana – what can you feel in the back leg that you can’t see? How much should it lift to bring a balanced action? Can you also start to turn your eyes forward and then up without losing your balance and orientation?
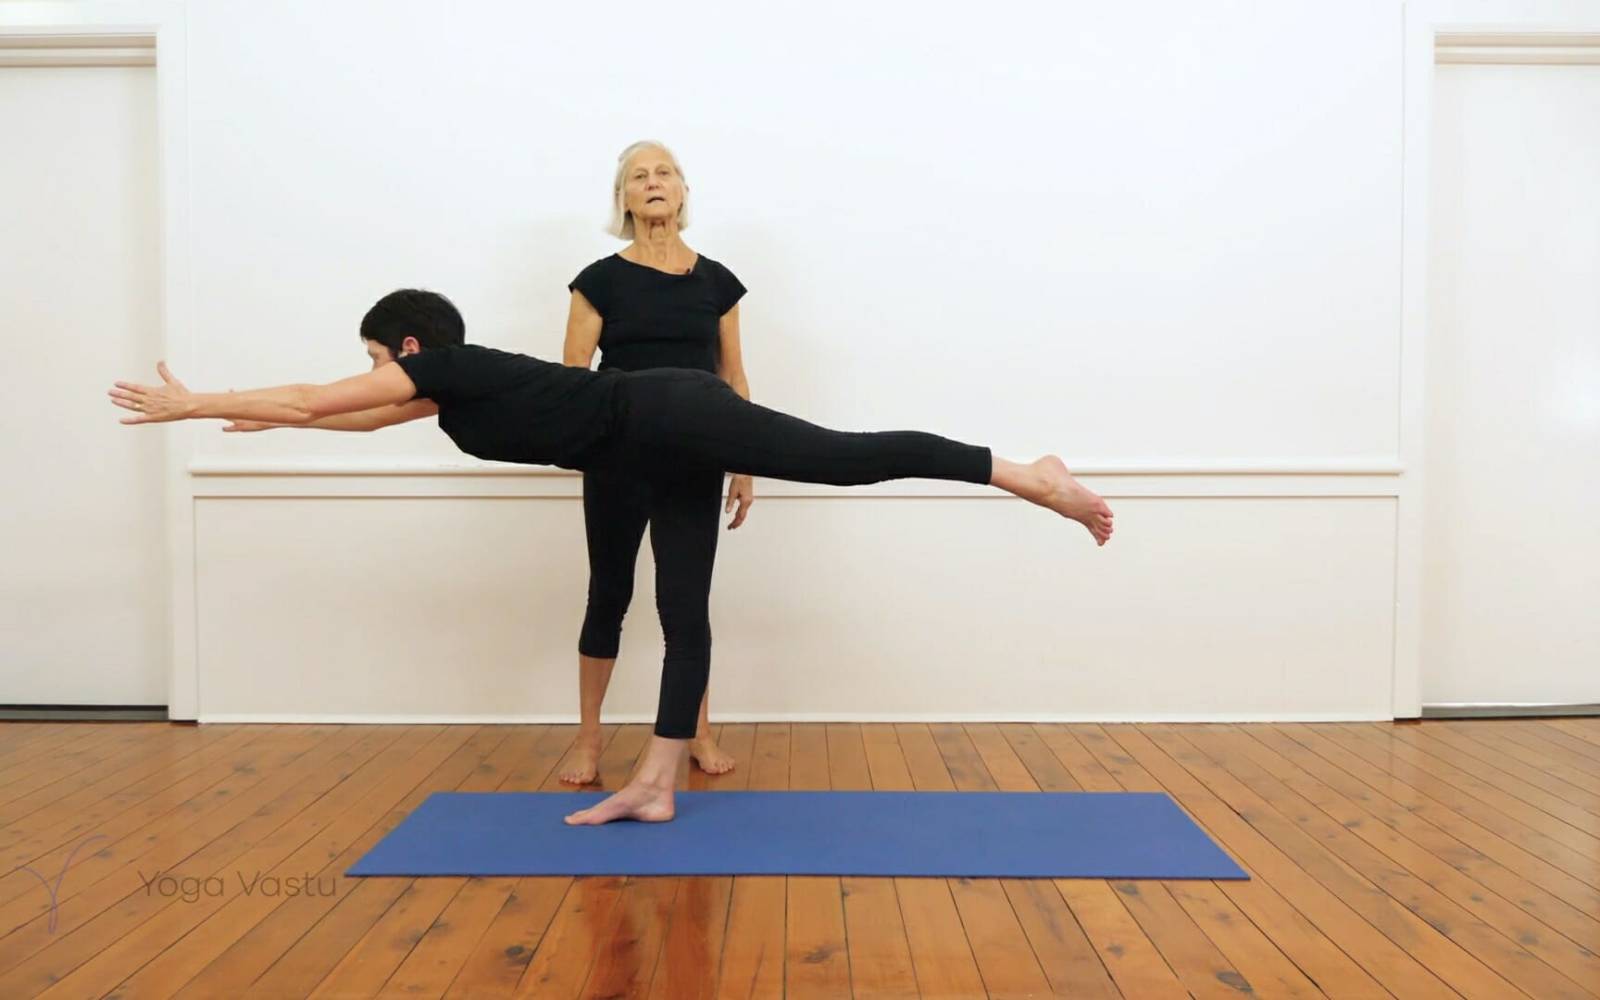
Virabhadrasana 3. Identify where the balance is getting lost, how even the two hips are in the pose, and if you can bring your chest parallel to the floor with your sternum extending well forward.
Twisting standing poses: Parivrtta Trikonasana and Parivrtta Parsva Konasana.
The first has a shorter leg distance and is a bit more open. You may feel the rotation more in the lower abdomen. Parivrtta Parsva Konasana will seem to challenge the dorsal and shoulders more, but notice how much the hips condition the turn of the upper body.
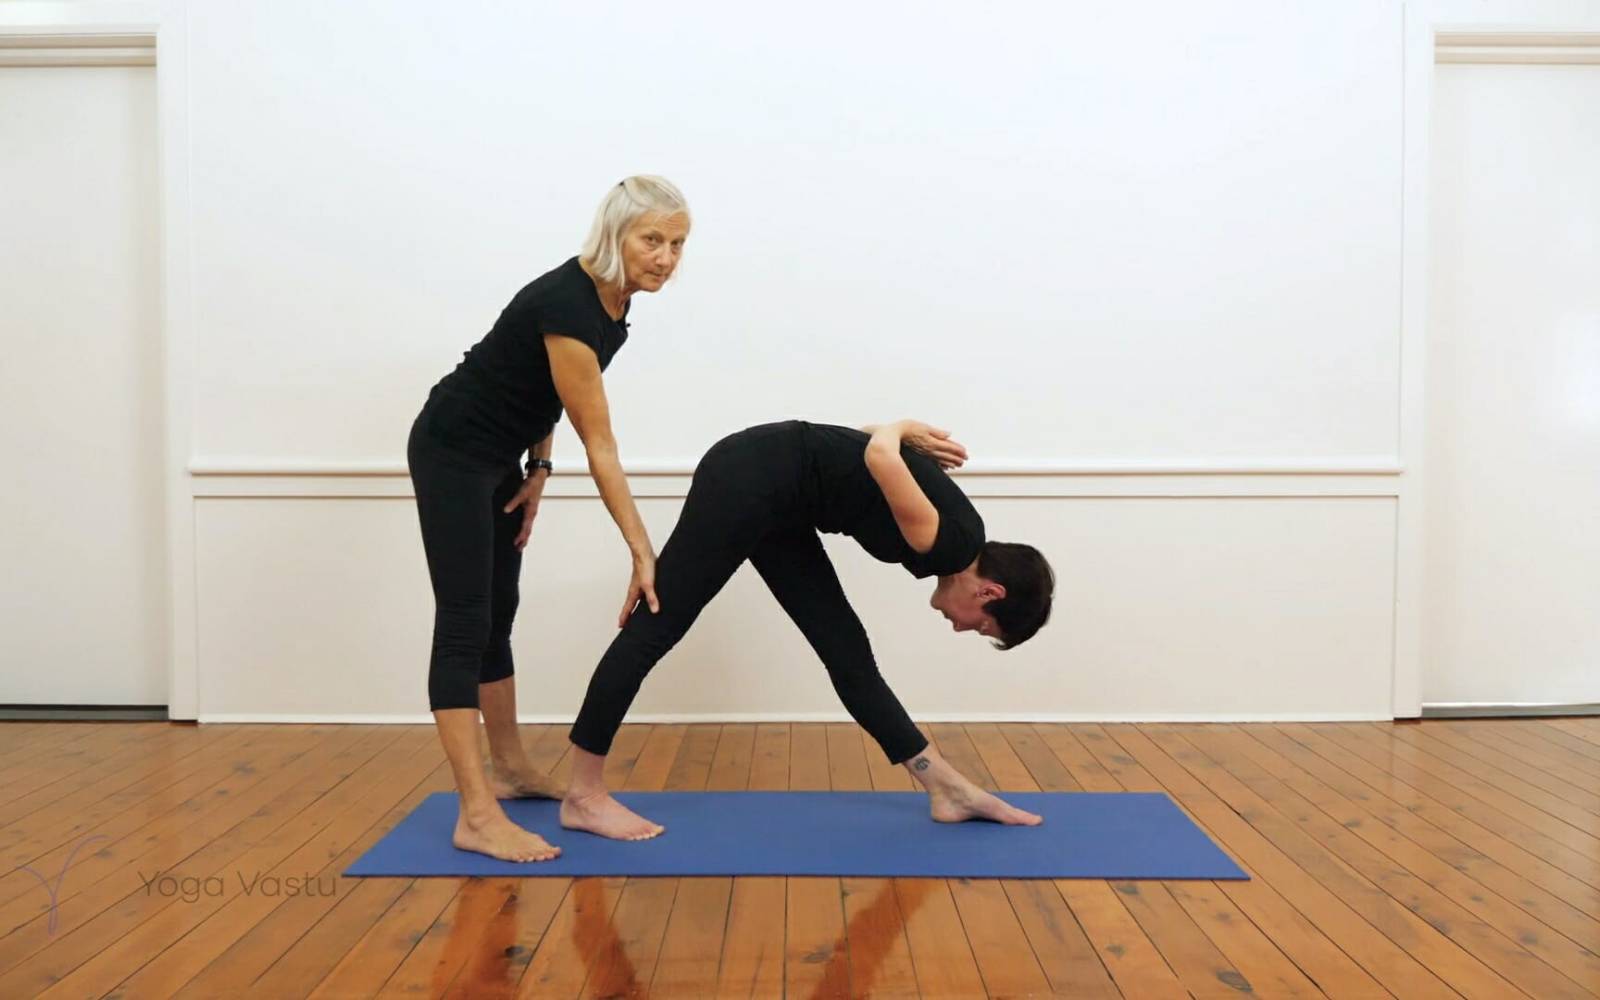
Forward Standing poses to finish: Parsvottanasana with hands in Namaskar. The legs will need to hold well as you bend forward with the hands behind the back but the head, the neck, and the upper body get released and quietened.
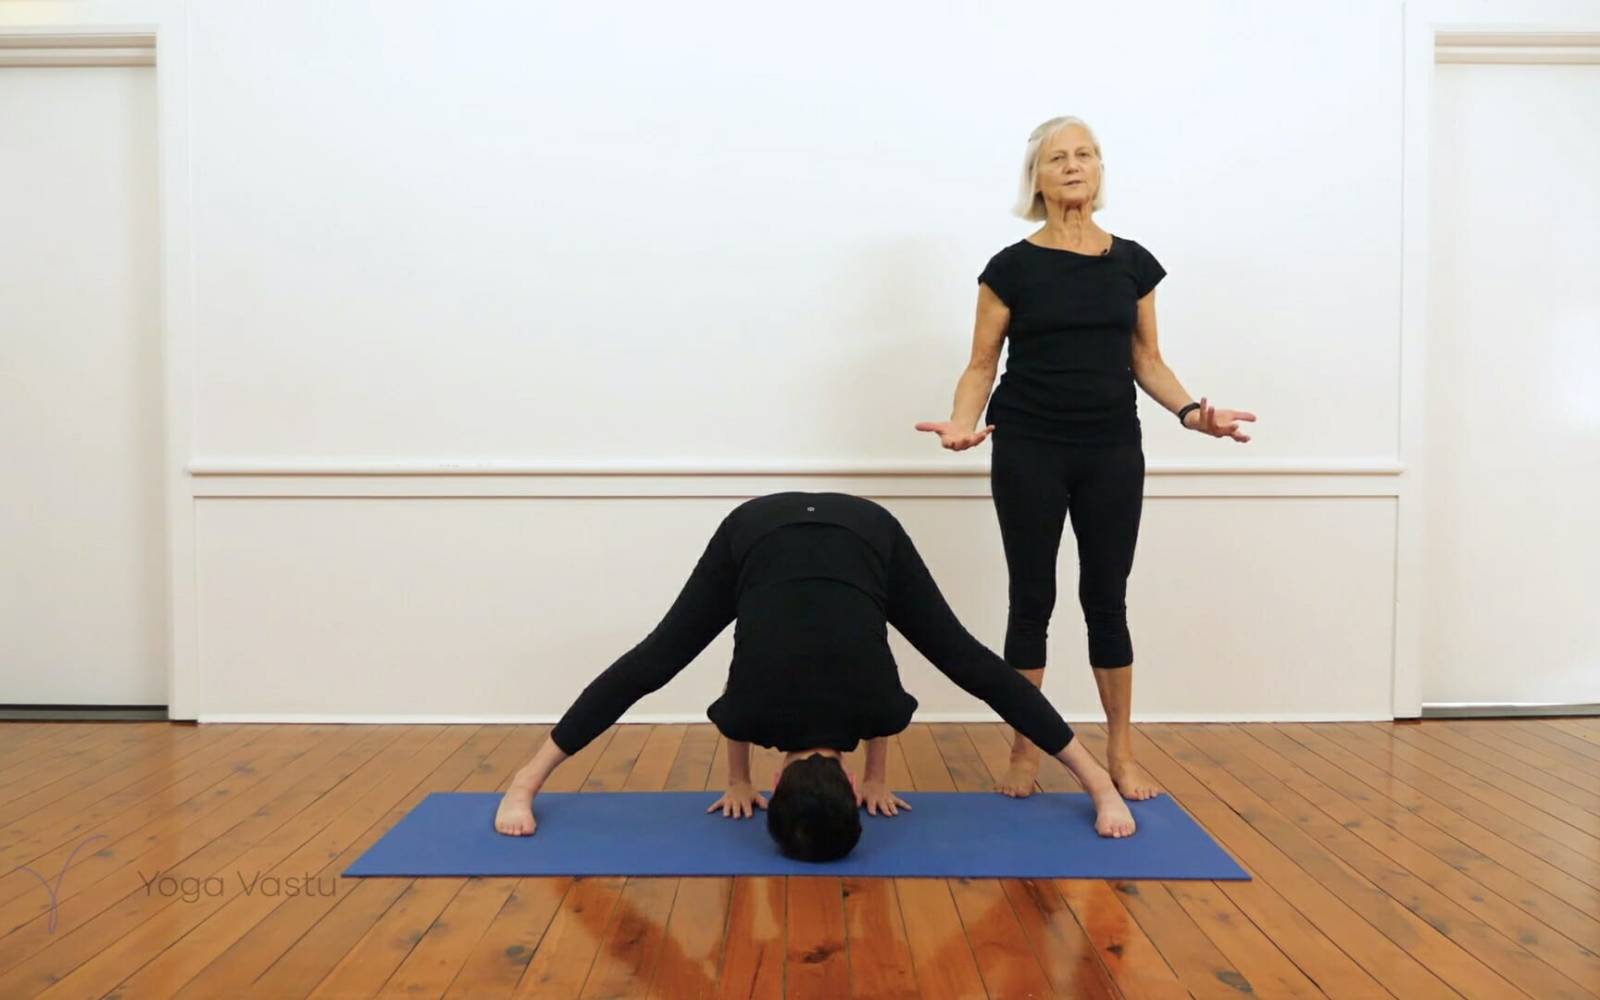
Prasarita Padottonasana is stable and balanced, and the head will now come down directly towards the floor, as in a semi inversion. The breath can normalise here whilst still working strongly in the legs to hold.
Rest the legs in Supta Virasana, using less height than in a full restorative version, according to your capacity. The aim here is to get length through the front of the thighs and trunk. This will release any hardness in the leg muscles that may have come in the standing poses.
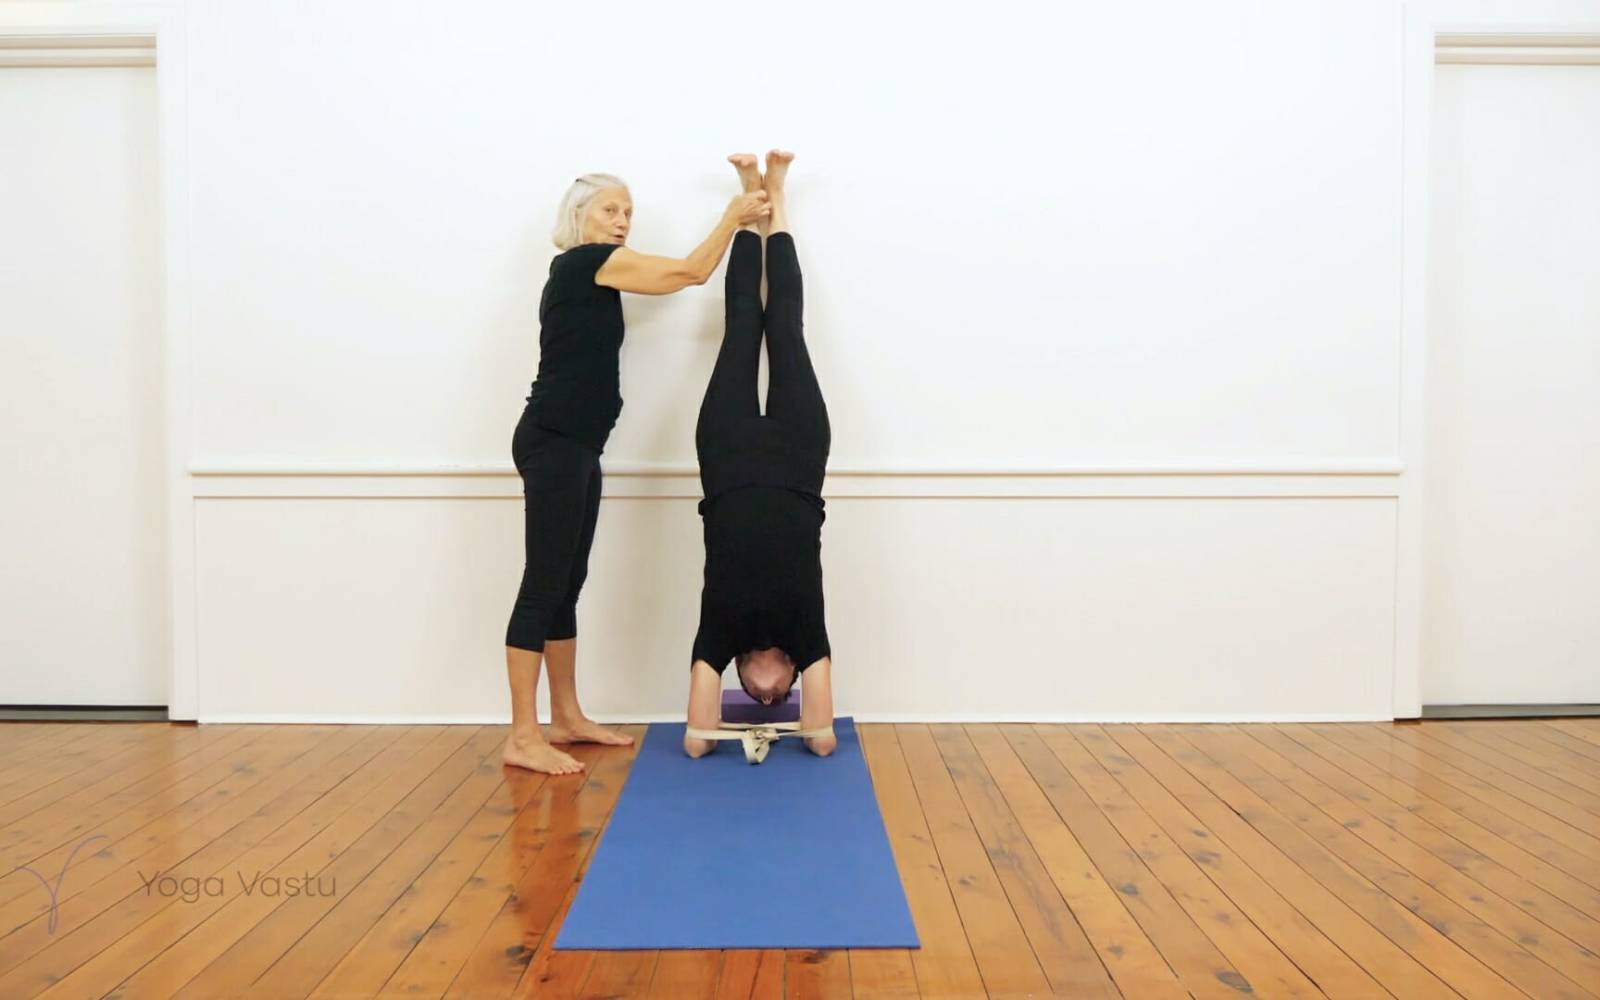
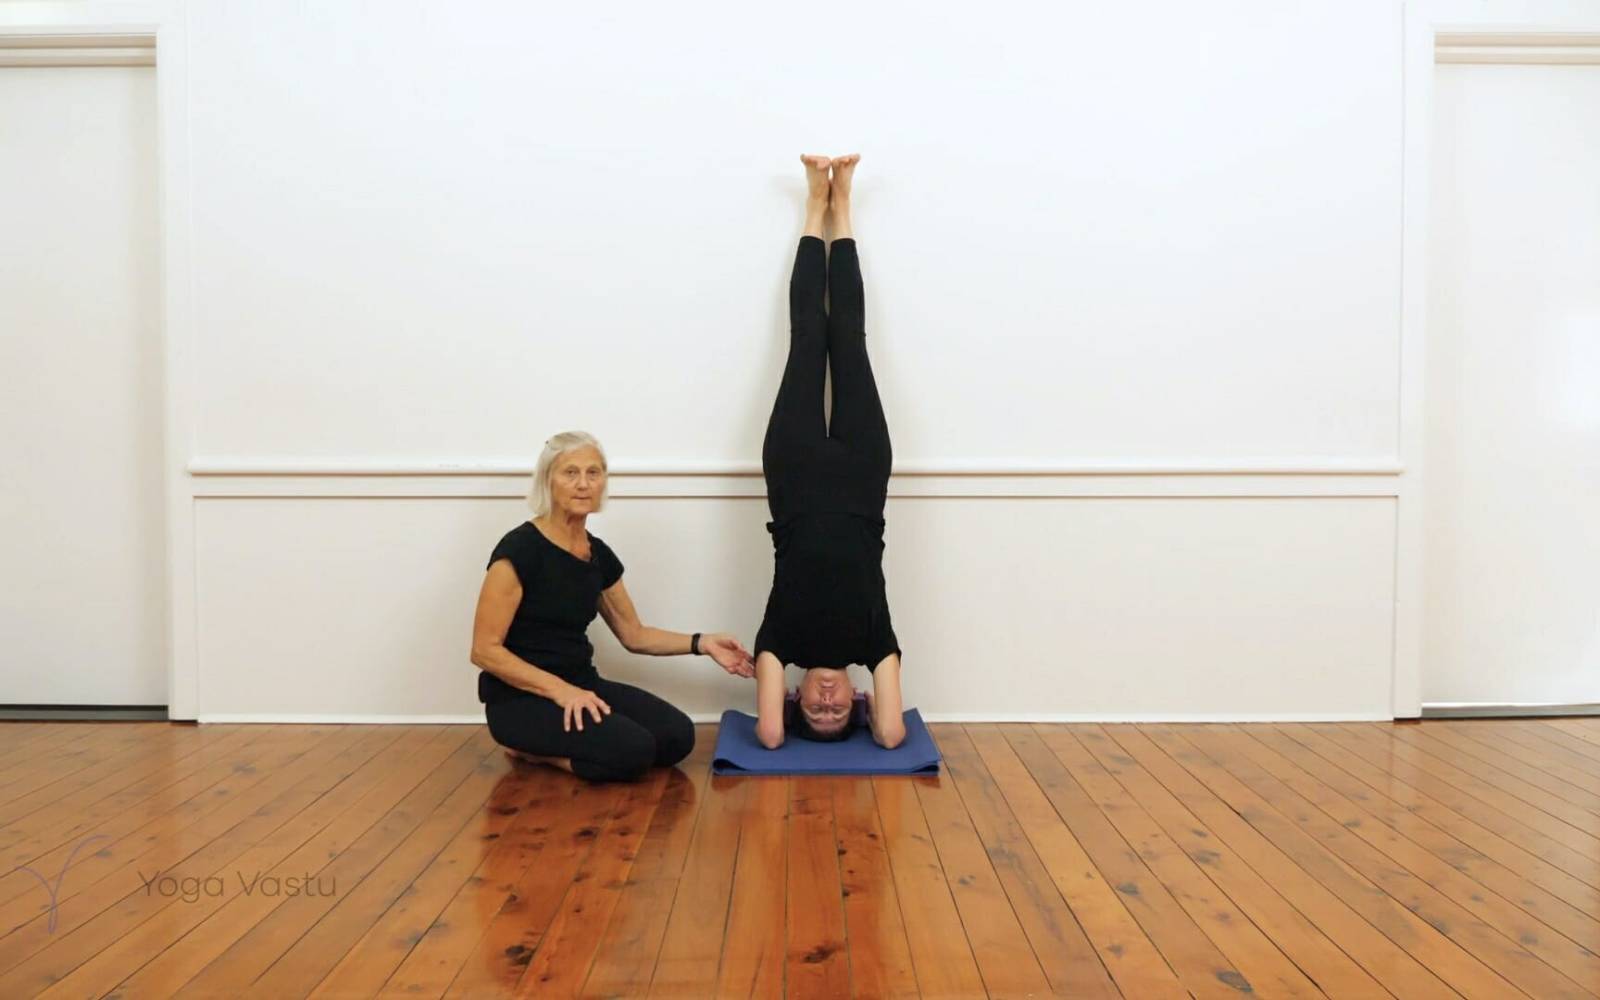
Sirsasana straight pose, using the wall if you feel you need that support.
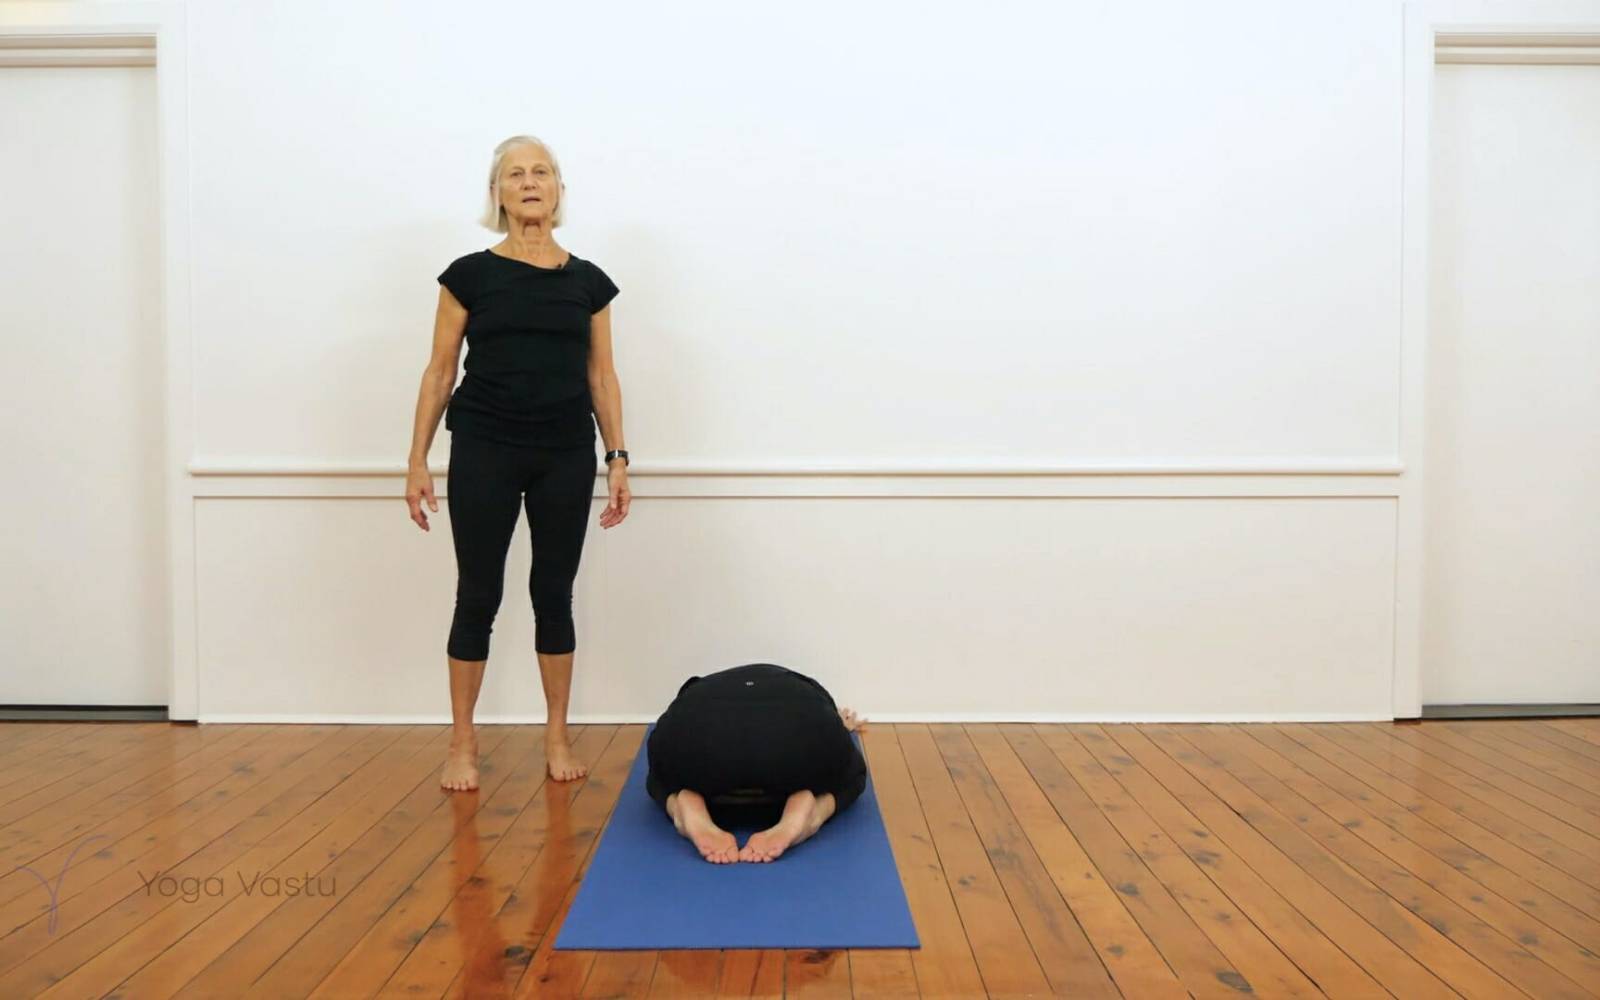
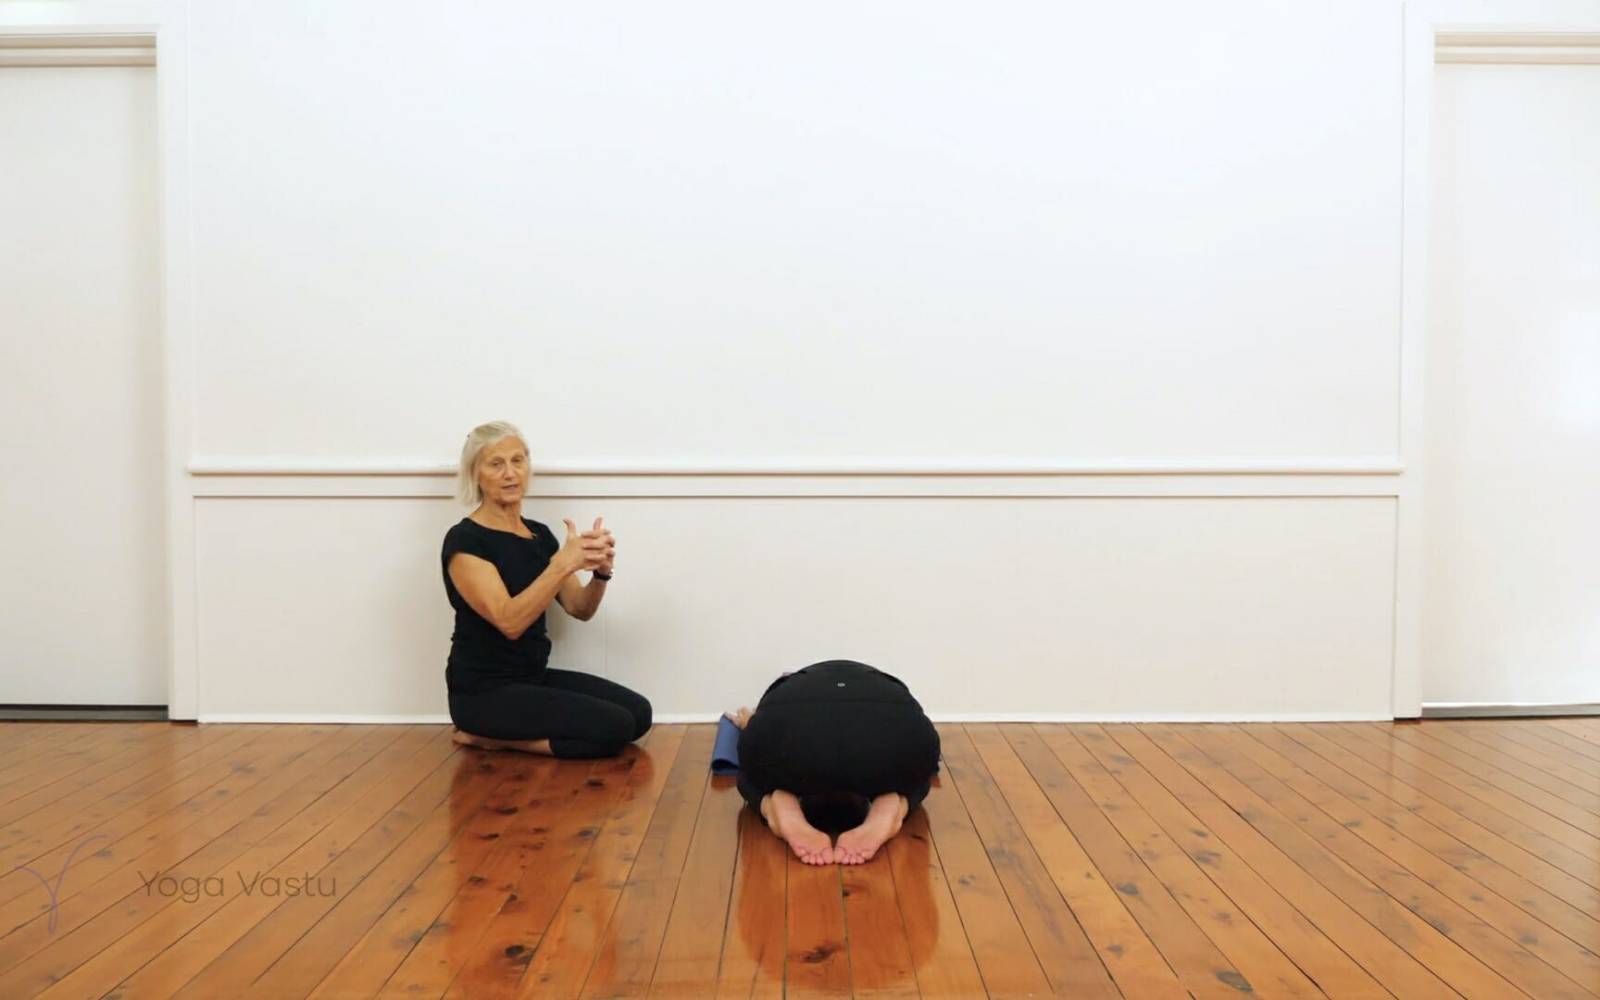
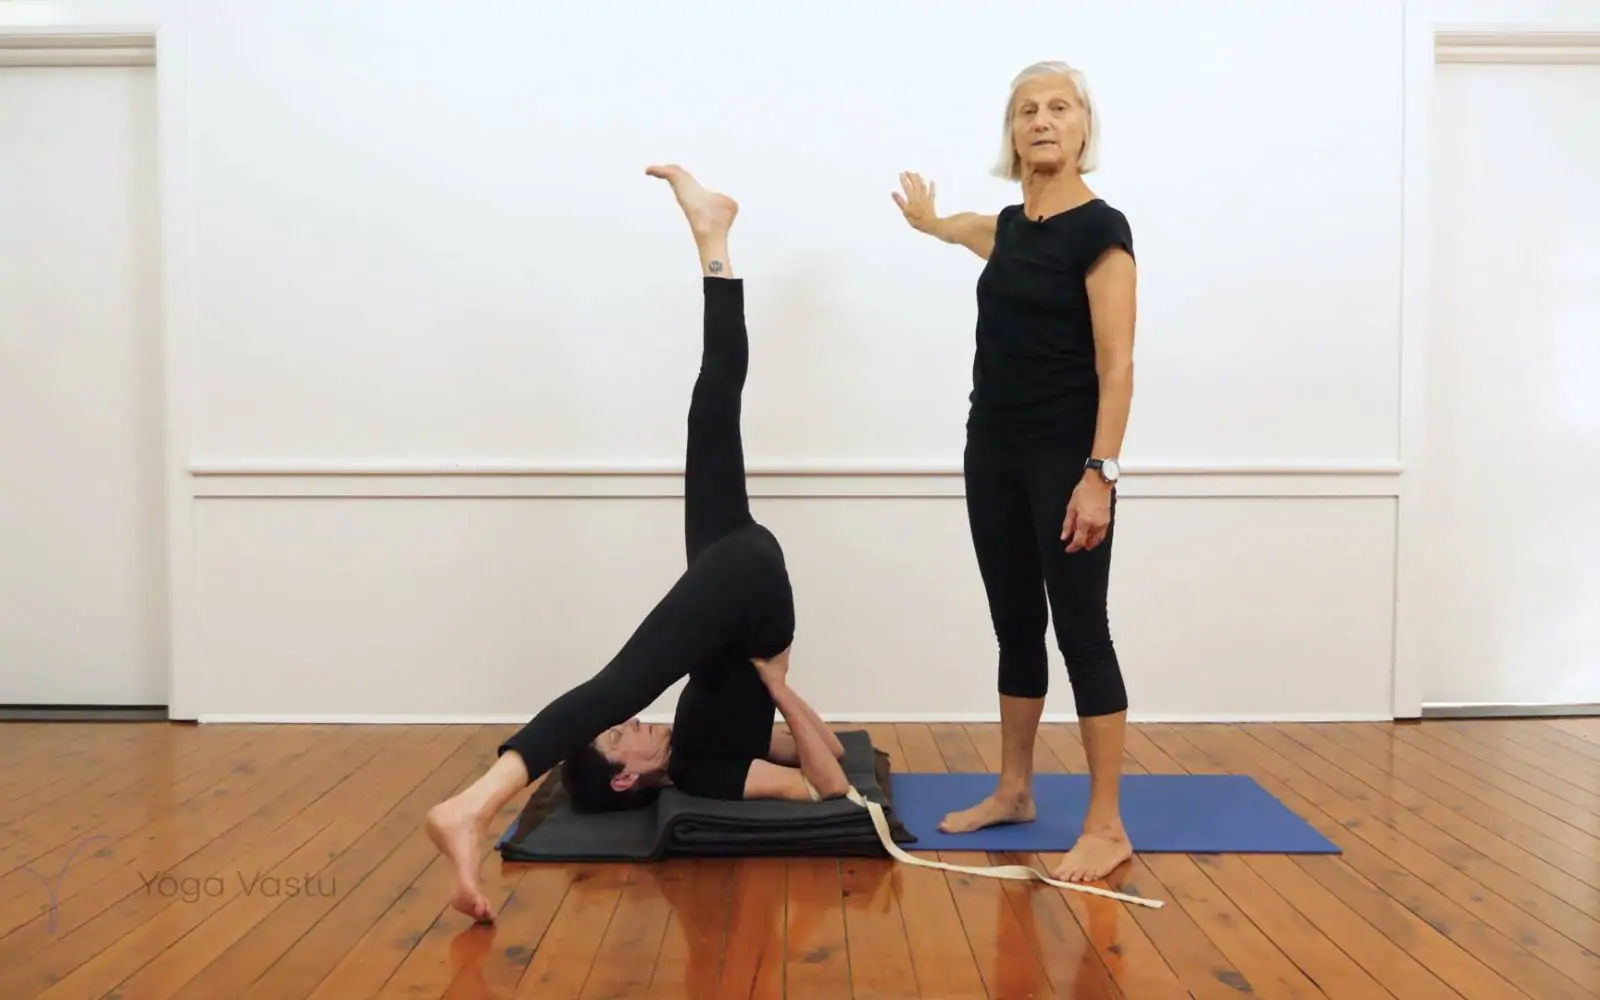
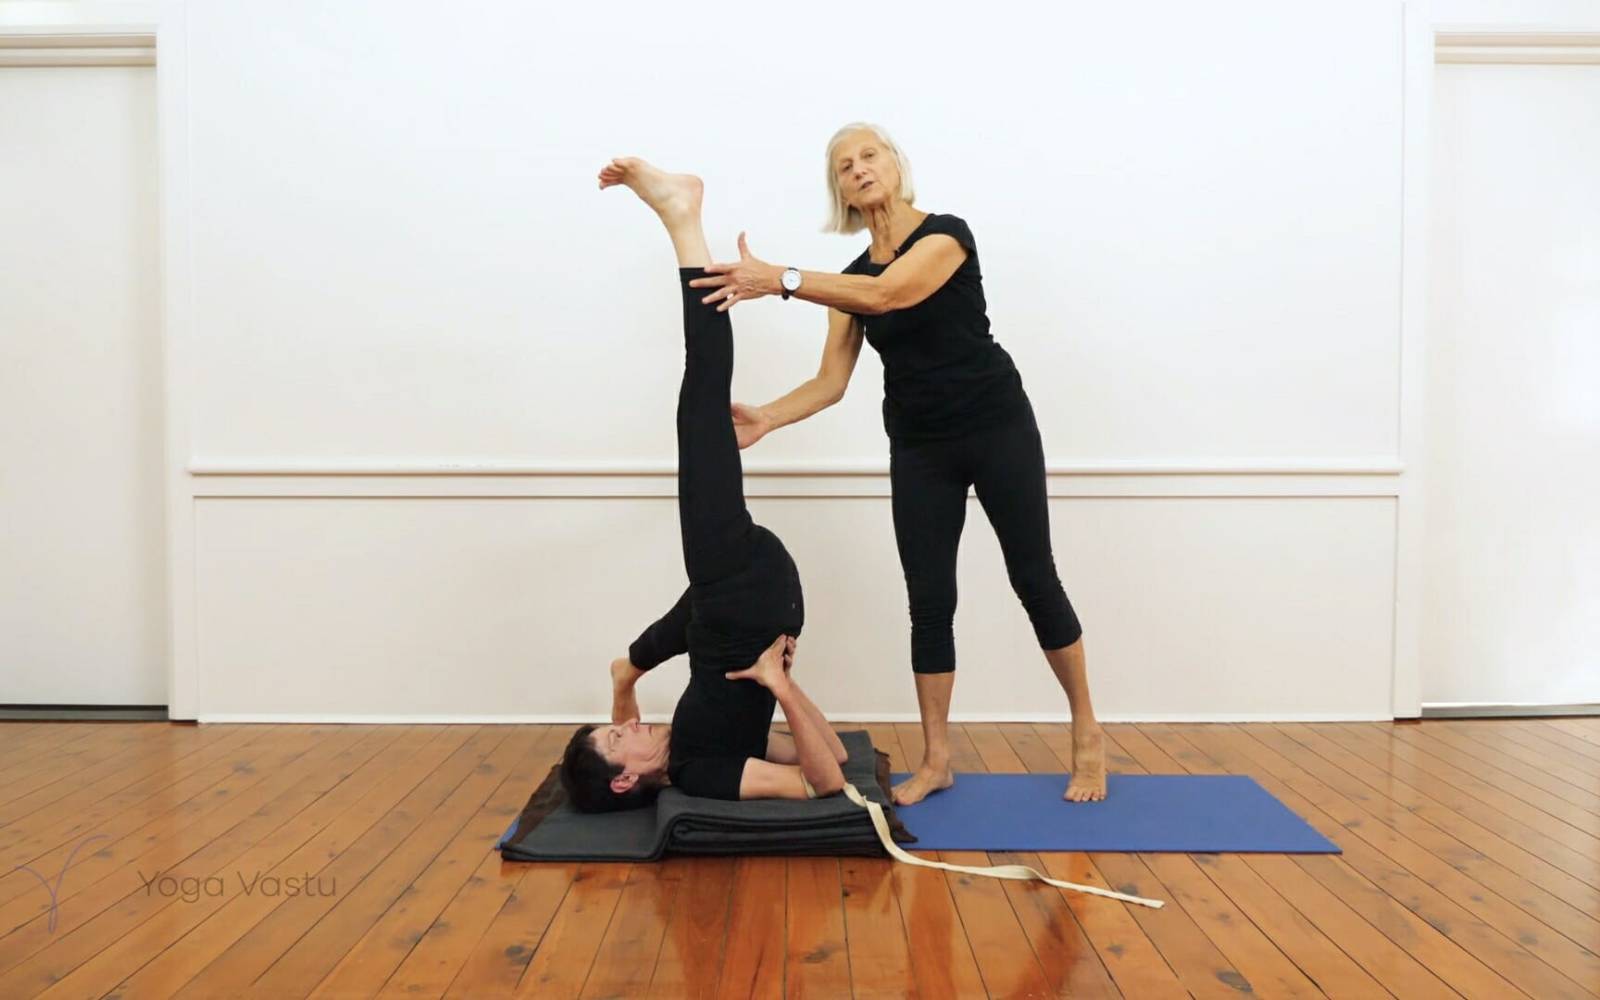
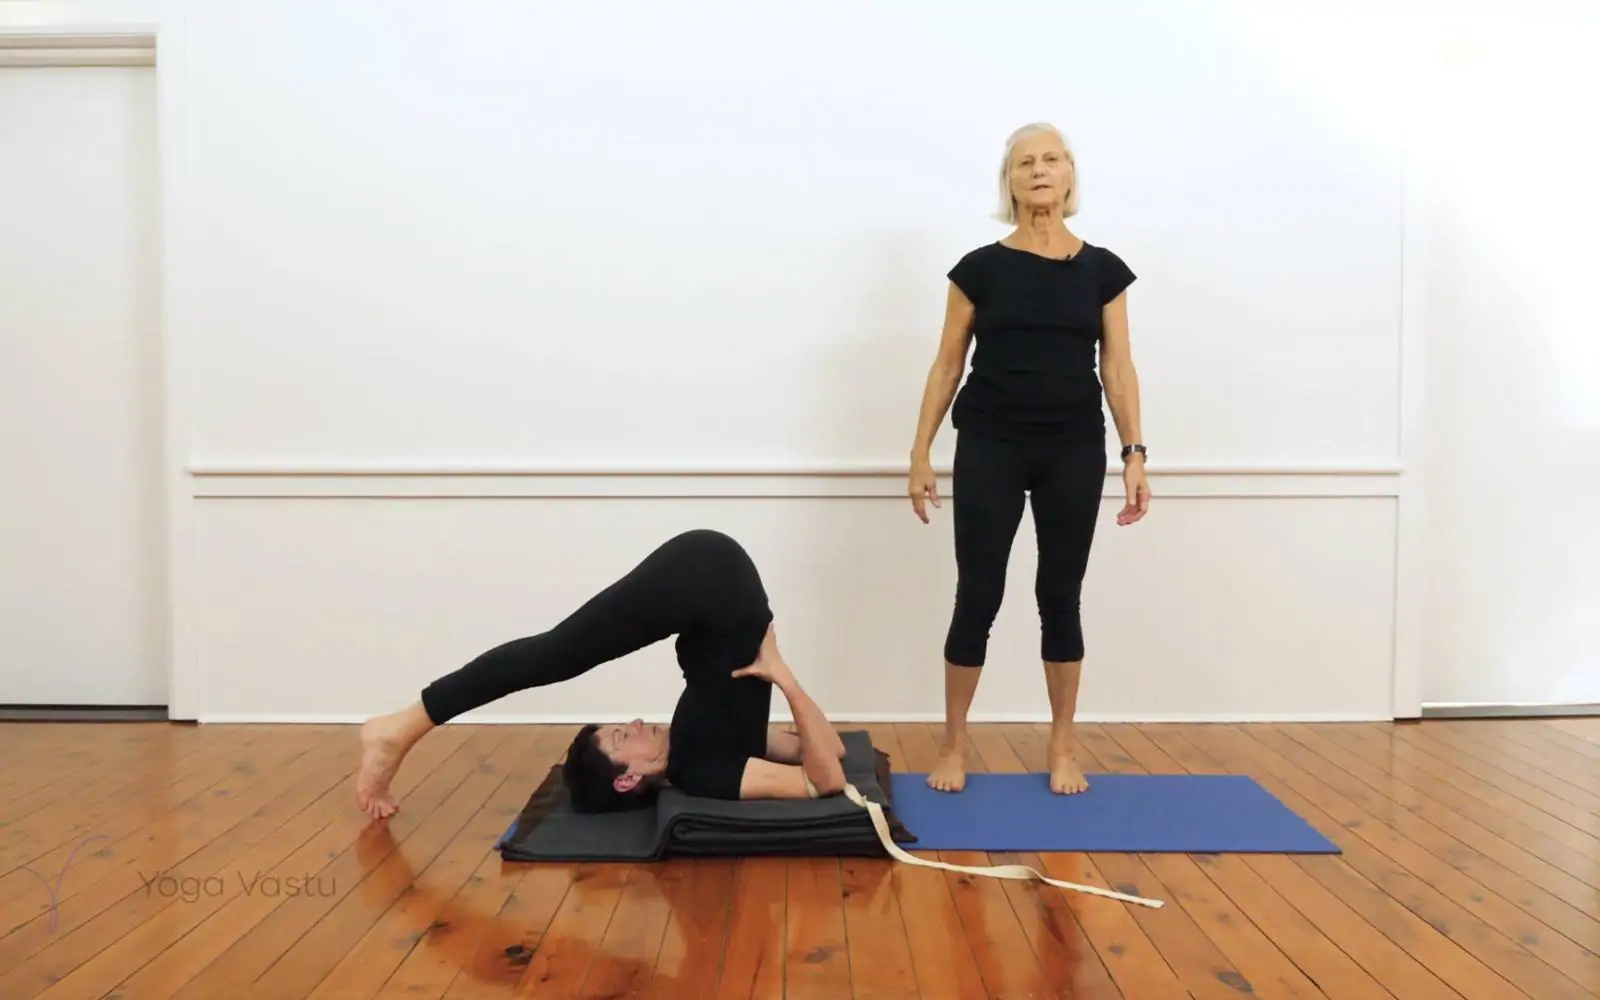
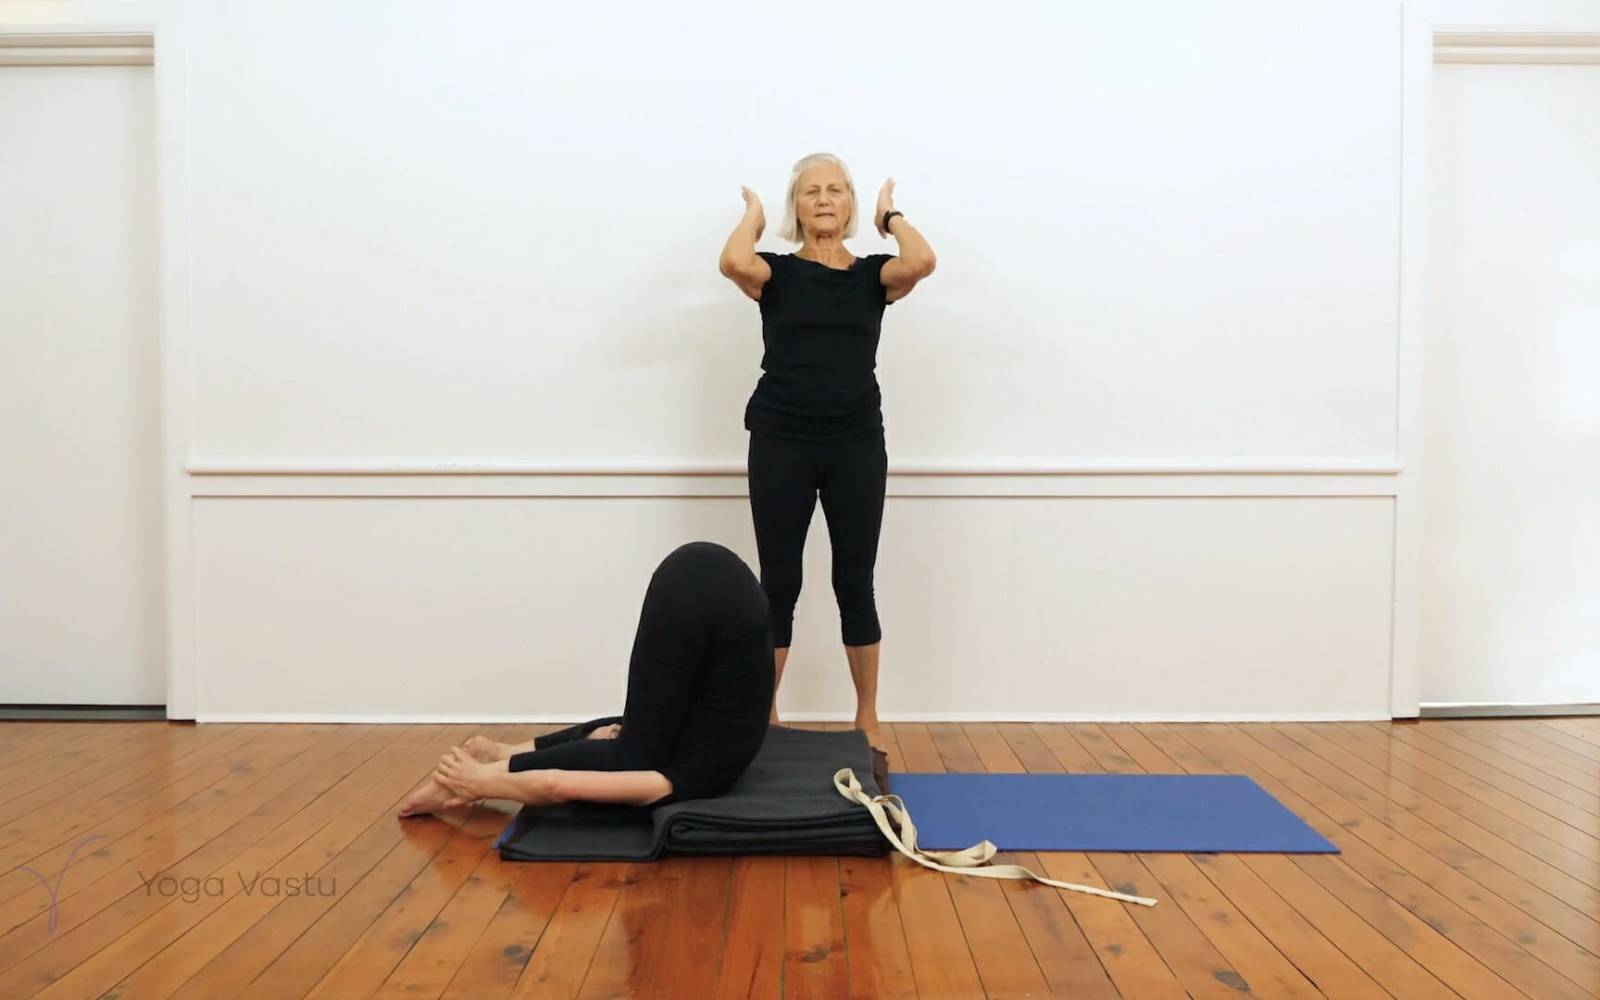
Sarvangasana follows, to balance out Sirsasana and to quieten the body, the nerves, and the mind after a full and active sequence. I have added a few leg variations in Sarvangasana to both make use of the hip and leg work already done, and to release any hip stiffness as you are in an inverted position. Add Karna Pidasana for a full release in your back, and then roll down and set up in Savasana.
Equipment required
- Mat
- 4x Blanket
- 2x Block
- Belt
Illustrated sequence of video
Download and print the free illustrated sequence of this video.
Video stills from this sequence