How to do it
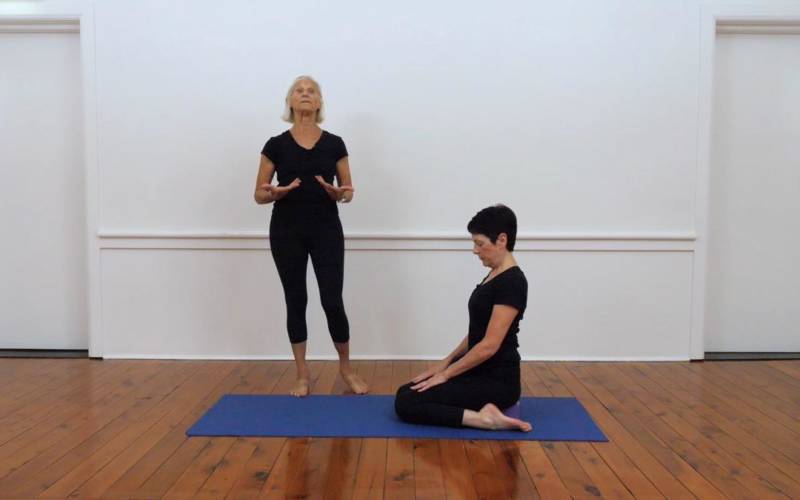
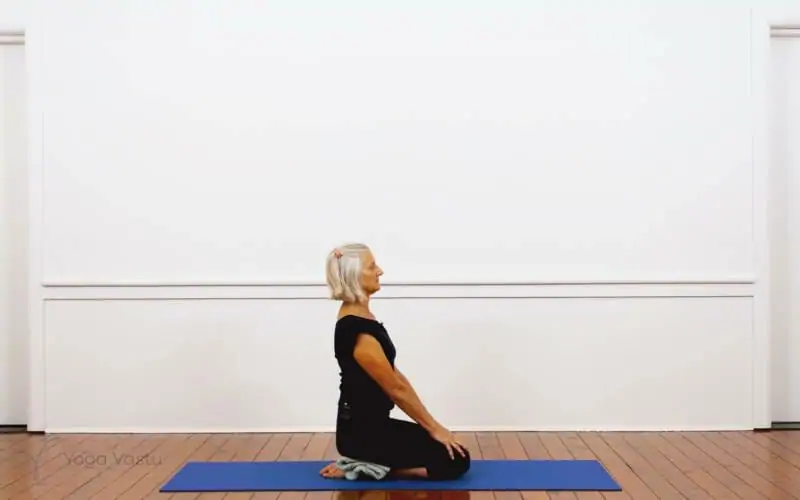
Learn Virasana first. If your buttocks do not reach the floor in Virasana, you will need a block or blanket under them, and a bolster behind you for the back.
- Kneel with your knees together and your feet a little wider than your hips, tops of the feet on the floor and toes pointing straight back.
- As you sit down between your feet, use your hands to turn the calf muscles out to the sides. Sit on the floor, or on a block or folded blanket if the buttocks do not reach.
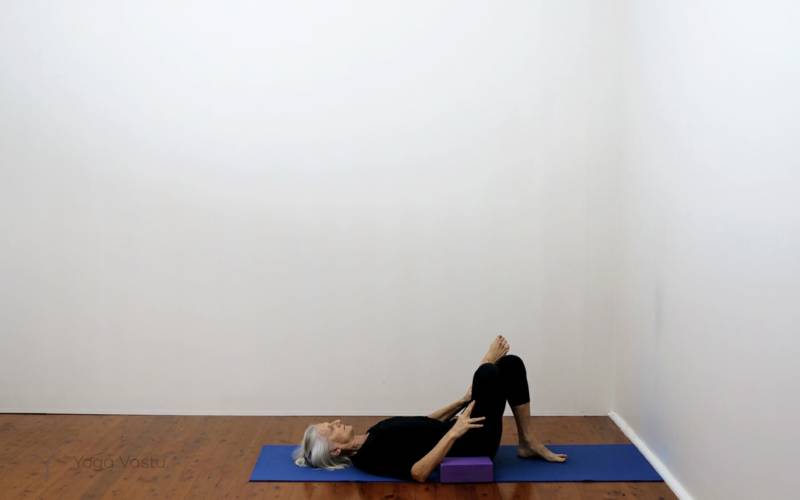
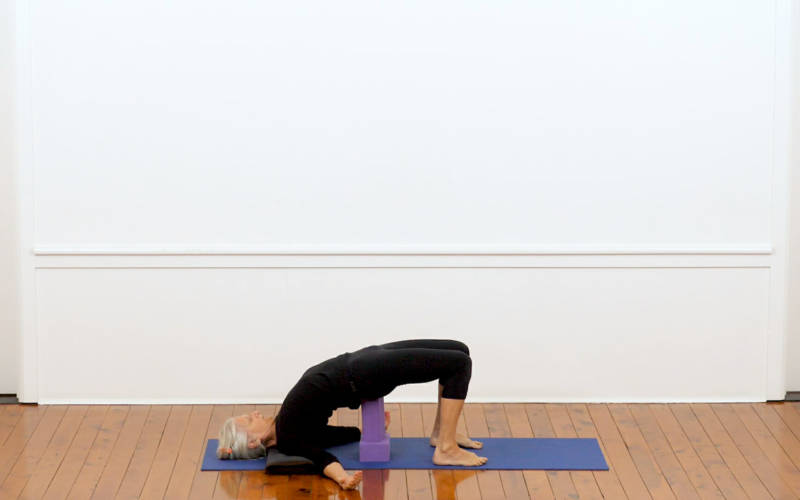
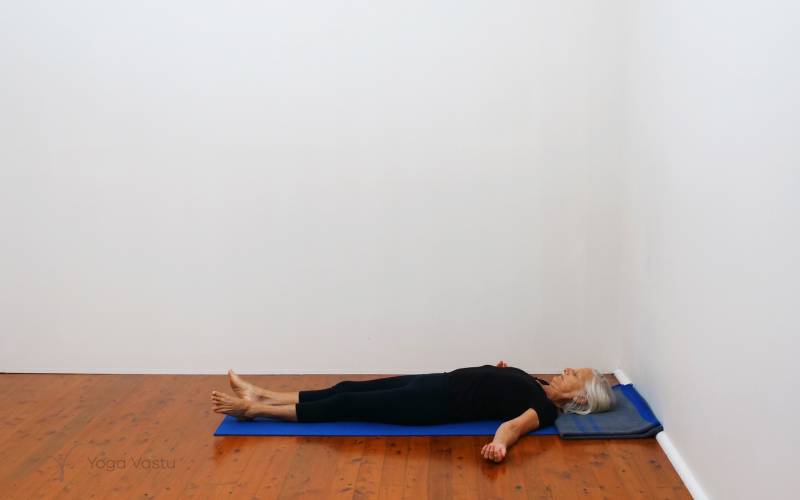
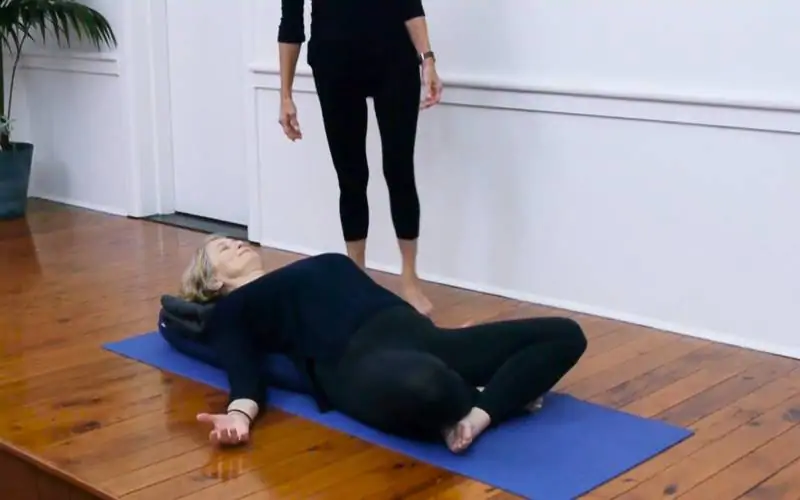
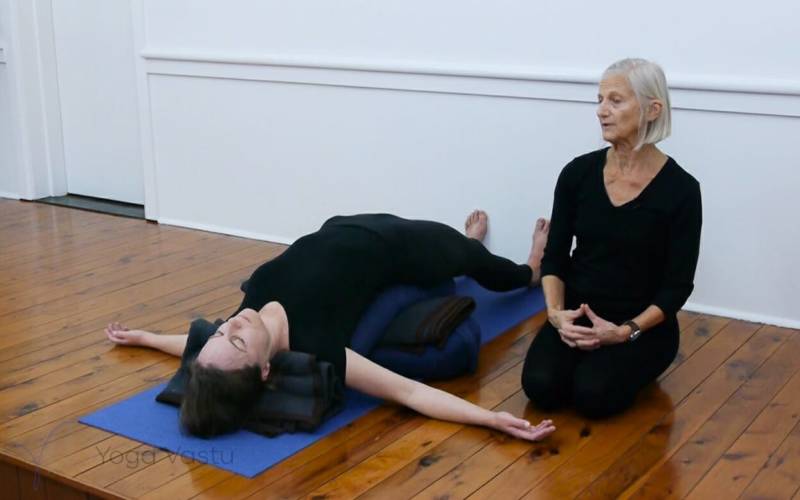
- Place a bolster lengthwise behind you, touching your buttocks, with a folded blanket or block on the far end for your head. Experienced students can lie on the floor with only a block under the head, as in the photo.
- Lean back onto your hands, then lower onto one elbow and then the other.
- Before you lie down, lift the hips slightly and move the buttocks towards the knees, so the lower back lengthens. Then lower the back onto the bolster or the floor.
- Keep the knees on the floor and together, or no wider than the hips. If the knees lift, the support is too low. Come up and add height.
- Rest your arms out to the sides, palms up. Experienced students can take the arms over the head and hold the elbows.
- Start with a minute or two. With good support you can stay longer.
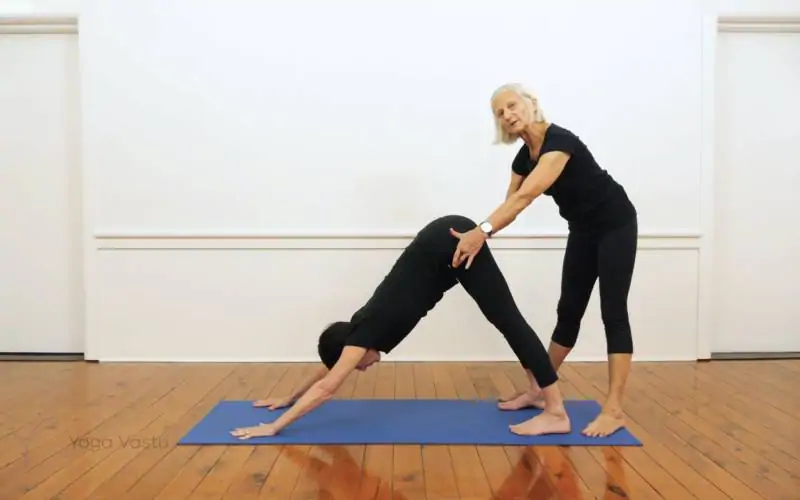
- To come up, press onto the elbows, then the hands, and sit up. Lean forward onto your hands and knees and straighten one leg at a time, or go into Adho Mukha Svanasana.
Coming out matters as much as going in. Do not straighten the legs while you are still lying back. In general classes I often give a supported reclining version of this pose to rest the hips and lower back before Savasana.
Key actions
- Knees – keep them down and close together. If they rise or spread wide, the stretch moves away from the thighs and into the knees and lower back.
- Pelvis and tailbone – move the tailbone towards the knees and keep the lower back long. The lower back should feel supported, never pinched.
- Thighs – let the fronts of the thighs lengthen from the hips to the knees. This is the main stretch of the pose.
- Feet and ankles – point the toes straight back with the tops of the feet evenly on the floor. Do not let the feet turn out or the ankles splay.
- Abdomen and chest – let the abdomen lengthen and soften, and the chest broaden over the support.
- Head – rest the head so the chin is slightly lower than the forehead and the throat is soft.
Props and variations
The right height of support is what makes Supta Virasana possible for most students.
- Bolster – lengthwise behind you, under the whole back and head. Add a folded blanket on top for more height.
- Block under the head – used when you lie back on the floor, as in the photo, to keep the neck comfortable.
- Block or blanket under the buttocks – for when the buttocks do not reach the floor in Virasana. Keep the back support at least as high.
- Belt around the thighs – a loose belt just above the knees stops them drifting apart, so you can relax the legs.
- Rolled blanket under the ankles – for stiff ankles or sore fronts of the feet.
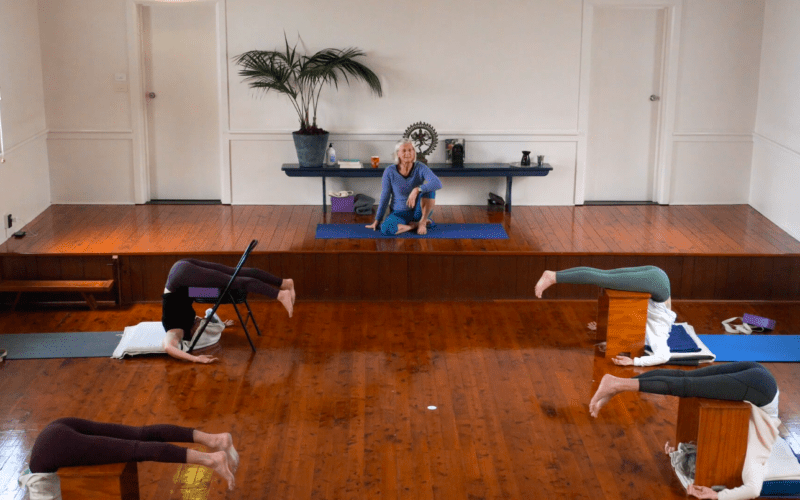
- Chair and bolster – in longer restorative sessions the pose can be set up with a chair to support the back at a higher angle. Learn this setup in class.
- Lying back over support (steps 1 to 3) – these pages show the progression of lying back over increasing support, useful preparation for this pose.
- Supta Swastikasana – lie back with the legs crossed instead of folded. Use this when the knees are not ready for Supta Virasana.
Cautions
- Knees – this is the main caution. Do not practise Supta Virasana with a knee injury, a meniscus tear or a knee replacement without a teacher’s guidance. Stop if you feel any pain in the knee. A stretch in the thigh is expected; pain in the knee joint is not.
- Ankles – if the ankles hurt, support them with a rolled blanket, and avoid the pose after an ankle injury until it has healed.
- Lower back – if the lower back pinches, raise the support, move the buttocks towards the knees and keep the knees down. Come out if it does not ease.
- Pregnancy – the supported version, with the back well raised and the knees apart, is sometimes used in pregnancy. Practise it only with a teacher who knows you are pregnant.
- Recent surgery – wait for clearance after knee, ankle, hip or abdominal surgery.
Benefits
Supta Virasana stretches the fronts of the thighs, the hip flexors, the ankles and the abdomen in one pose, and opens the chest so the breath can deepen. With the back supported, it becomes a resting pose rather than a strong stretch.
Iyengar teachers have long recommended it for tired, heavy legs, and for people who spend long hours standing or walking. It works well at the start of practice to release stiffness in the legs, or near the end to settle the body after standing poses. Students often find it calming once the setup is right.
Common questions
Is supta virasana bad for your knees?
Not when it is done with enough support and without pain, but it does ask a lot of the knees. If you feel pain in the knee, raise the support under your back and buttocks, or choose Supta Swastikasana or Supta Baddha Konasana instead. After a knee injury or surgery, ask a teacher first.
How long should you hold supta virasana?
Start with a minute or two. With a well-adjusted support and comfortable knees, experienced students stay five minutes or longer in a restorative sequence.
What if I can't lie all the way back?
Lie back onto a bolster, or a stack of bolsters and blankets, instead of the floor. Use enough height that the knees stay down and the lower back is comfortable. You can also stay on your elbows until the thighs release.
What are the benefits of supta virasana?
It stretches the fronts of the thighs, the ankles and the abdomen, opens the chest and rests tired legs. Iyengar teachers often give it to people who stand or walk for long hours.
What is the difference between virasana and supta virasana?
Virasana is the upright kneeling seat with the buttocks between the feet. Supta Virasana starts from Virasana and lies back, which adds a stretch to the fronts of the thighs and the abdomen.
About the teacher
Pixie Lillas: Pixie Lillas first went to the Ramamani Iyengar Memorial Yoga Institute in Pune, India in 1977. She co-founded the Balmain Iyengar Yoga Studio in 1980 and has been director and principal teacher there ever since.