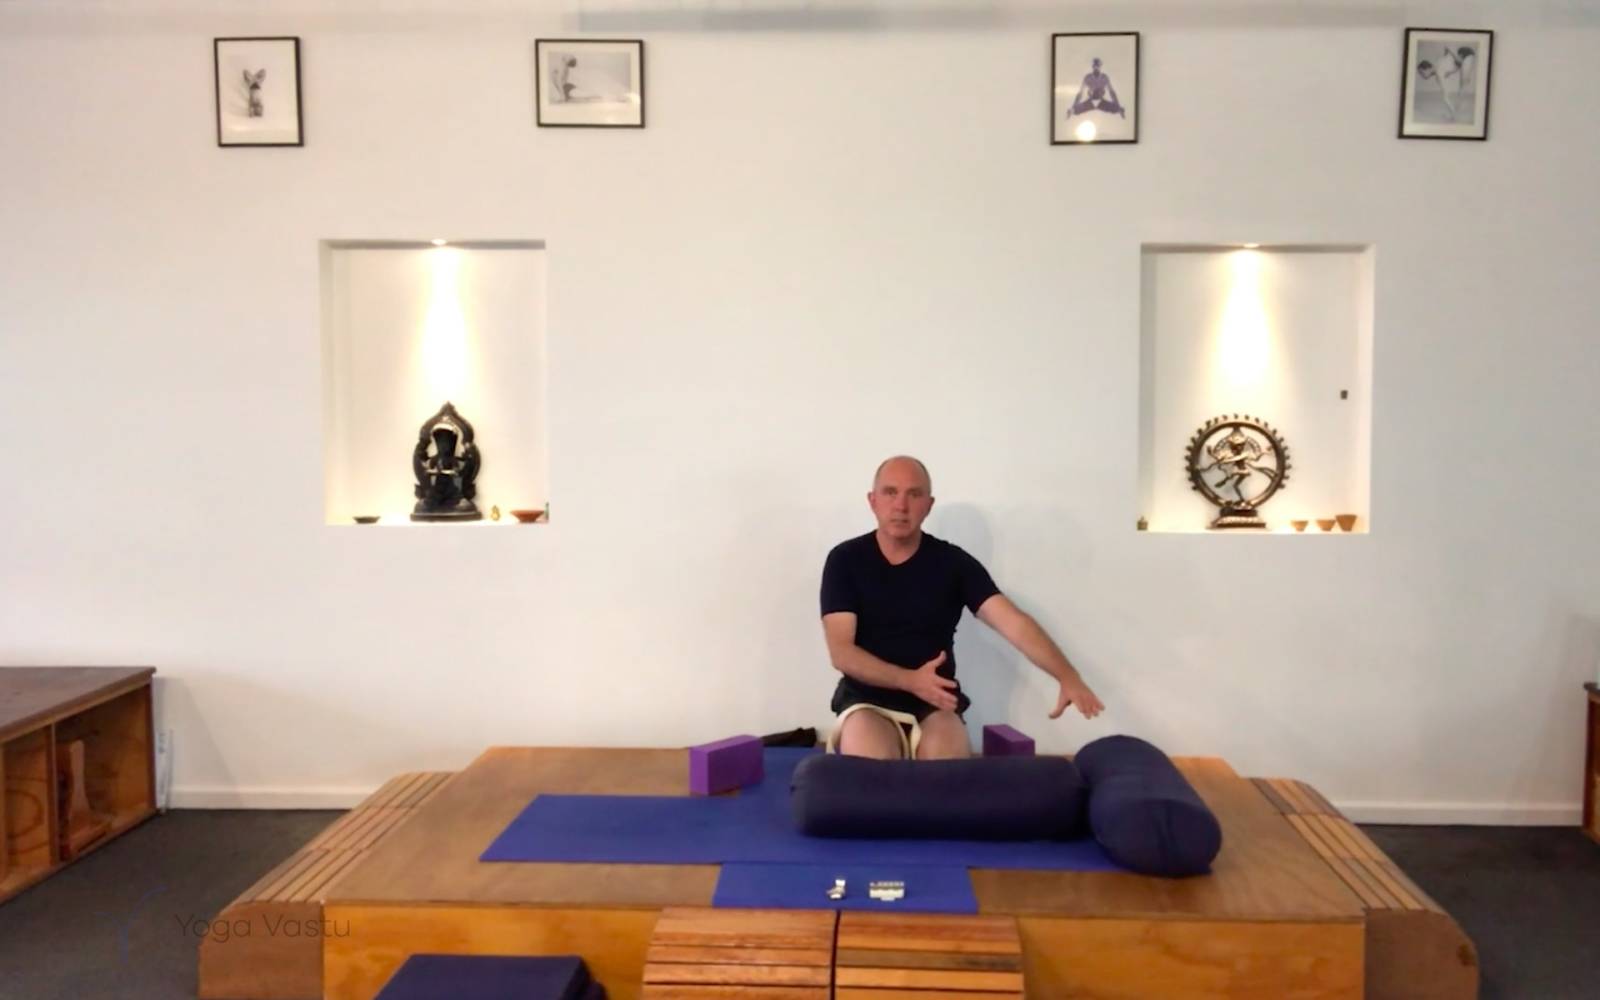
The practice of yoga is the process of self-study, a combination of action and observation. It’s about figuring out our limitations and finding out how to work through them and how to modify our practice accordingly. In today’s sequence, we will look more closely at the meaning of each of the practised asanas. We will explore their definitions, the details of the actions that are involved in each one of them. The aim today is to focus on observation as well as technique. Apply the details, refine the actions, and steady your observations. In other words, pay attention. The reflective mind – the mind which applies the details yet stays calm and consistent – is what helps us evolve.
When we struggle, we start to clench and shake, and this hampers progress and can lead to injury. The capacity to observe diminishes when our mind becomes overly occupied or stressed. When we steady our minds, we become more aware and focussed. This is what we aim to achieve in our practice. Yoga is not a competitive sport; it is not about how far you can go into a bend or twist. Use your breath to gauge how comfortable you are in each pose.
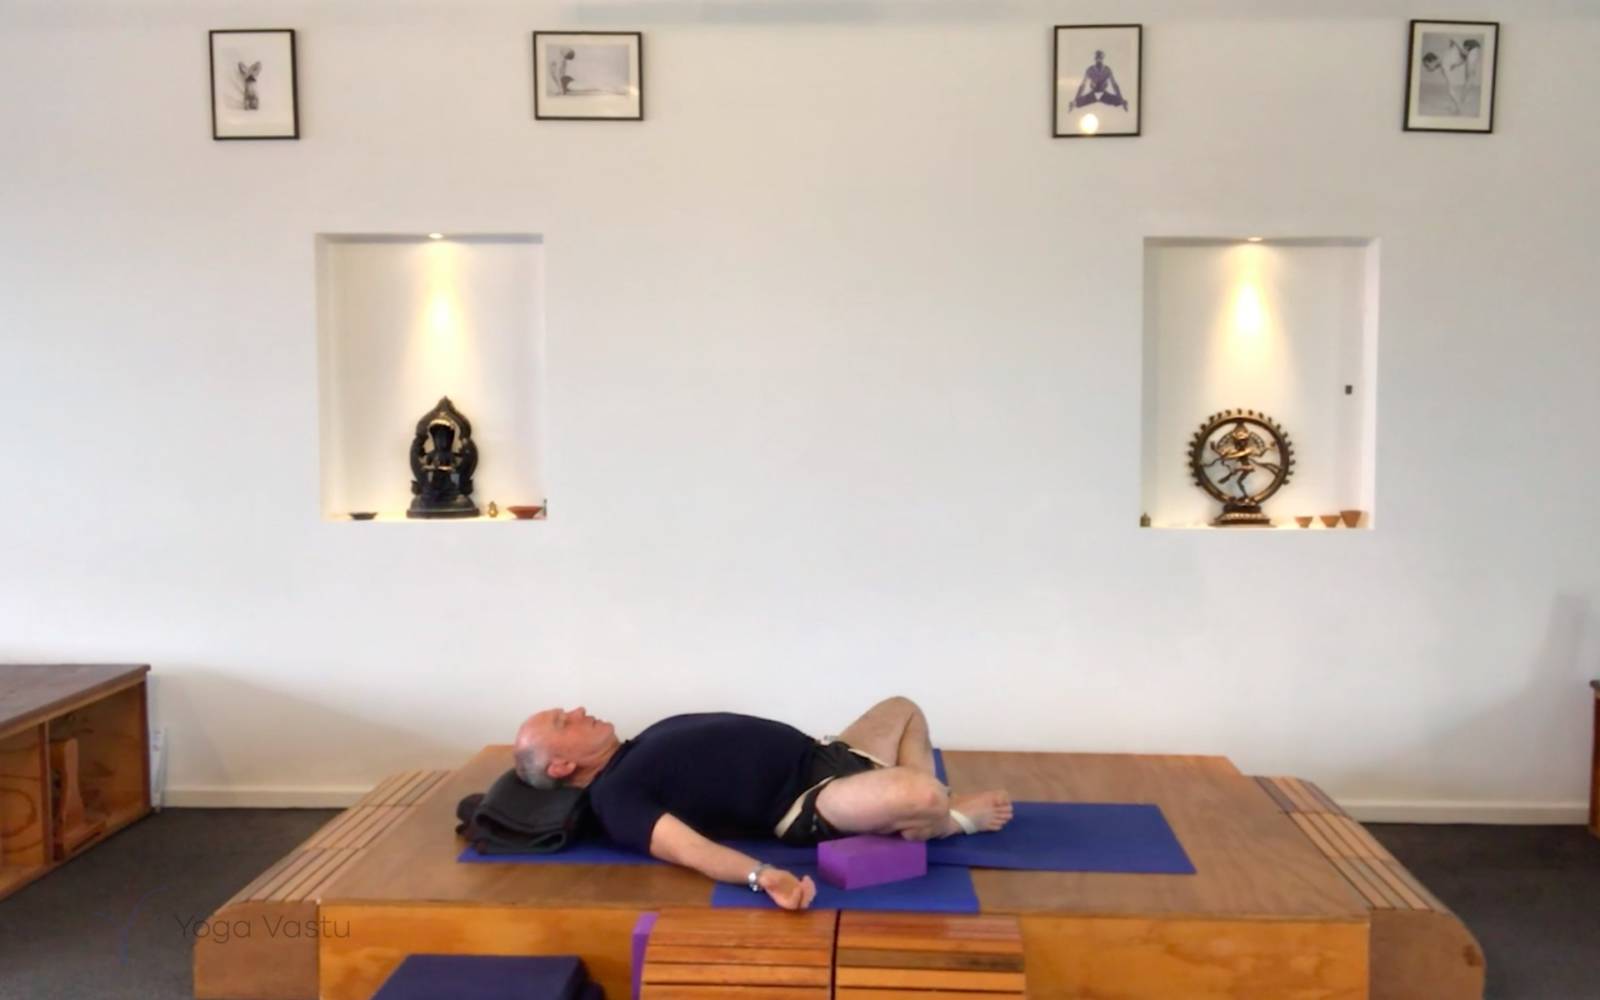
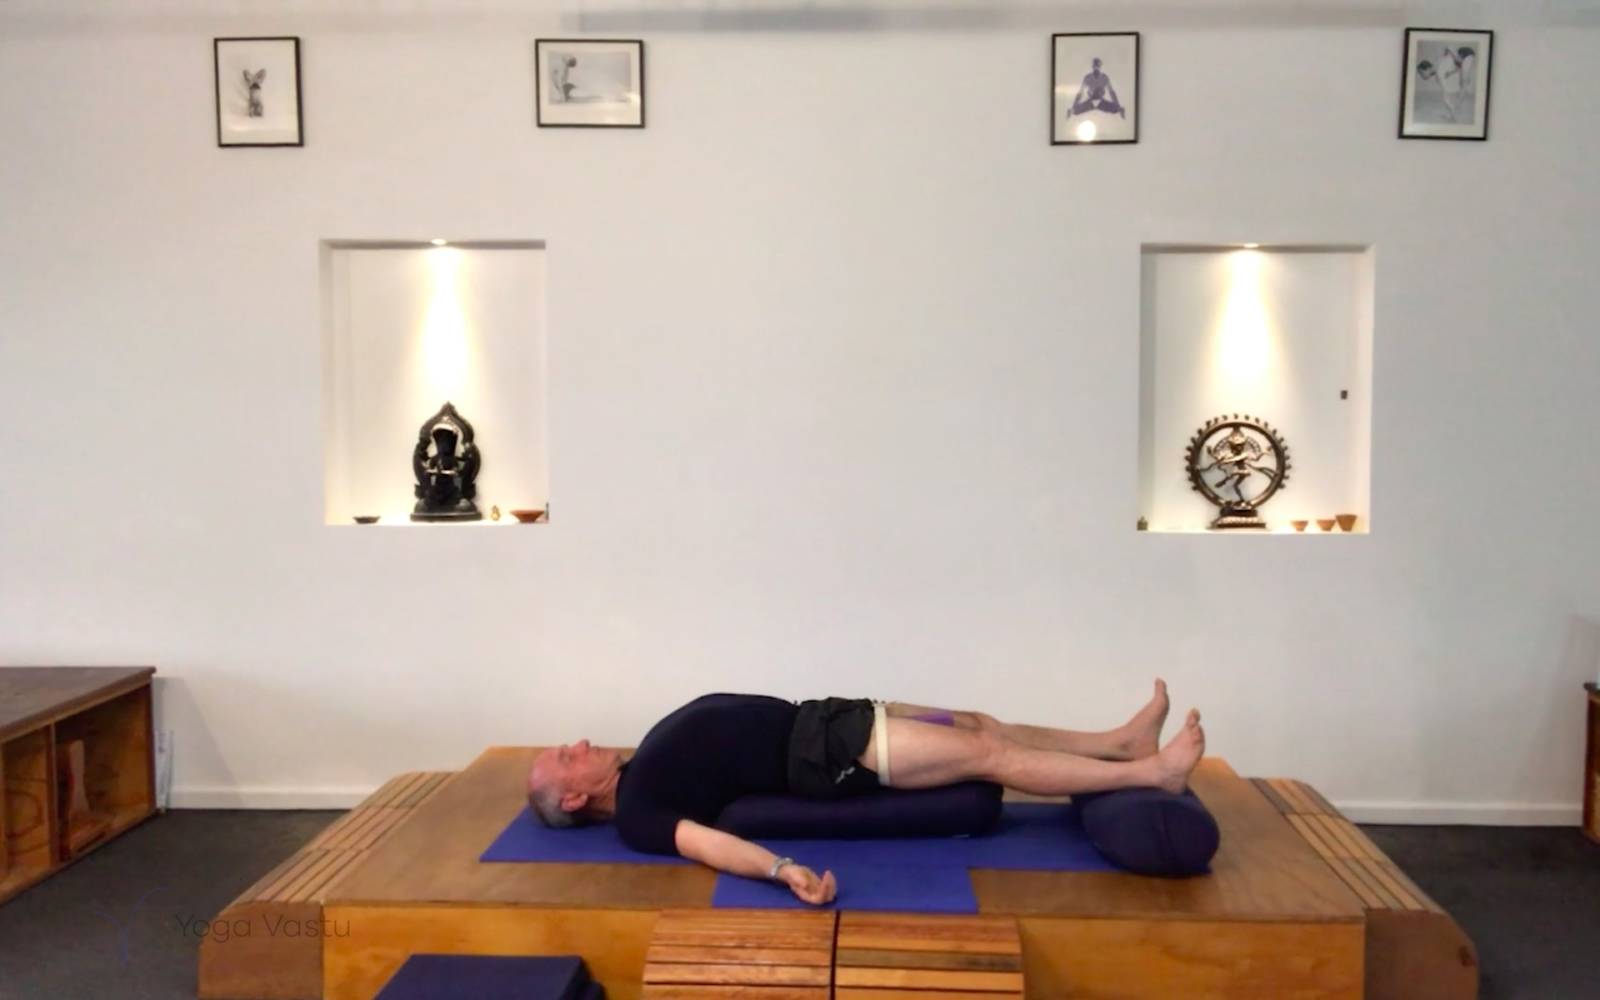
Start by lying back in Supta Baddha Konasana over support so that your spine is slightly elevated. This will help open up your chest and create a curve in your spine, all of which is essential for waking up the back muscles. Use a belt, strapped around your feet, in order to keep them from sliding out. You can also place blocks below your knees to control the intensity of the stretch. Stay here for a few minutes and let your breath settle.
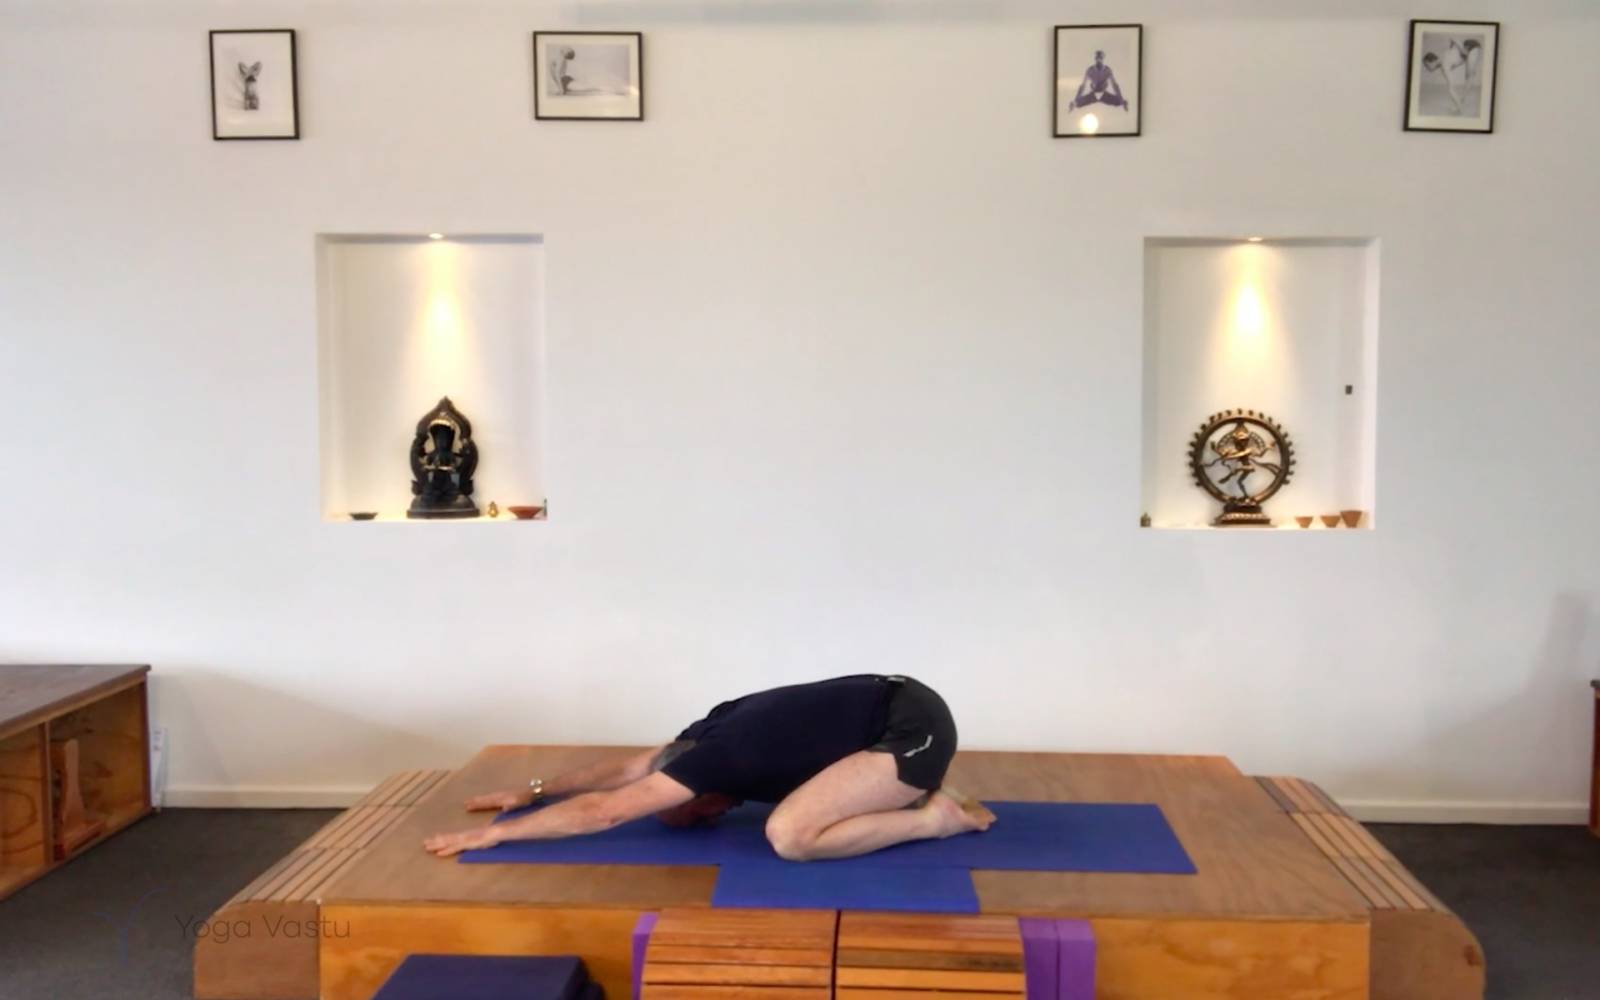
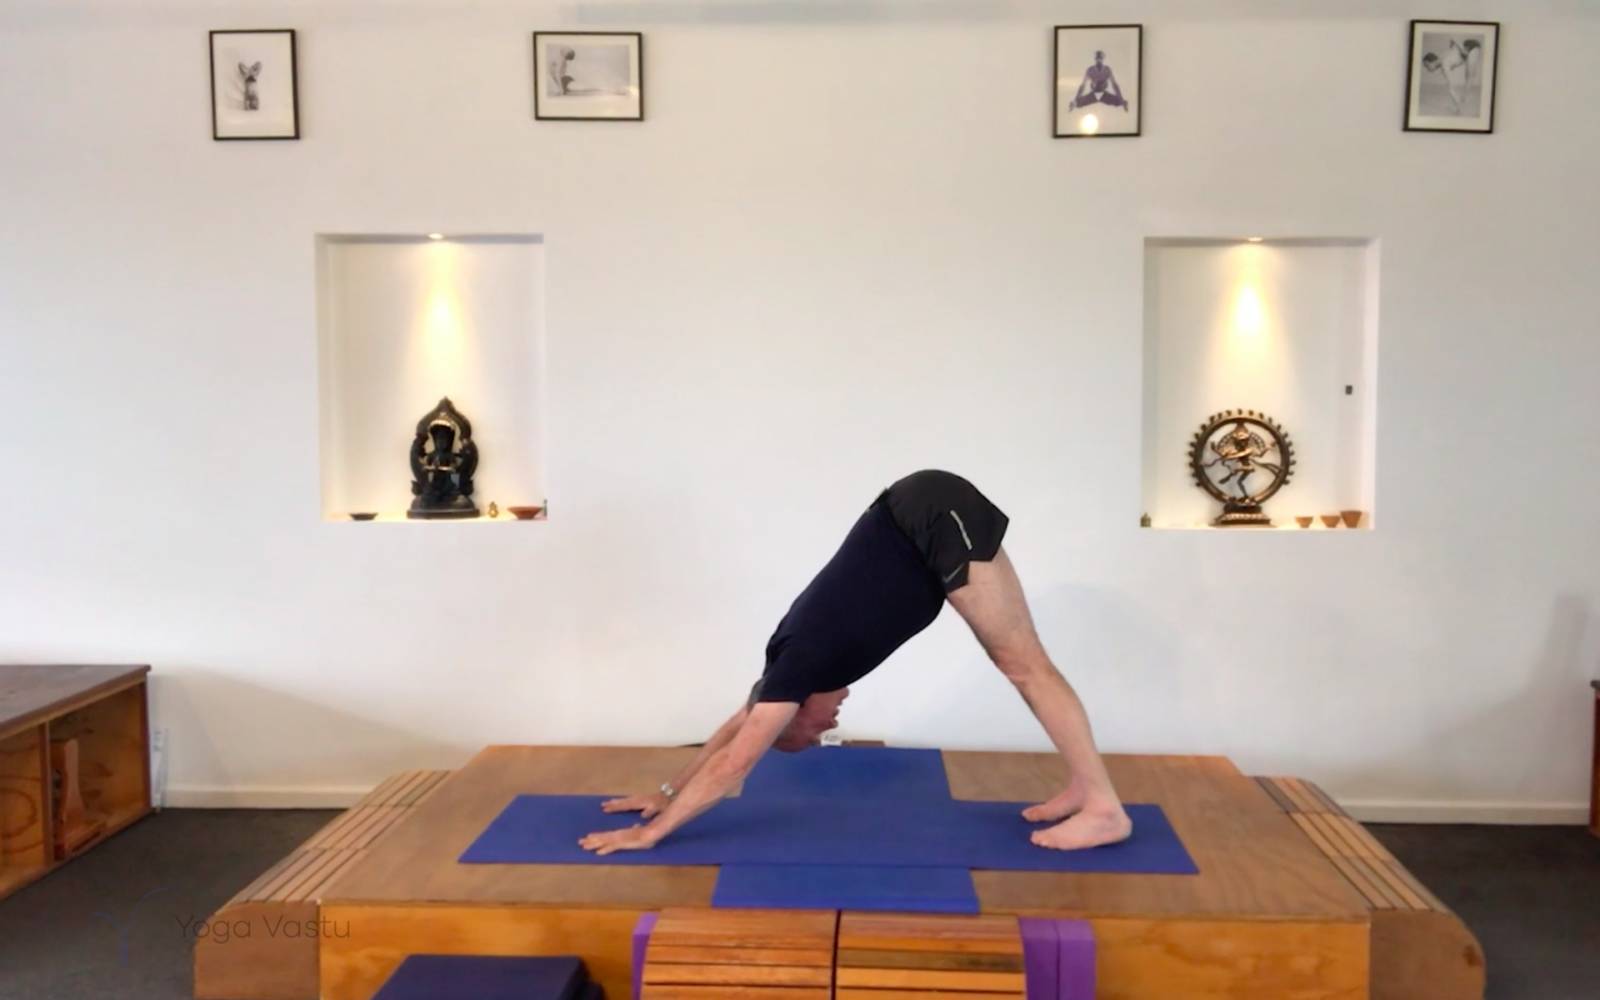
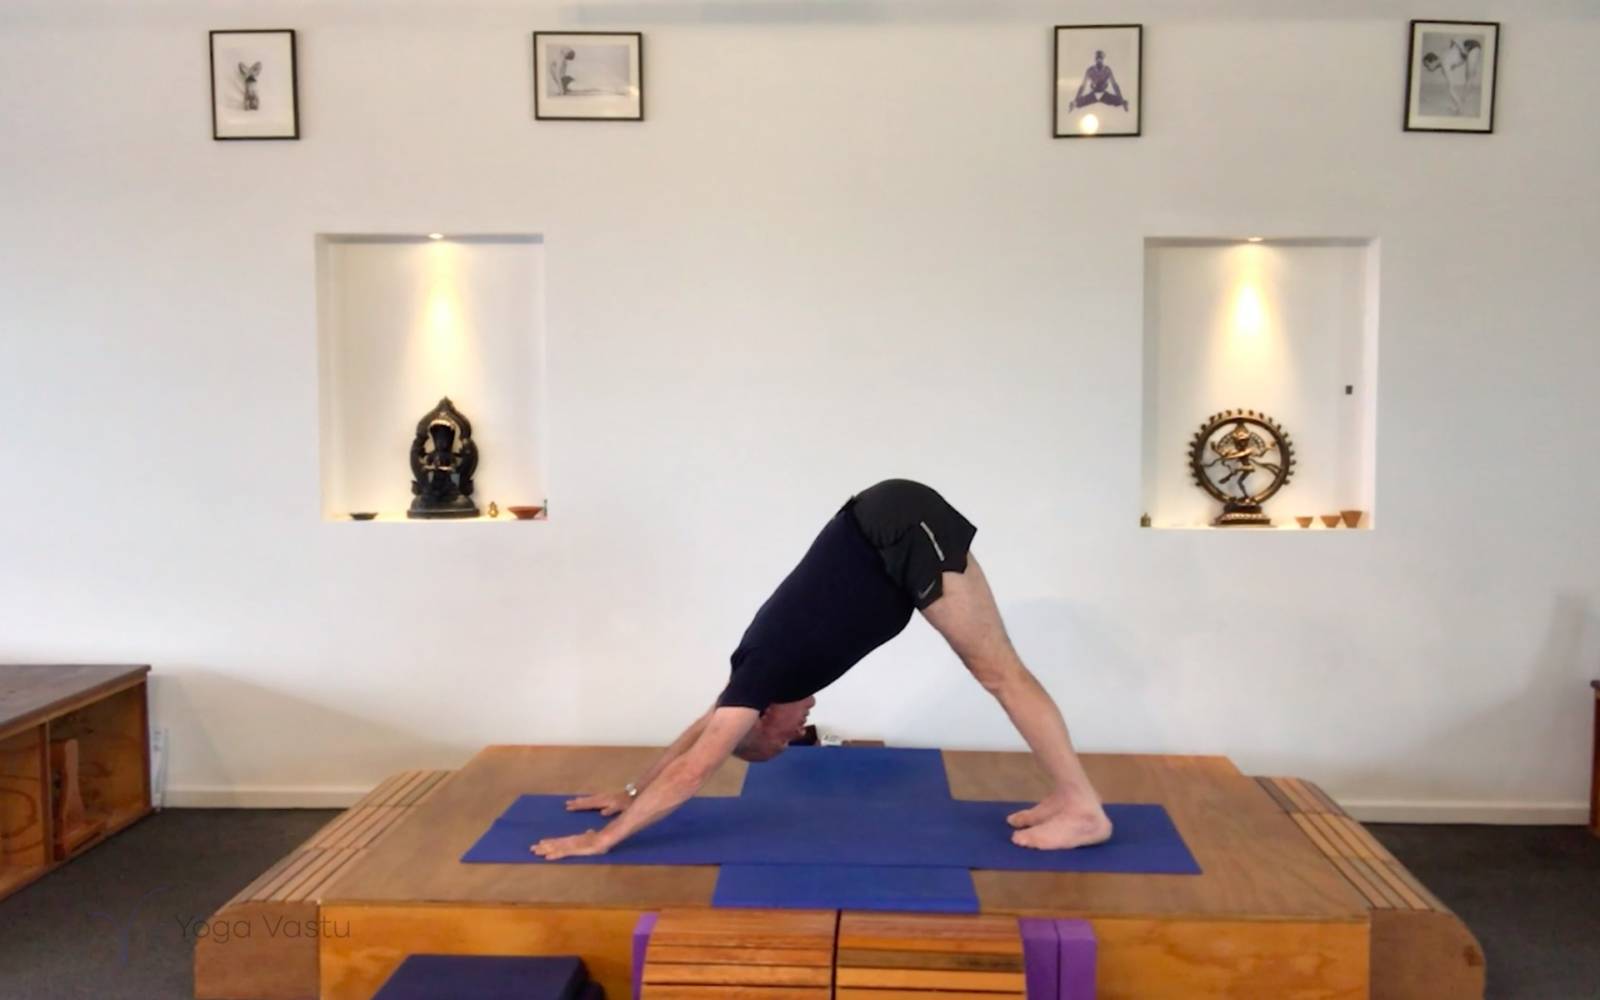
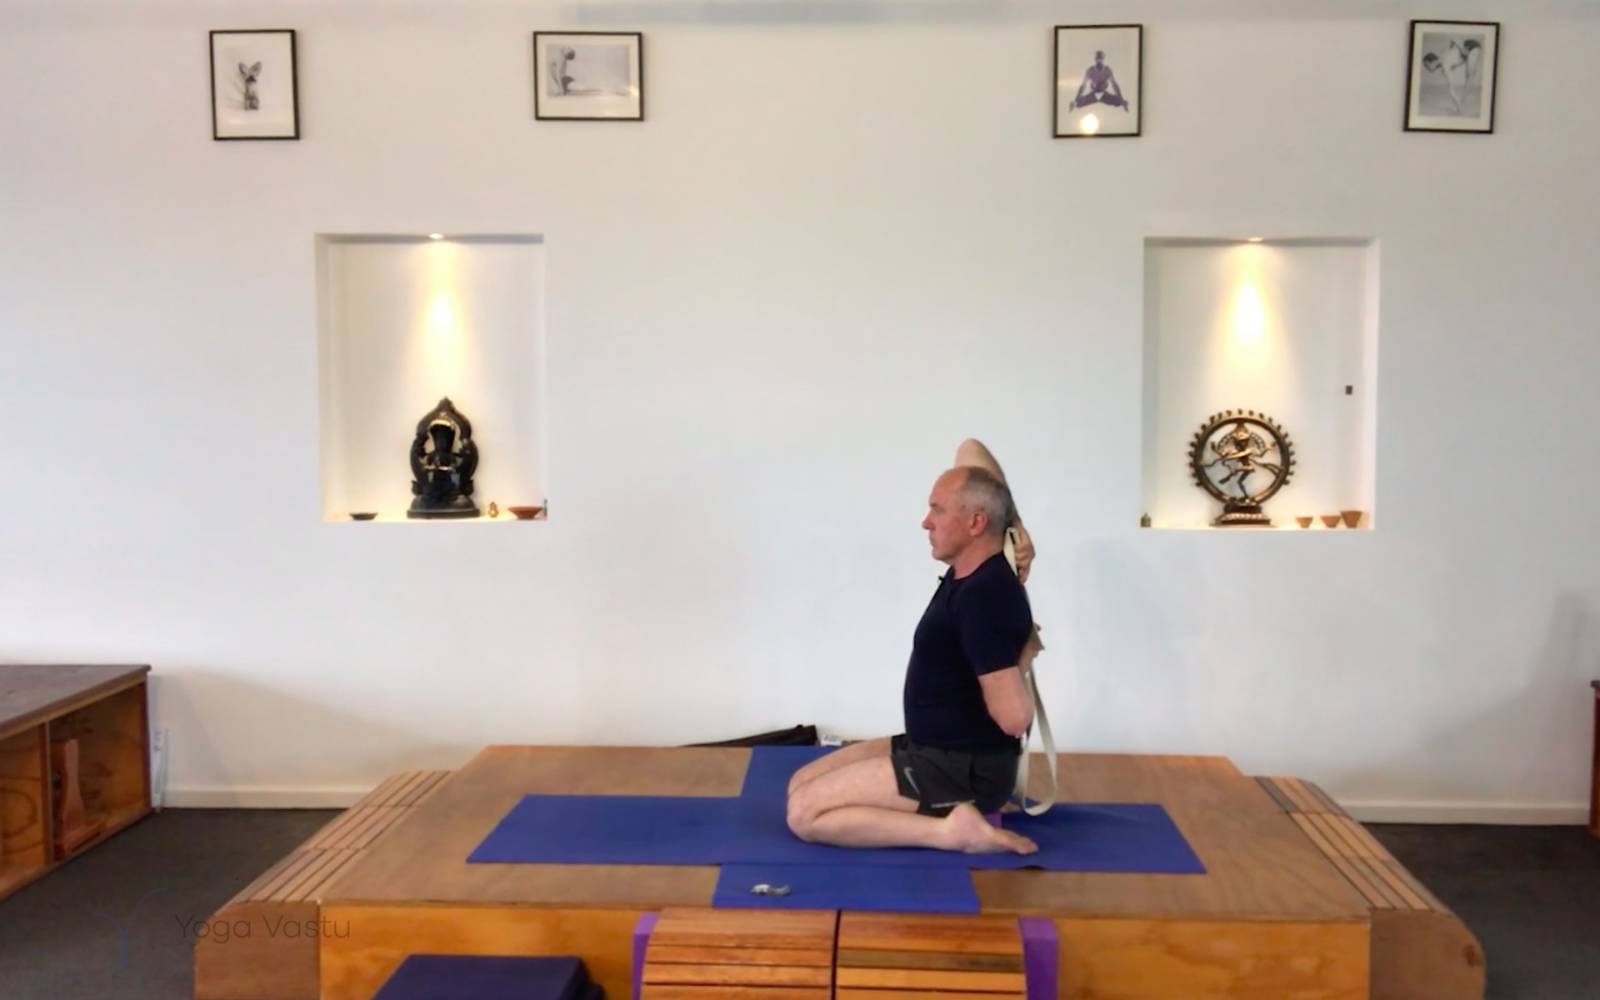
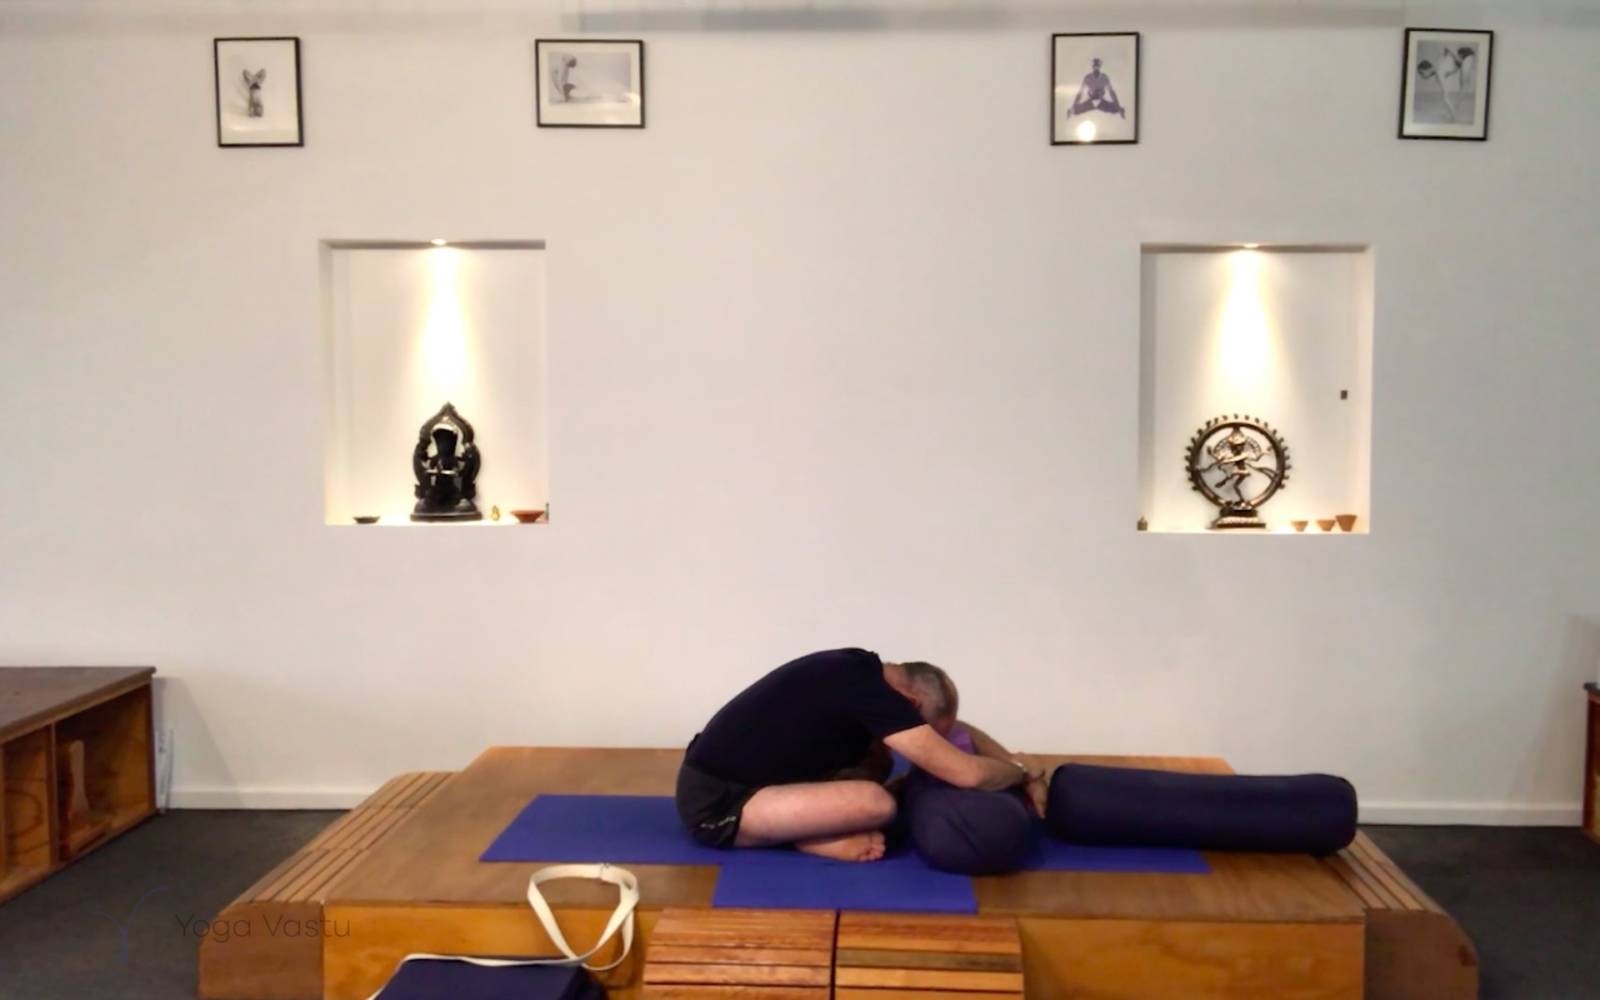
Come up to seated and remove the support. Move into Virasana Forward, taking your knees apart, your big toes touching. Stretch your arms forward and extend the buttocks back to the heels. As you walk your fingertips further forward, spread the palms and squeeze the elbows. Press into the base of each knuckle. Stretch evenly through your palms. Stay here for a few breaths and then transition into Adho Mukha Svanasana (Downward-Facing Dog). Transition once more from Virasana Forward into Adho Mukha Svanasana on the breath, paying attention to remaining balanced and aligned.
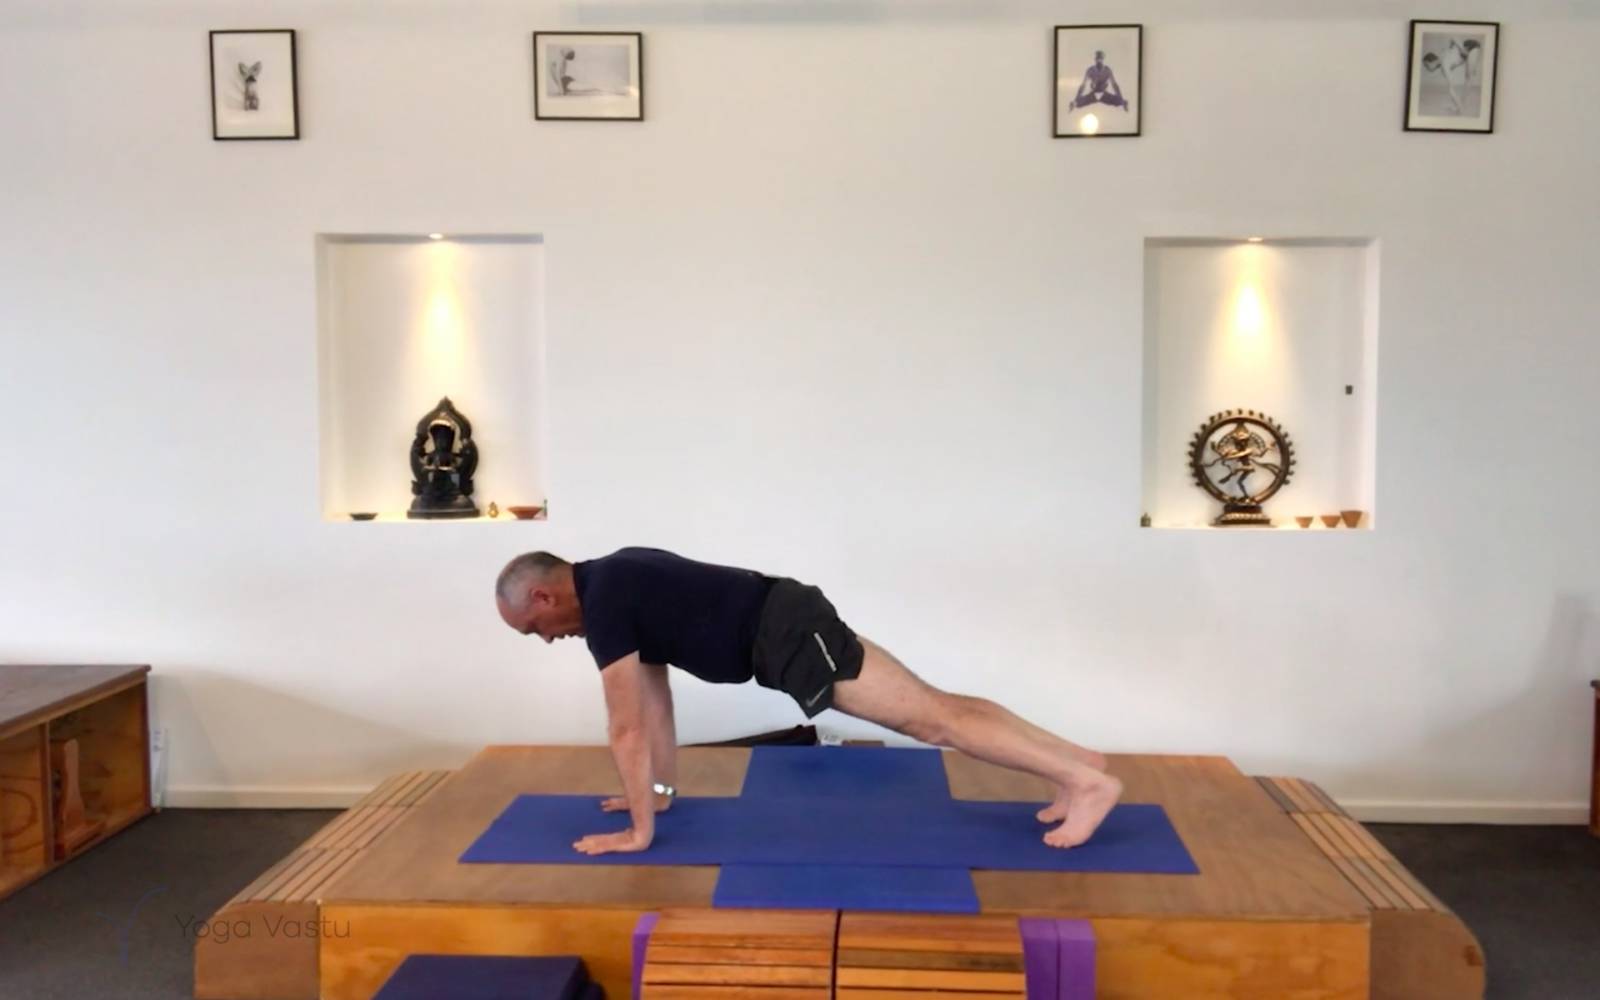
From Adho Mukha Svanasana go into Chaturanga Dandasana with your arms straight and strong. Several more transitions from Virasana Forward into Adho Mukha Svanasana.
The ability to define the limbs lies through action. Your capacity to observe and notice depends on how calm you are in the action.
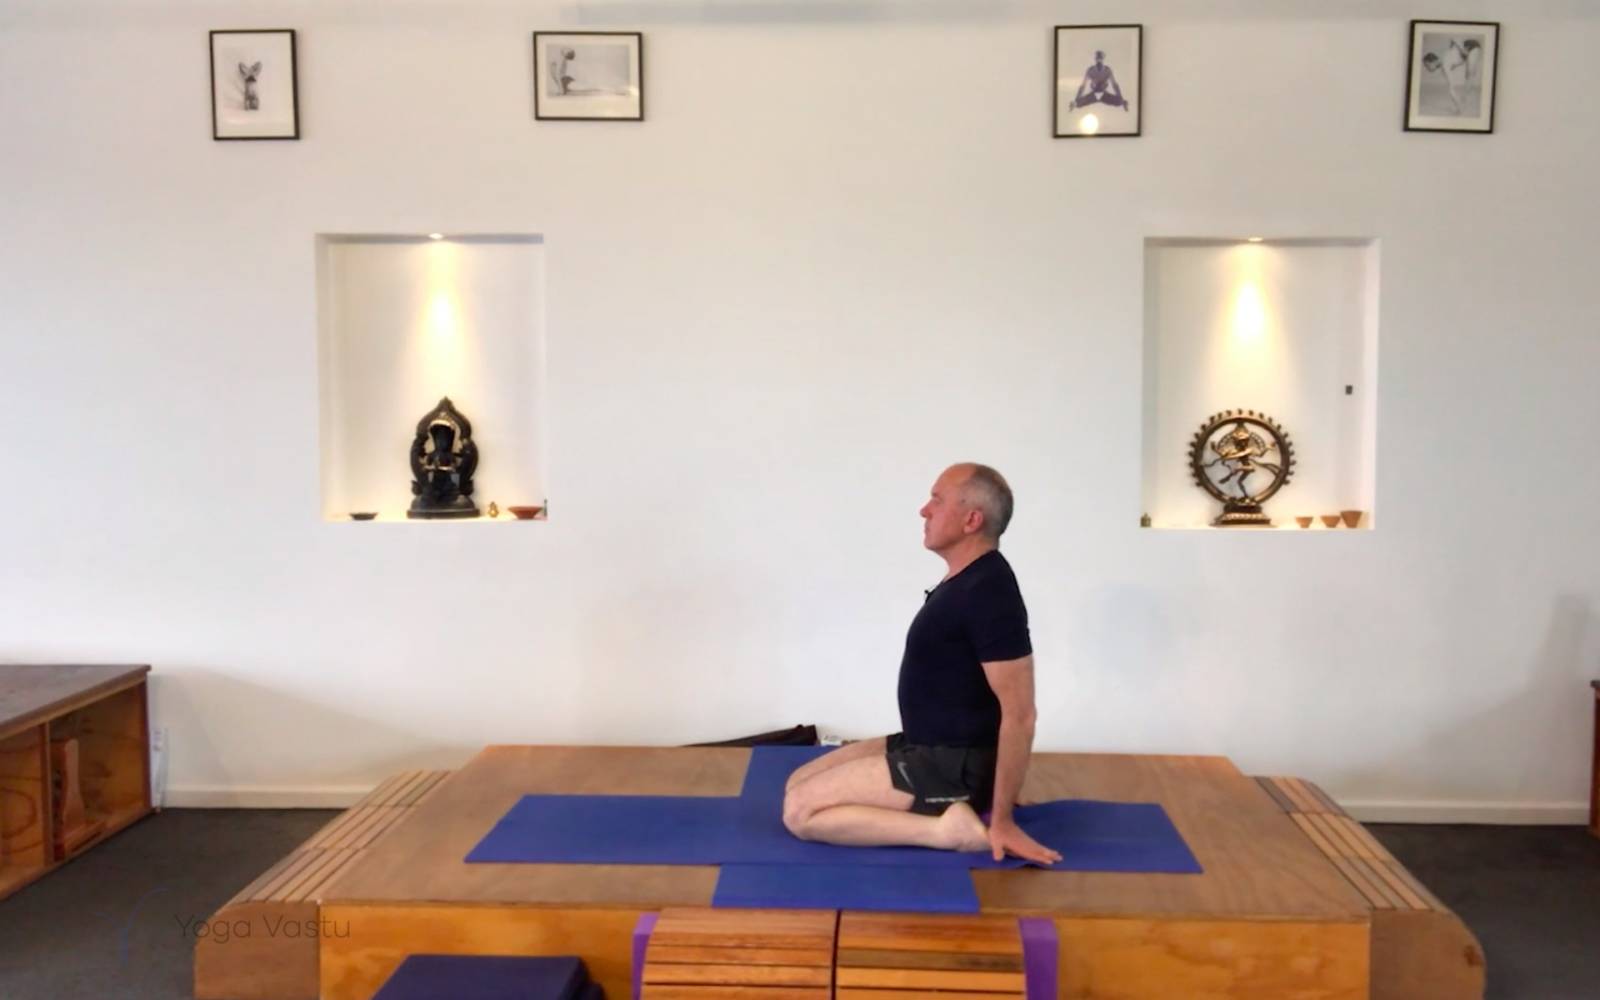
Now we go into a Virasana sequence. Sit in Virasana. Knees together, feet apart. Sit on a support (a block or a bolster) with your hands on the soles of your feet. Open up your chest and look straight ahead. Quieten the breath and soften your eyes. Focus on how you feel: which part of your body is stretching the most in this position?
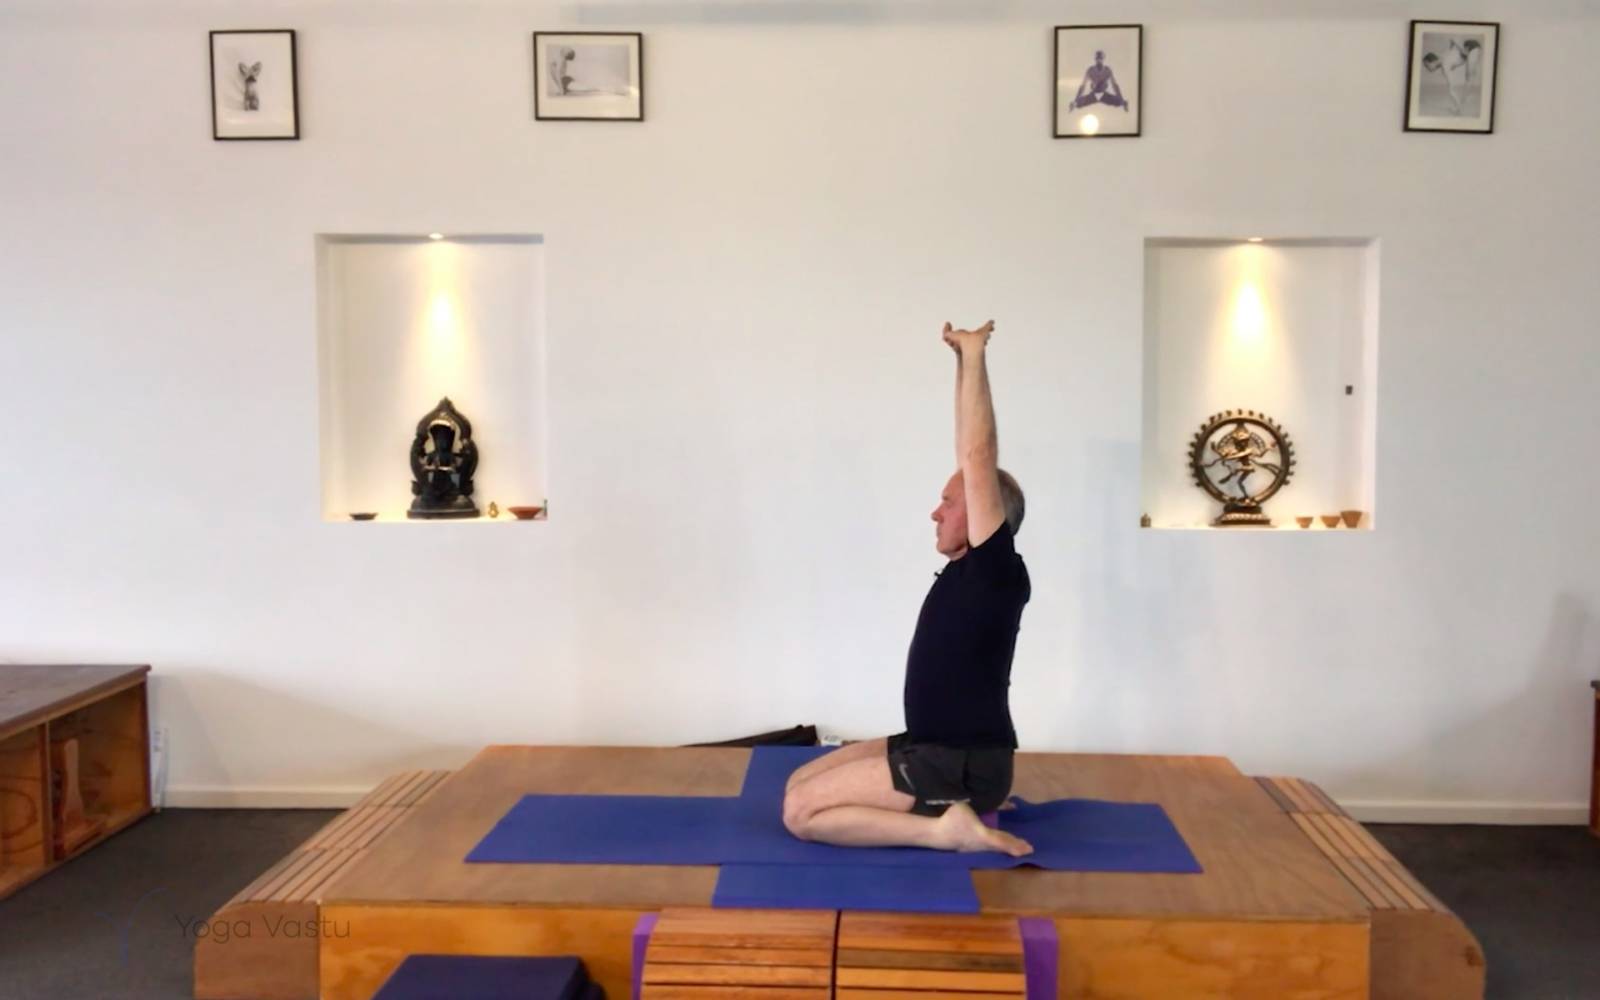
After some quiet observation, bring your hands forward, interlock your fingers, and raise your hands: Parvatasana in Virasana to breathe life into your side body. Continue working on balancing the stretch, extending evenly through both hands. Change interlock and repeat.
Adho Mukha Svanasana comes next to reverse the actions practised in Parvatasana.
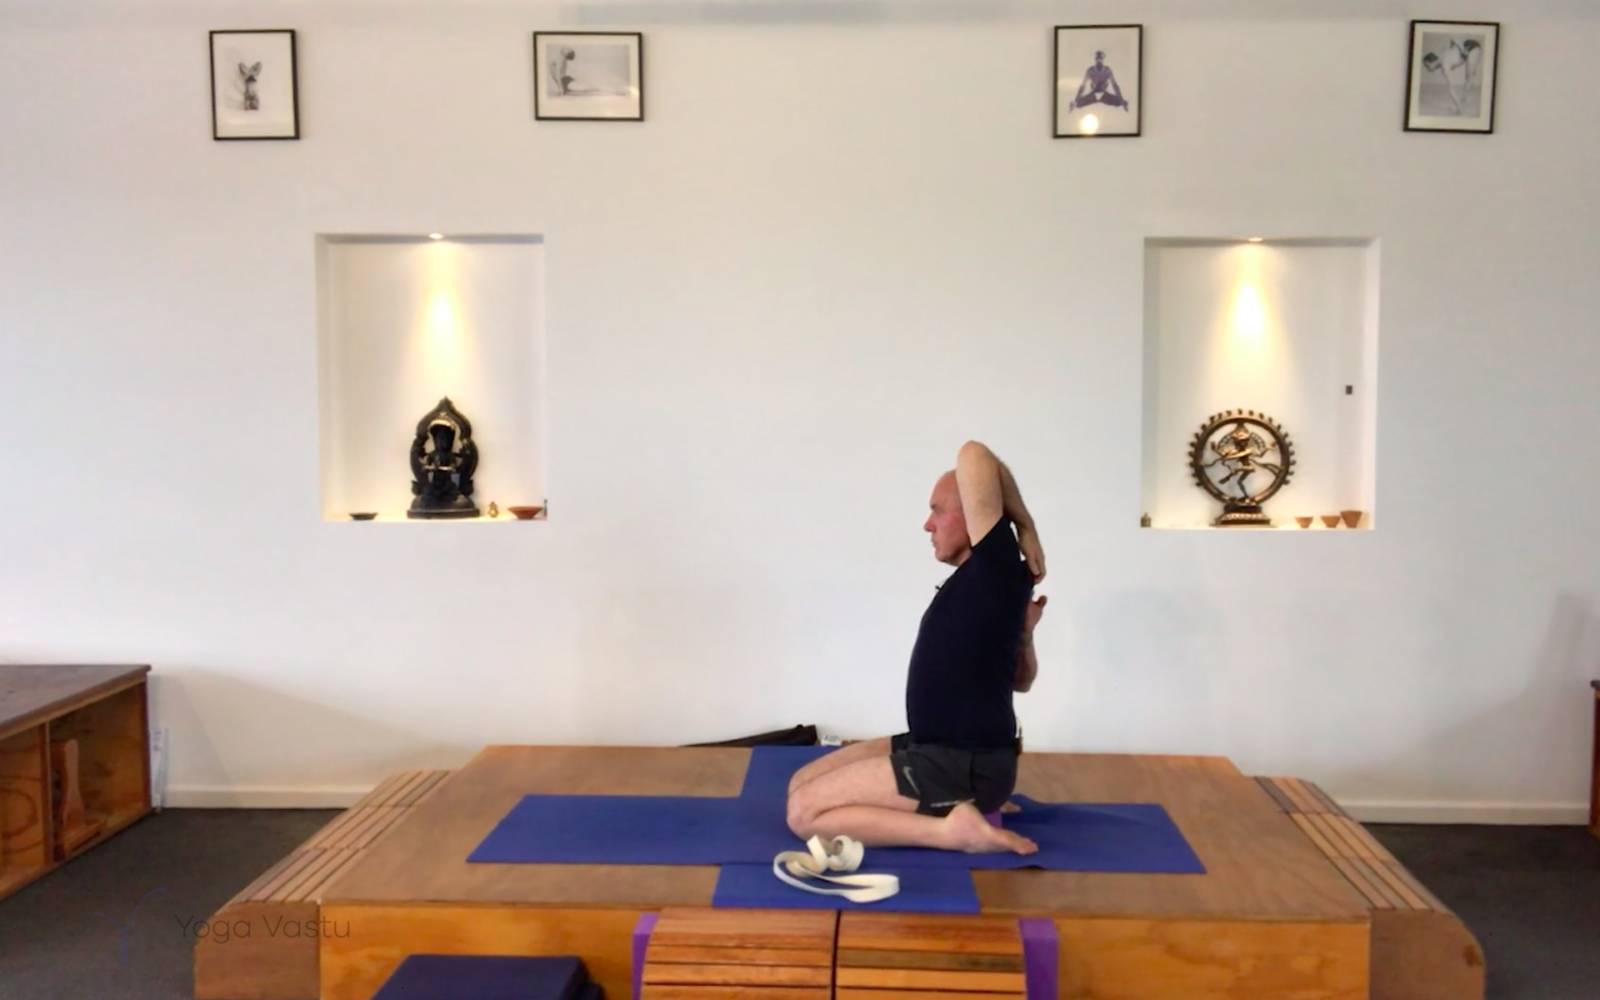
Move back into Virasana with Gomukhasana Arms. You might need a belt for this to make up for lack of shoulder mobility. Clasping your hands behind your back, pull your elbows into different directions.
Back into Dog pose. Elongate the side waist.
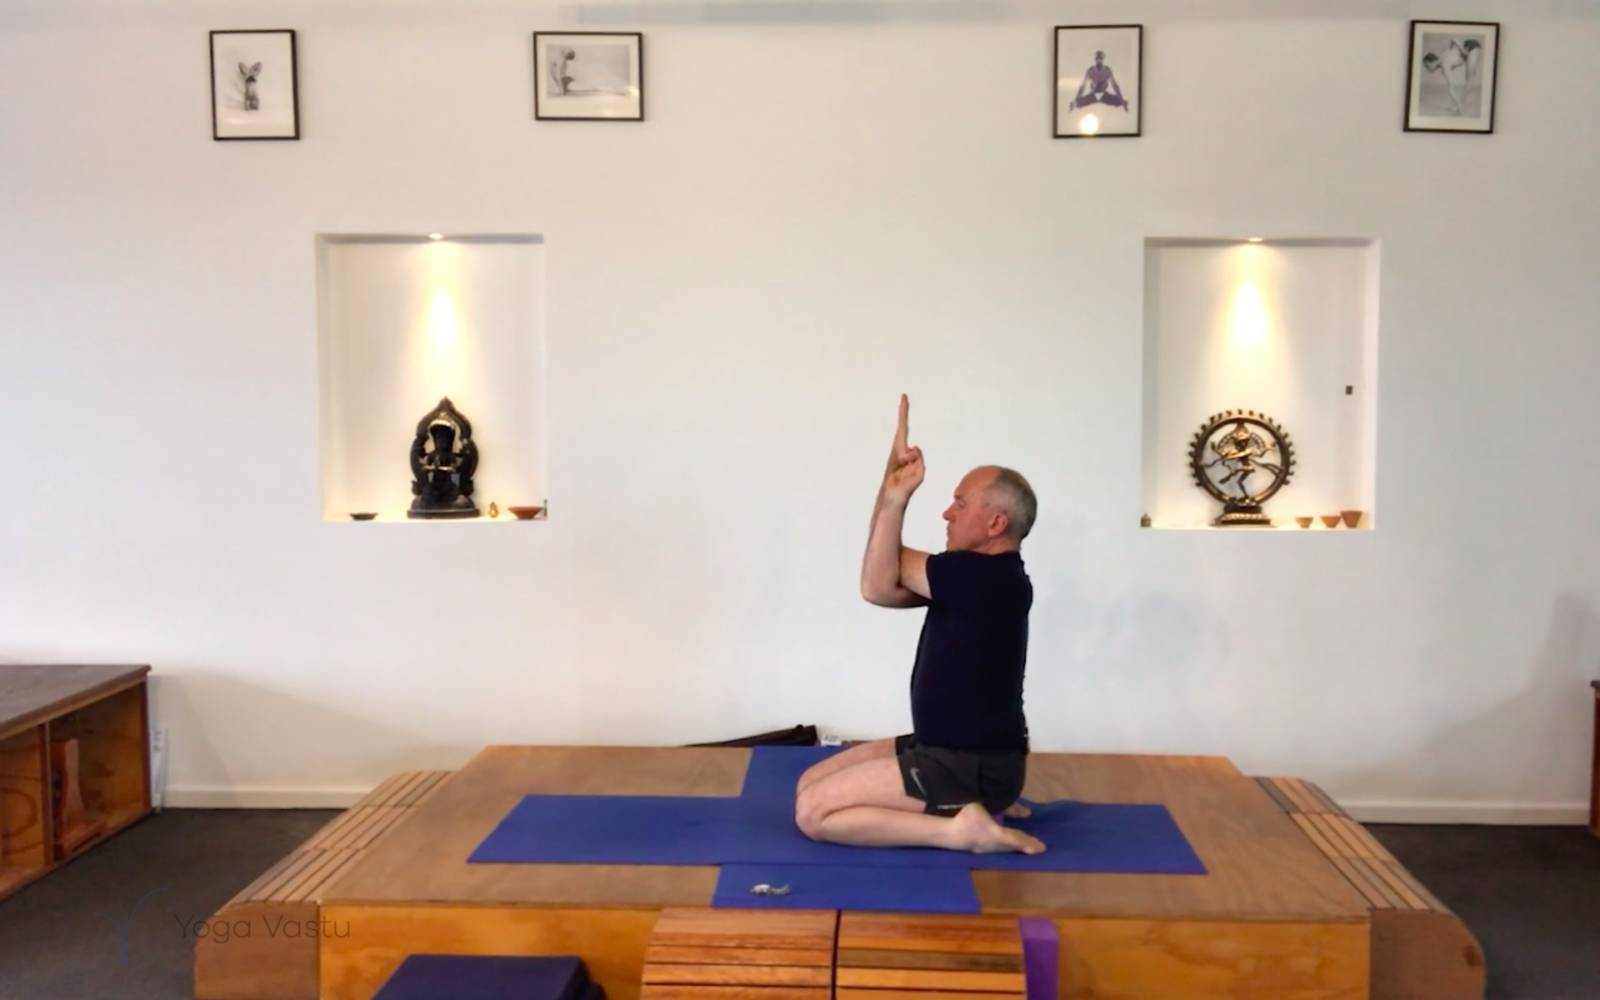
Virasana with arms in Garudasaha comes next. Cross your elbows over each other and join your palms. If this doesn’t come so easily and you cannot join your palms, use a belt to make up for the gap between them.
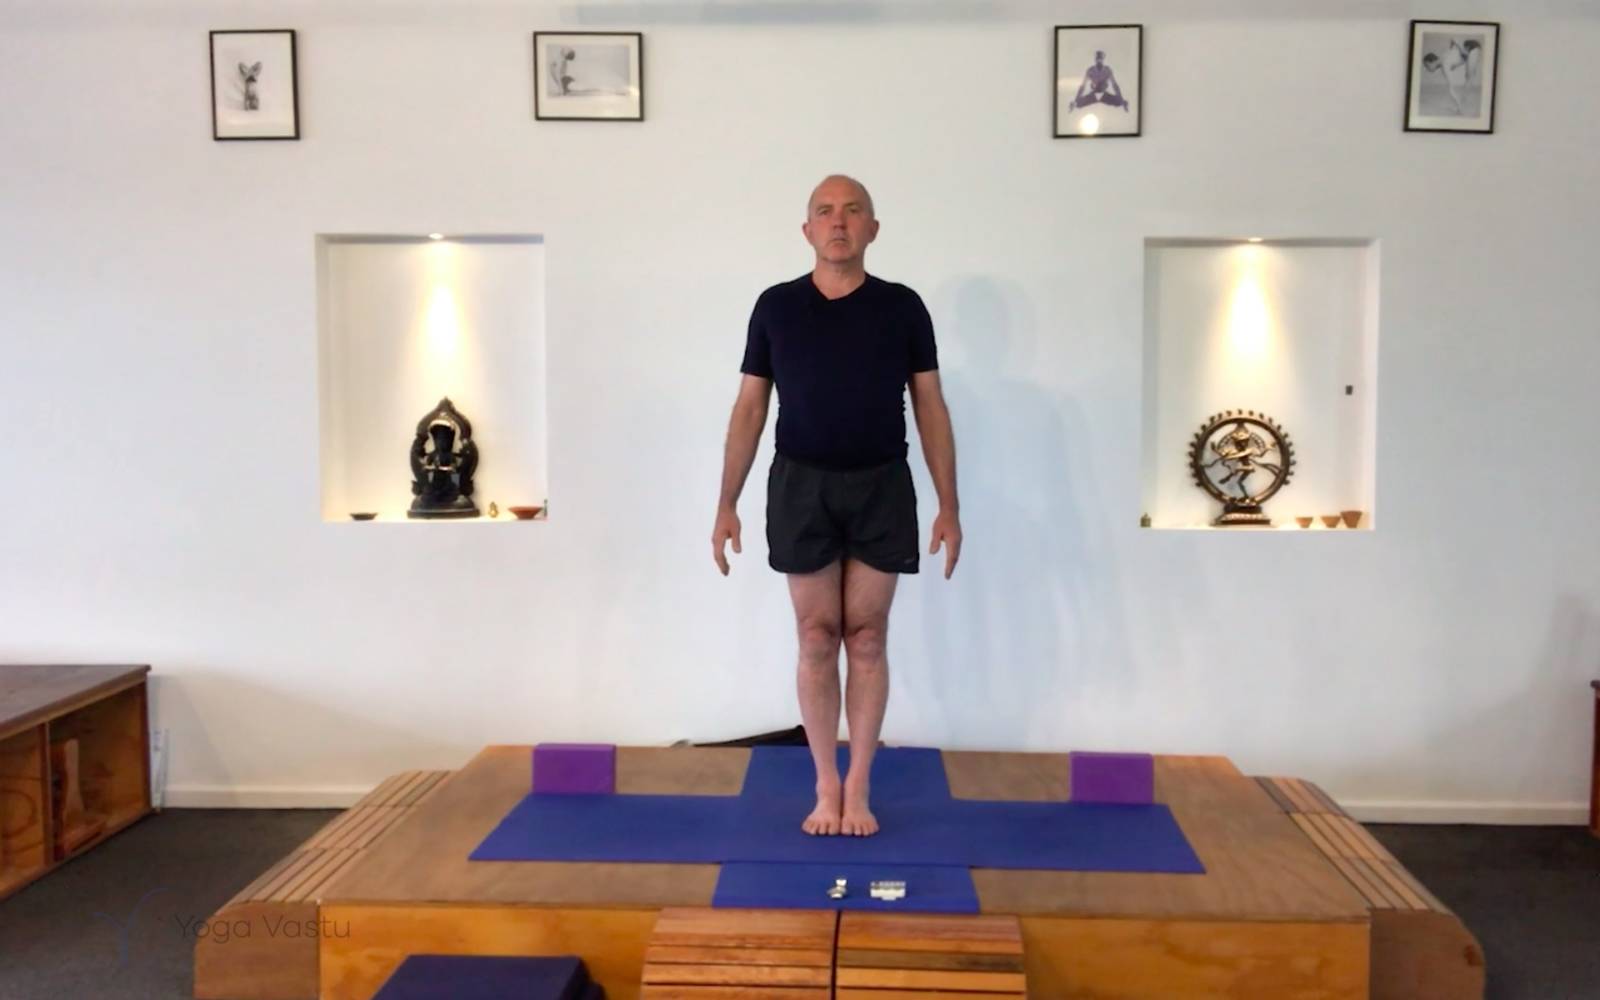
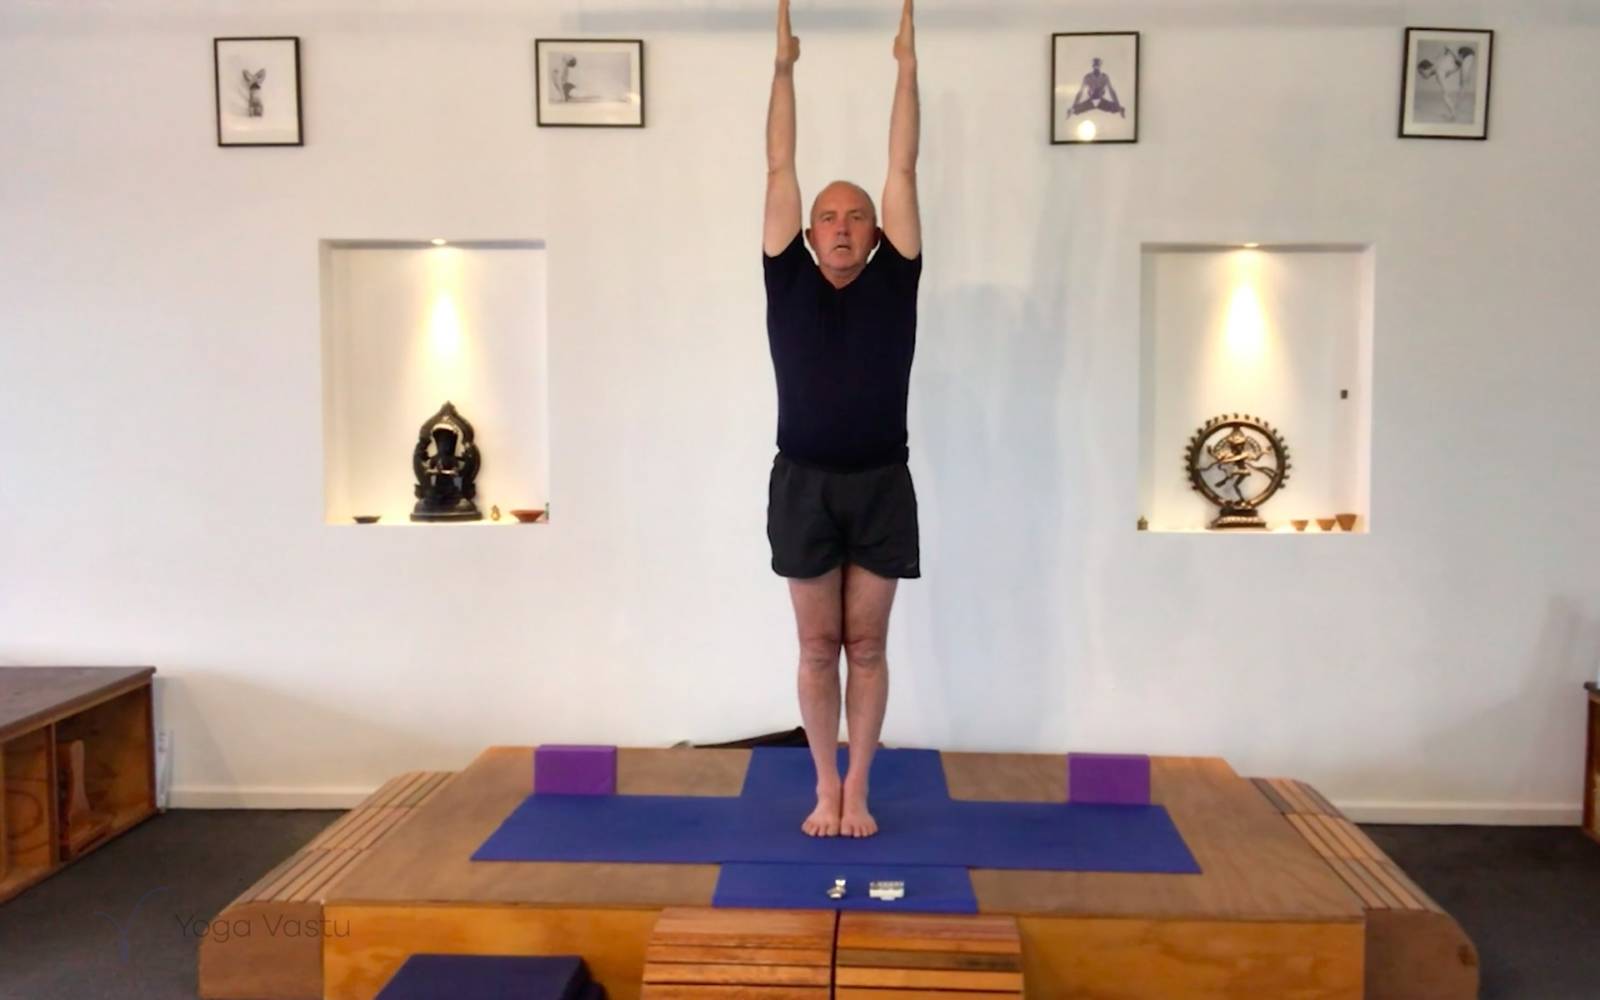
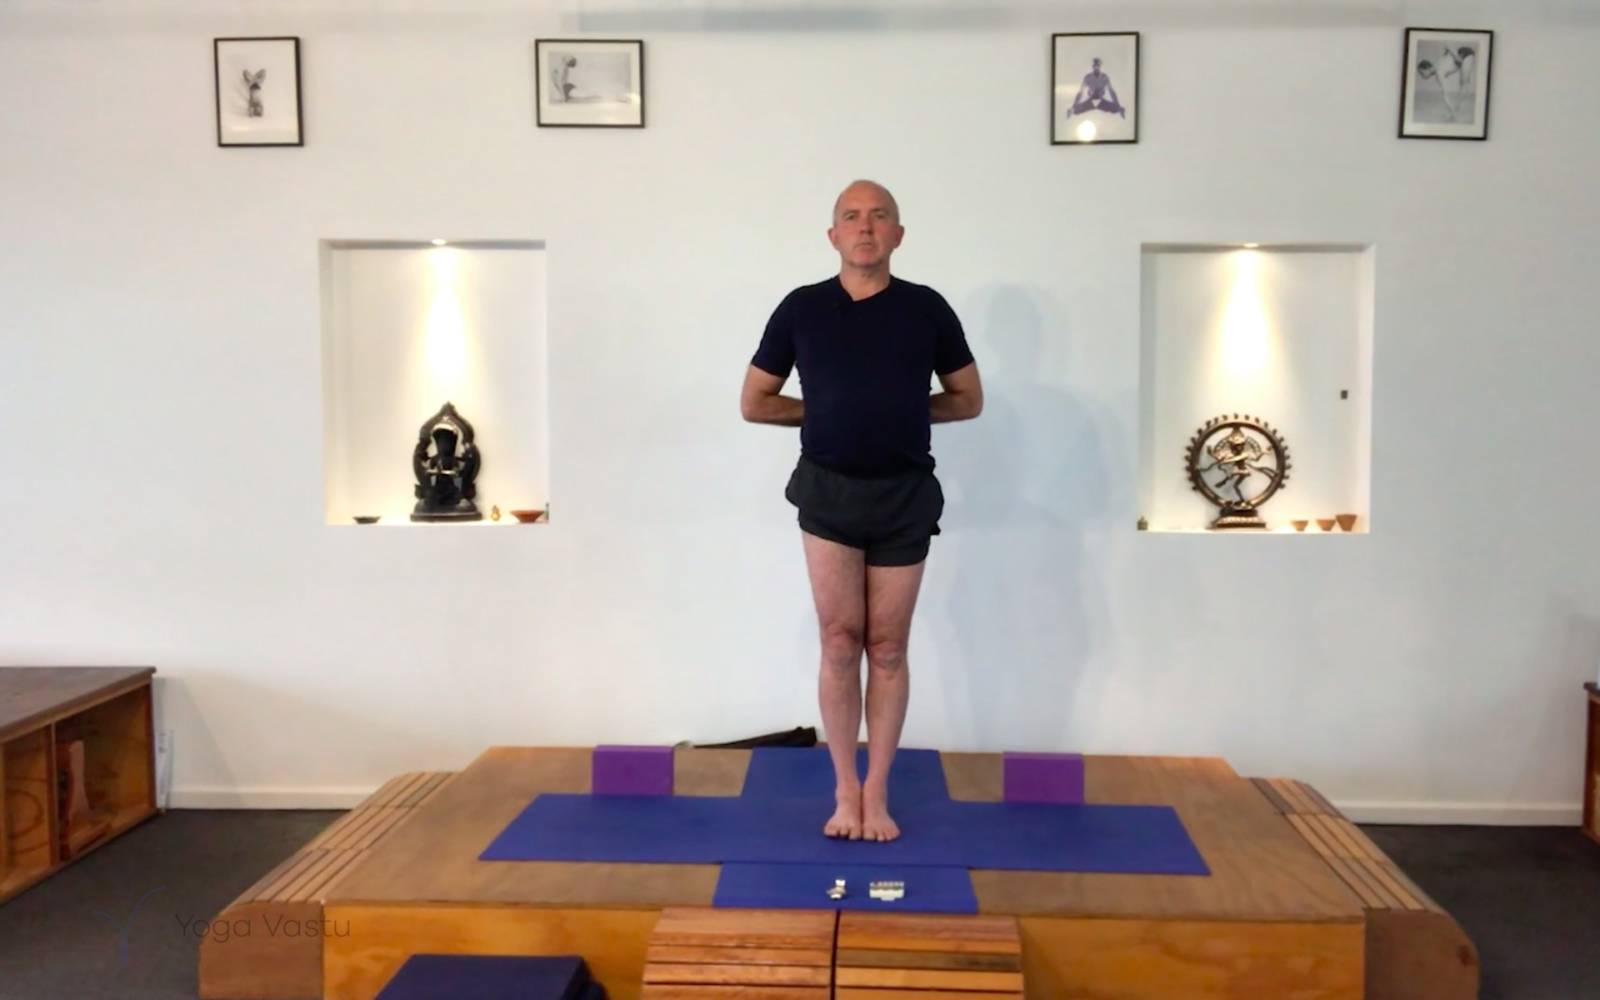
Move into Adho Mukha Svanasana one last time. Then, look forward and walk your feet forward. Lift up into Tadasana. We will now be moving into standing poses. If you are menstruating or feeling flat and tired, use the wall for stability in your standing poses: place your heel to the wall to decrease the effort. In Tadasana, fan the metatarsals (spread the toes), move the inner thighs back and lift your pubis up slightly with the tailbone toward the floor. Feel your toes getting light. Draw your shoulders back and open the chest. Look straight ahead. To get a feel of all the right motions, you can practise standing with your back against the wall.
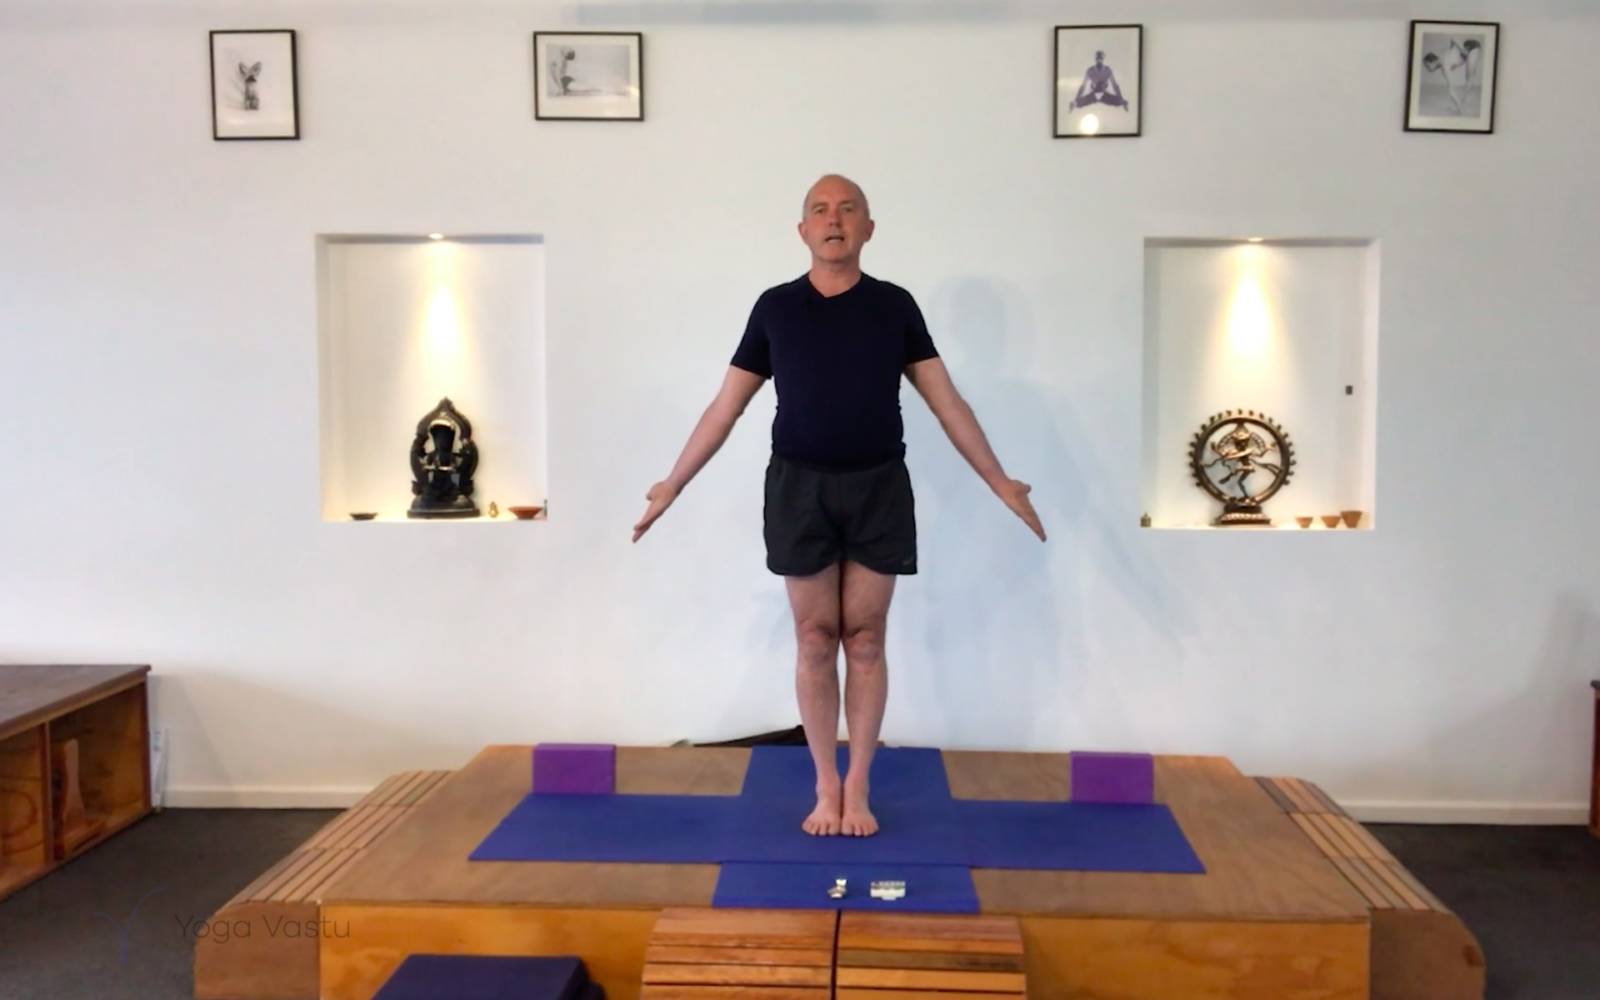
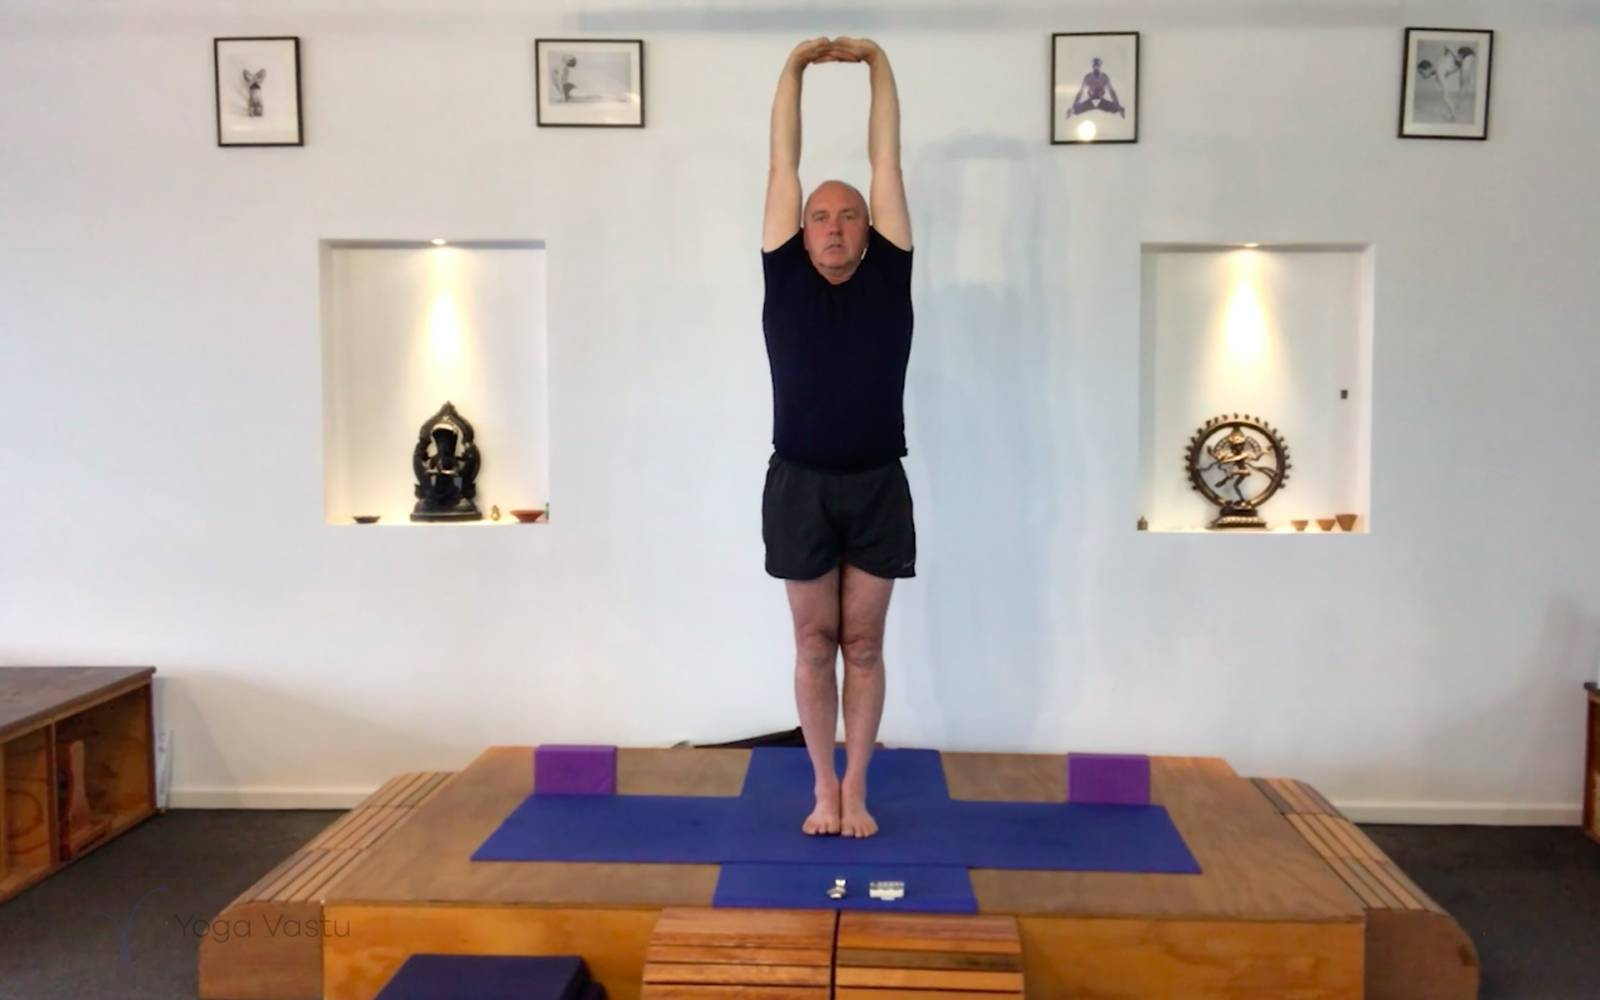
Now turn your palms out to the side and, as you inhale, take your arms up into Urdhva Hastasana. Turn your arms and, as you exhale, bring them back down. Practise this motion several times, opening your side ribs. Urdhva Baddanguliyasana comes next. Repeat twice, changing the interlock of your fingers each time.
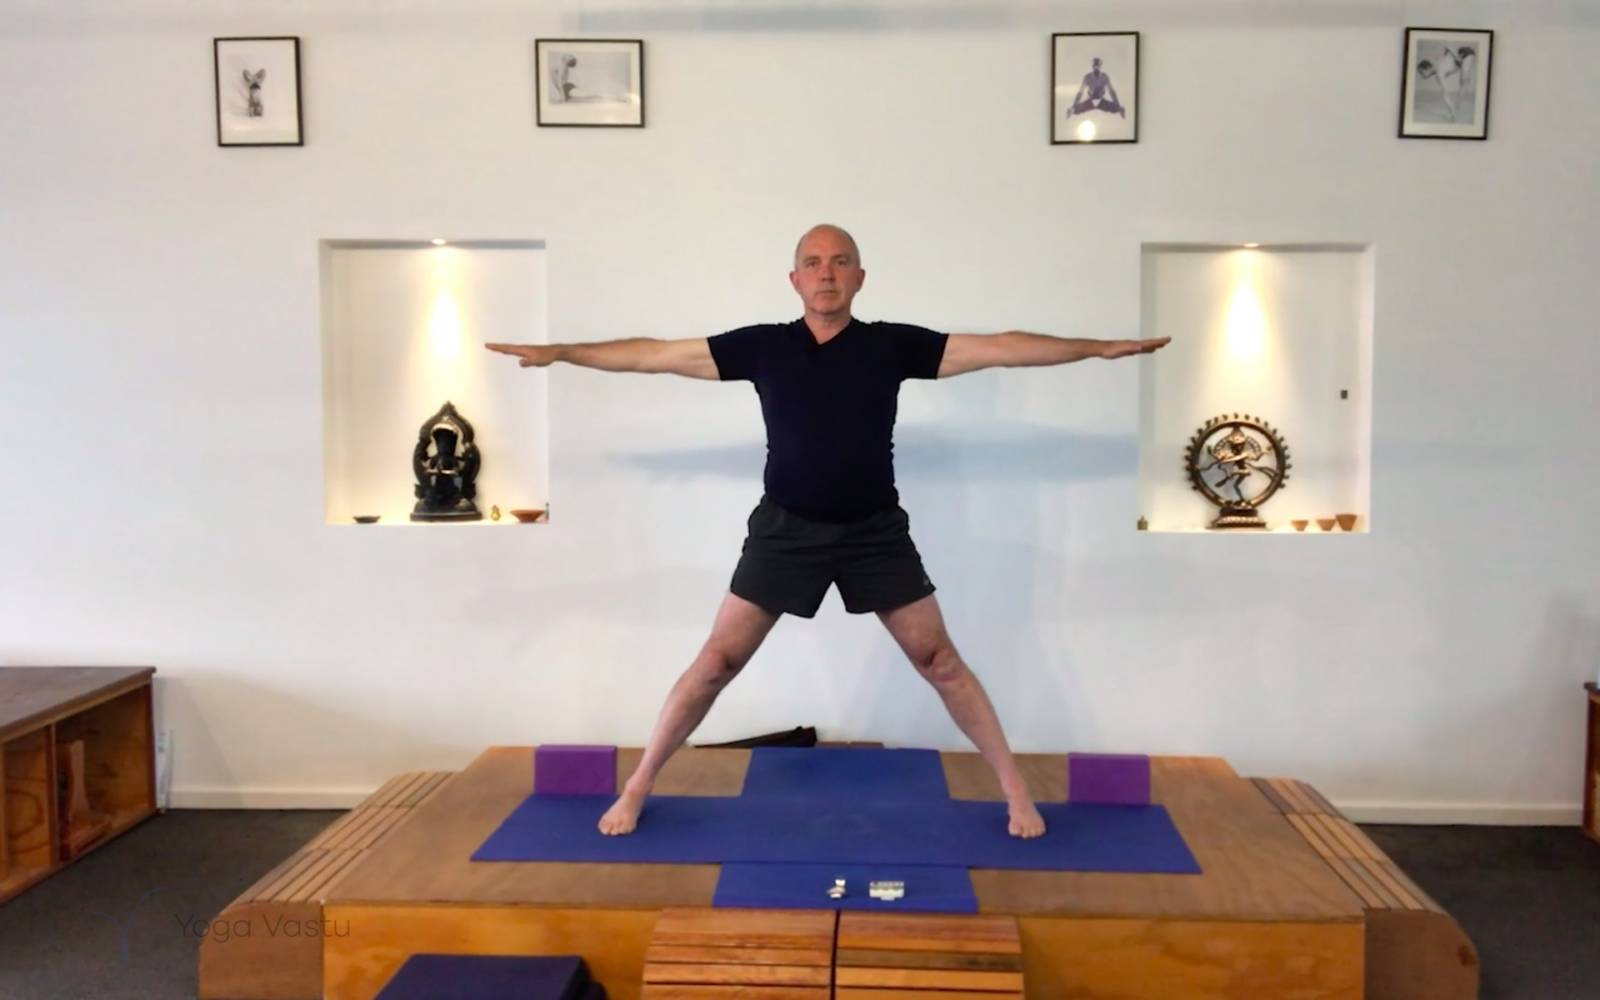
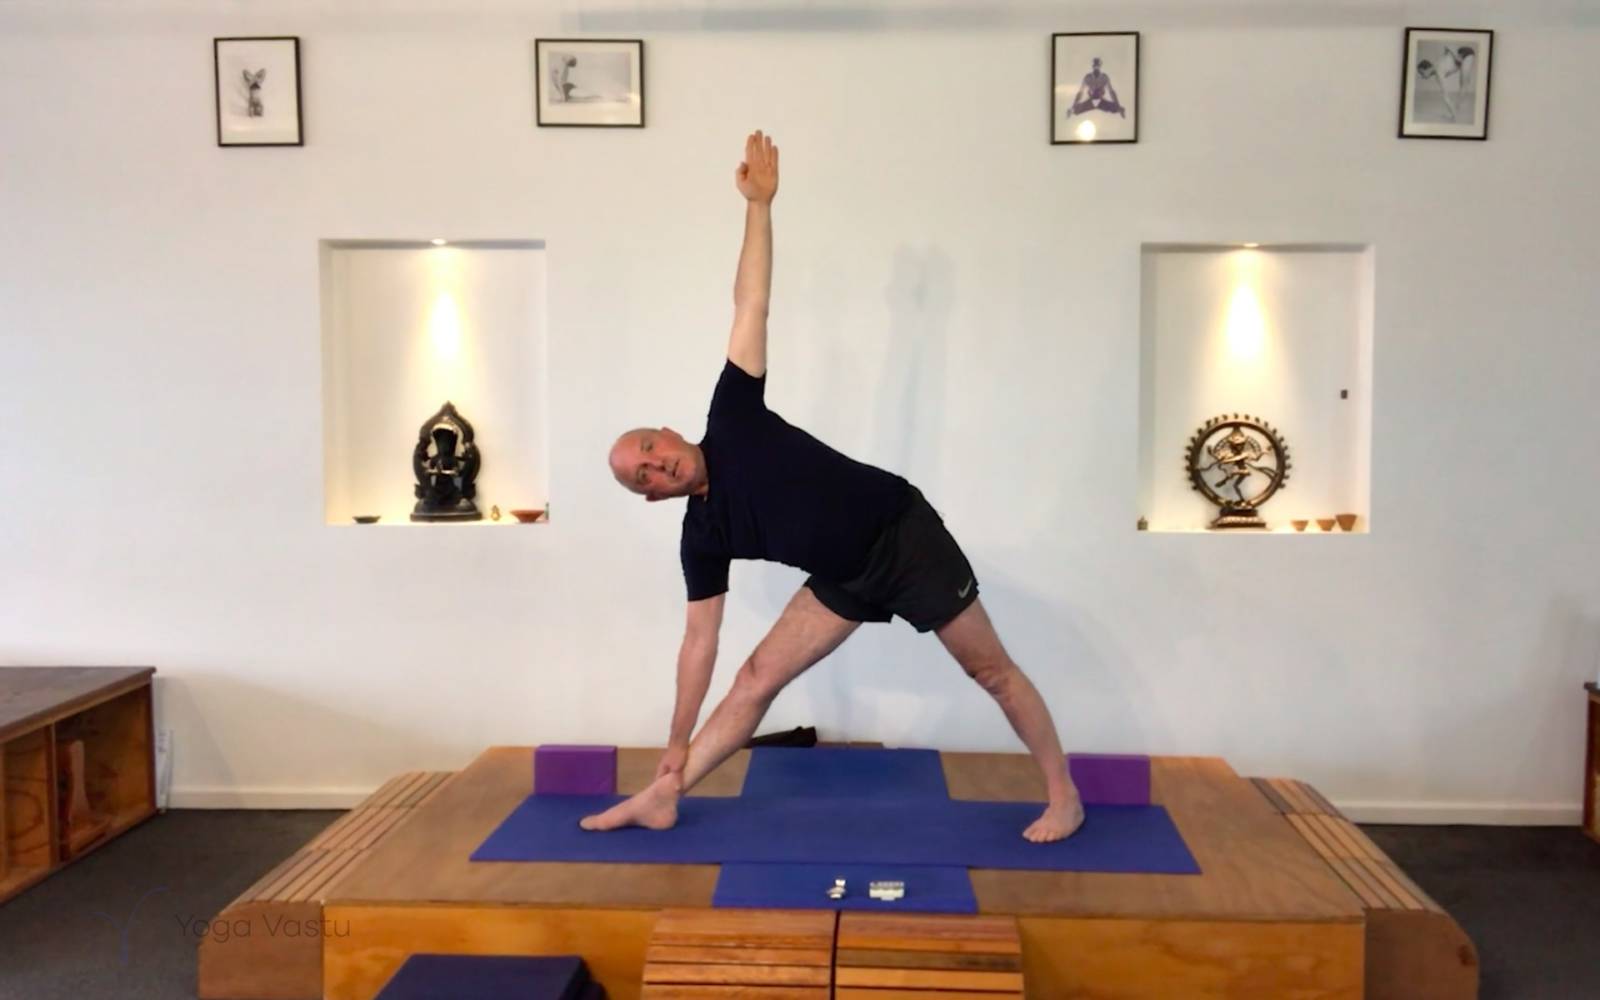
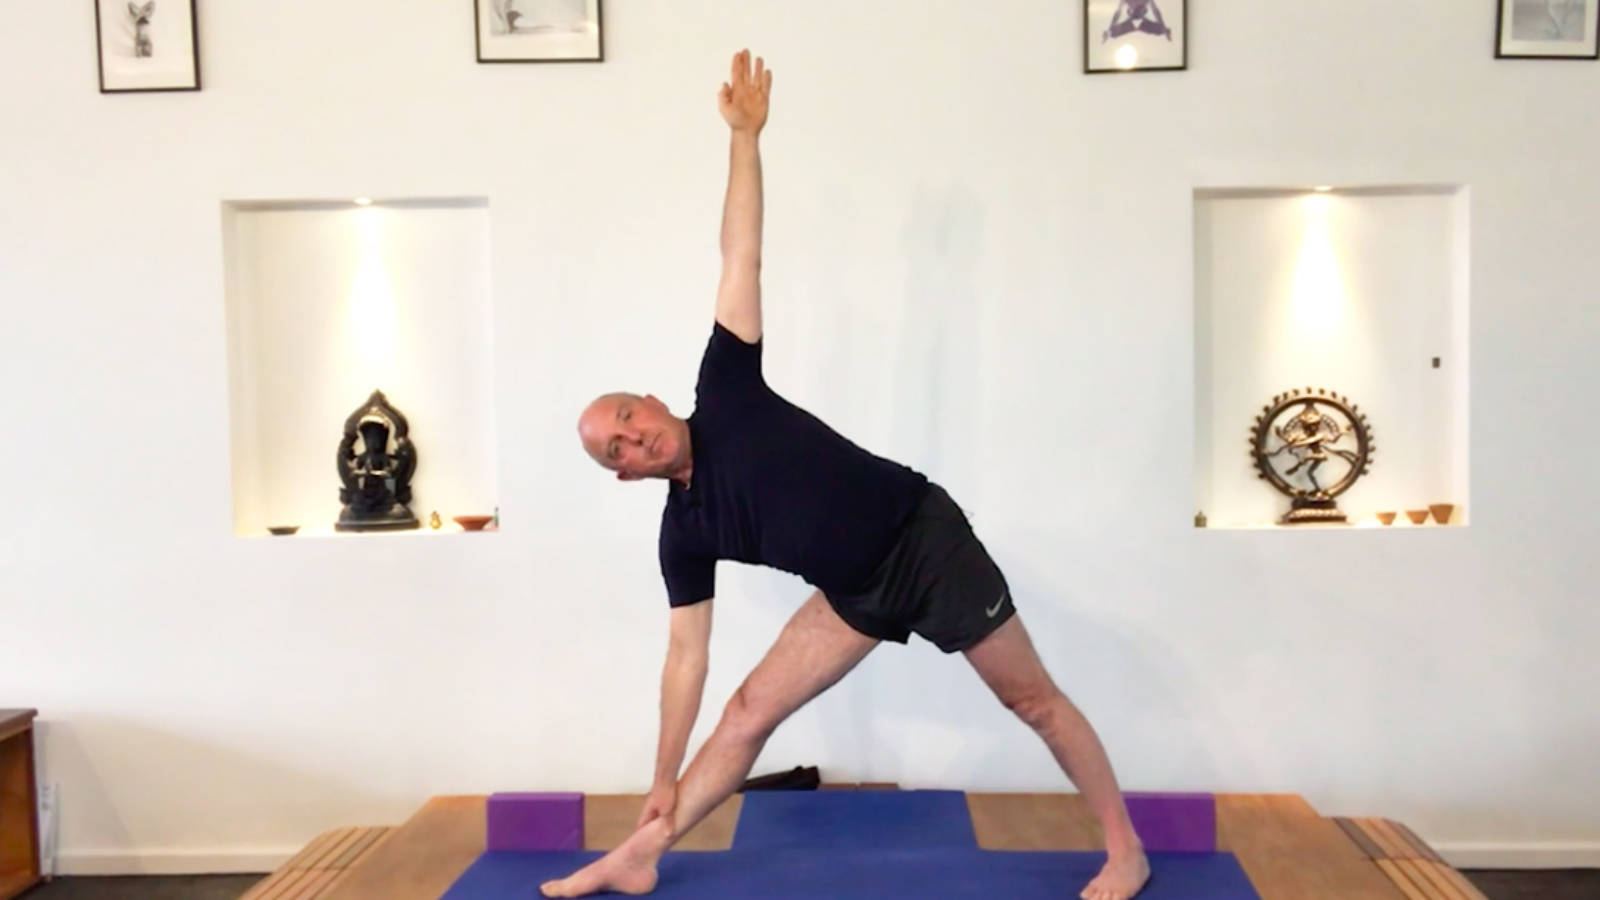
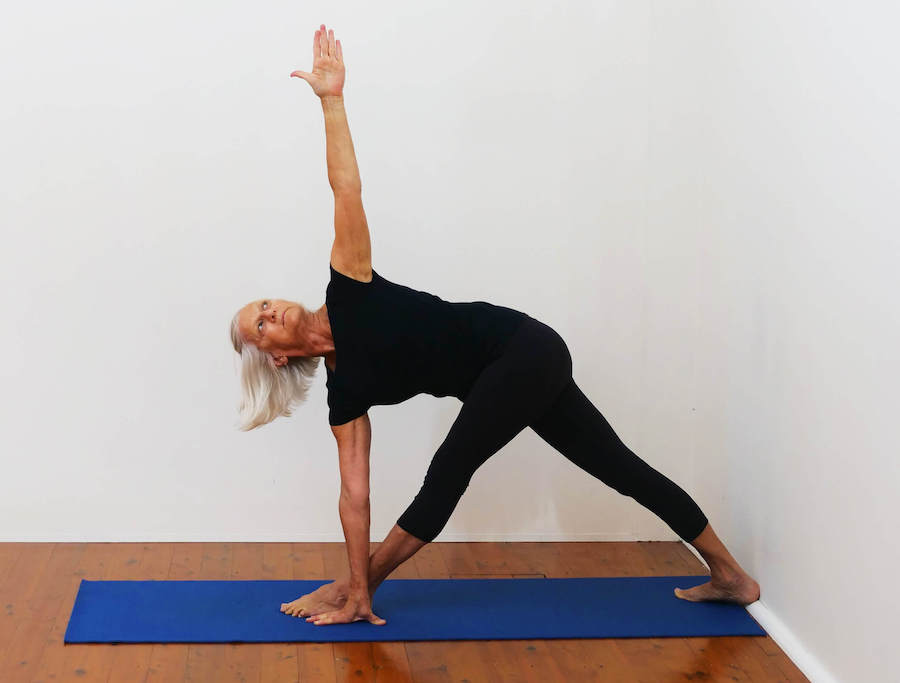
Jump your feet out for the standing poses. Turn your feet toward the right and go into Trikonasana. Focus on the alignment in the pose. Do not round over. If you’re struggling to reach the floor, place your hand on your shin or on a block.
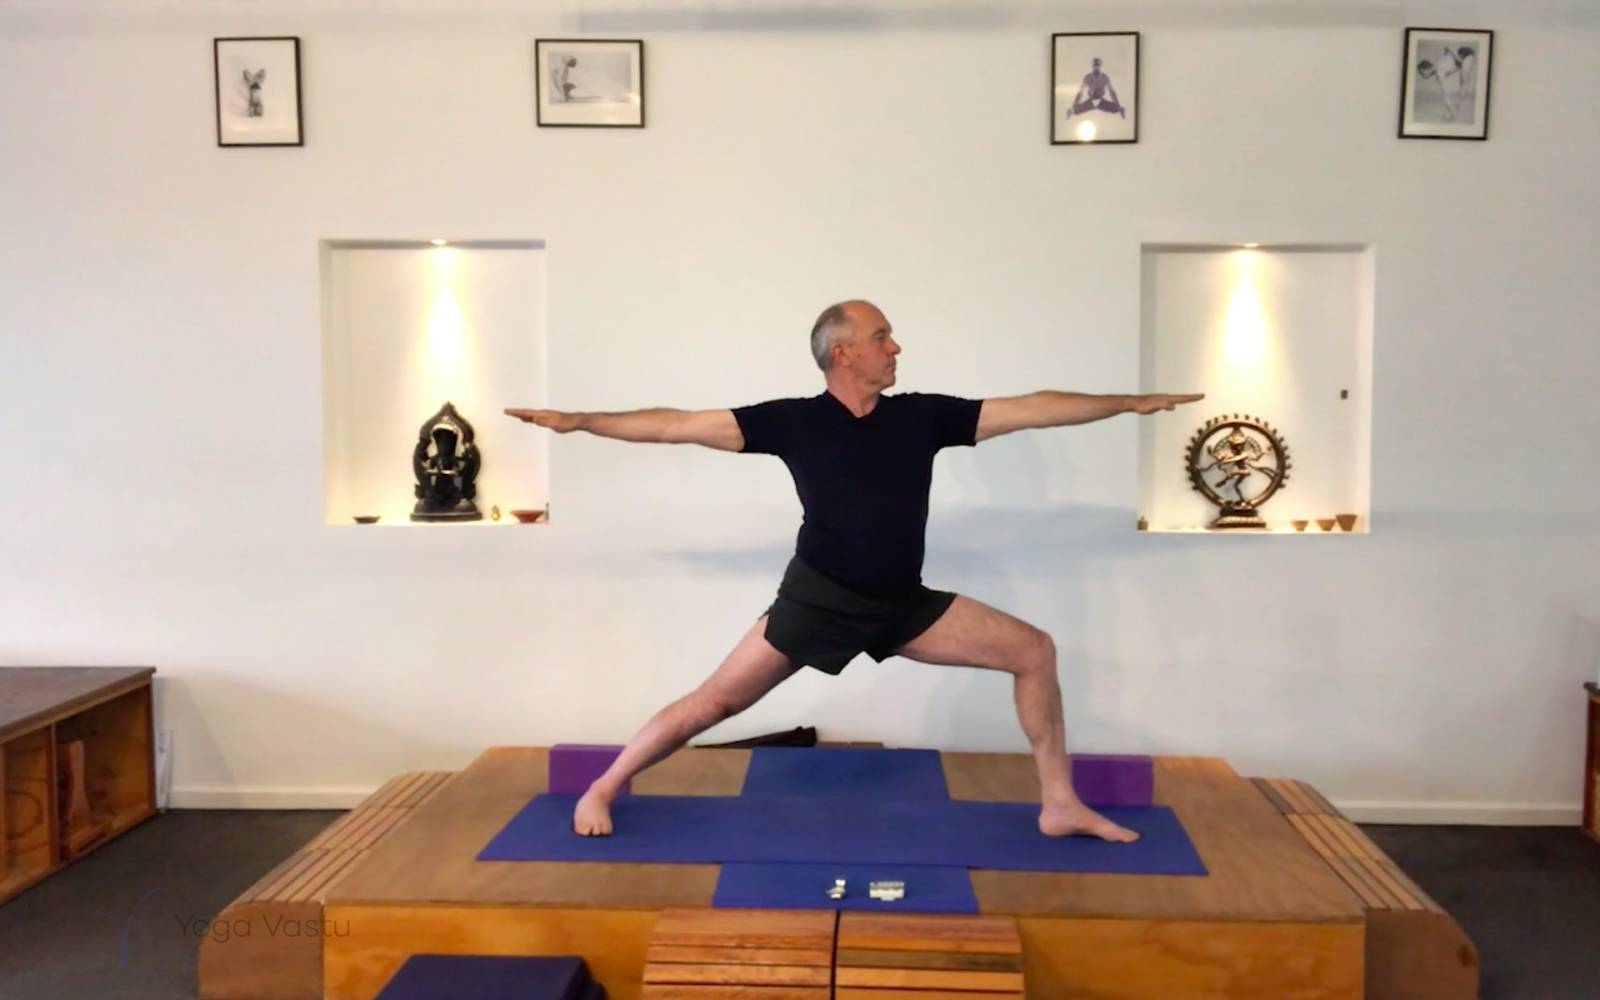
Virabhadrasana 2. Your bent knee is tracking over your toes. As you spread your arms, look across past your fingers. Keep your face muscles soft and breathe calmly, breathe through the strain.
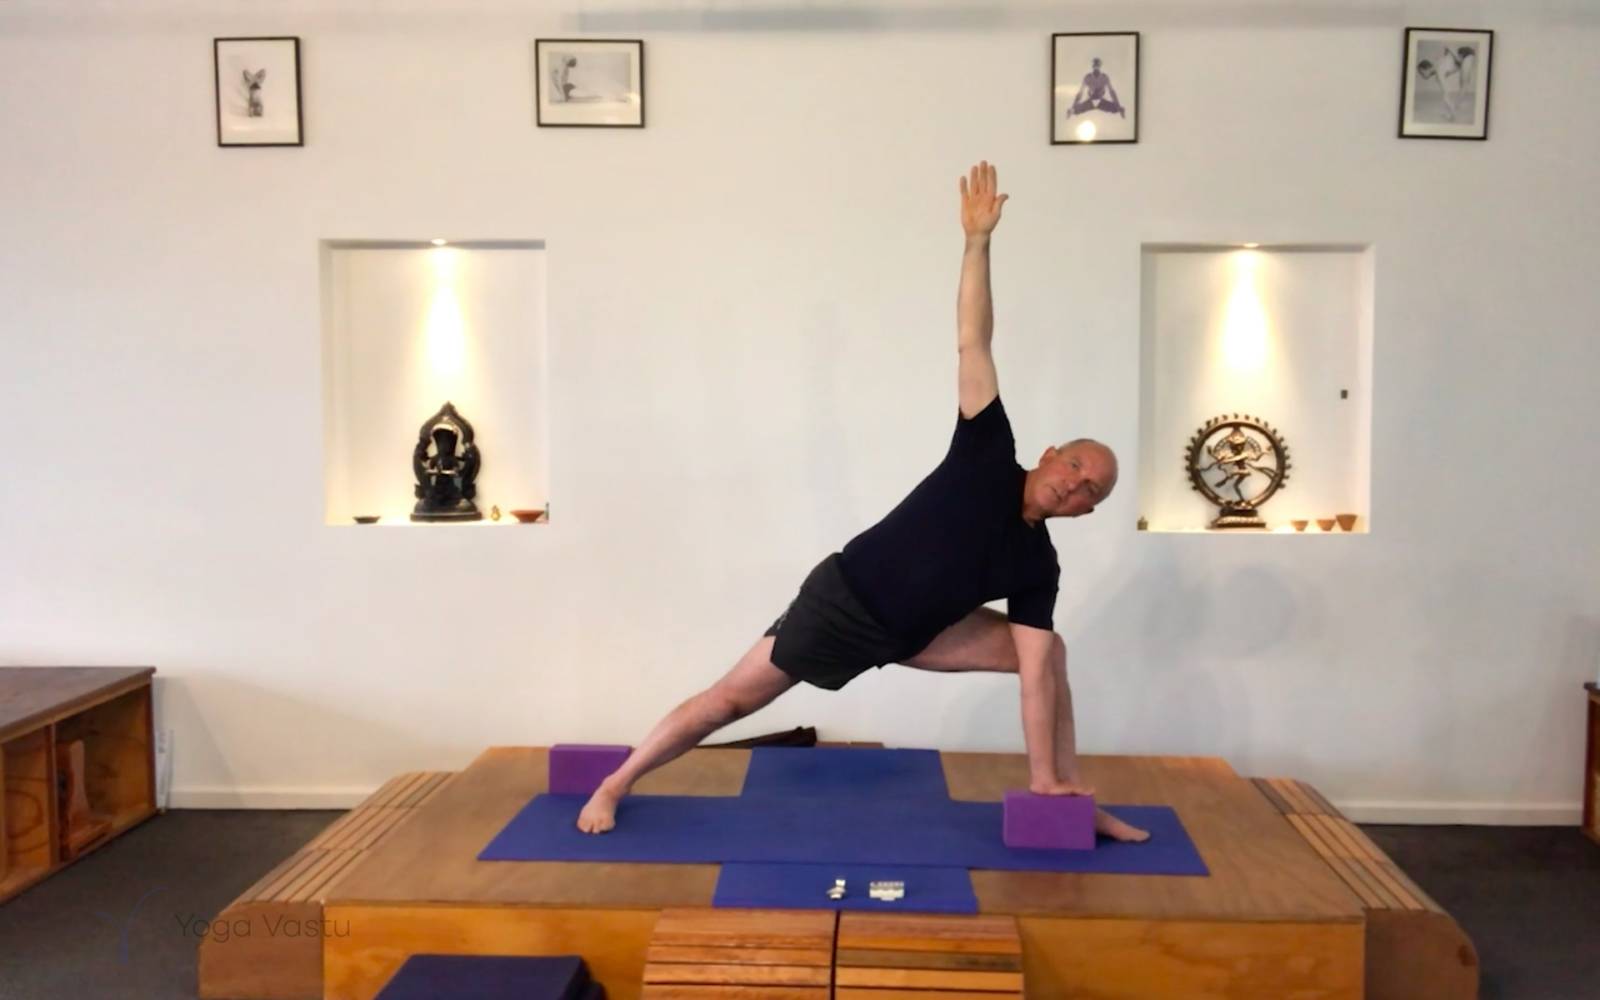
Parsvakonasana. Exhale, take your hand down to the heel. Open the groin. Align your arms. When you’ve achieved this pose, look up past your lifted arm, and extend through the crown of your head.
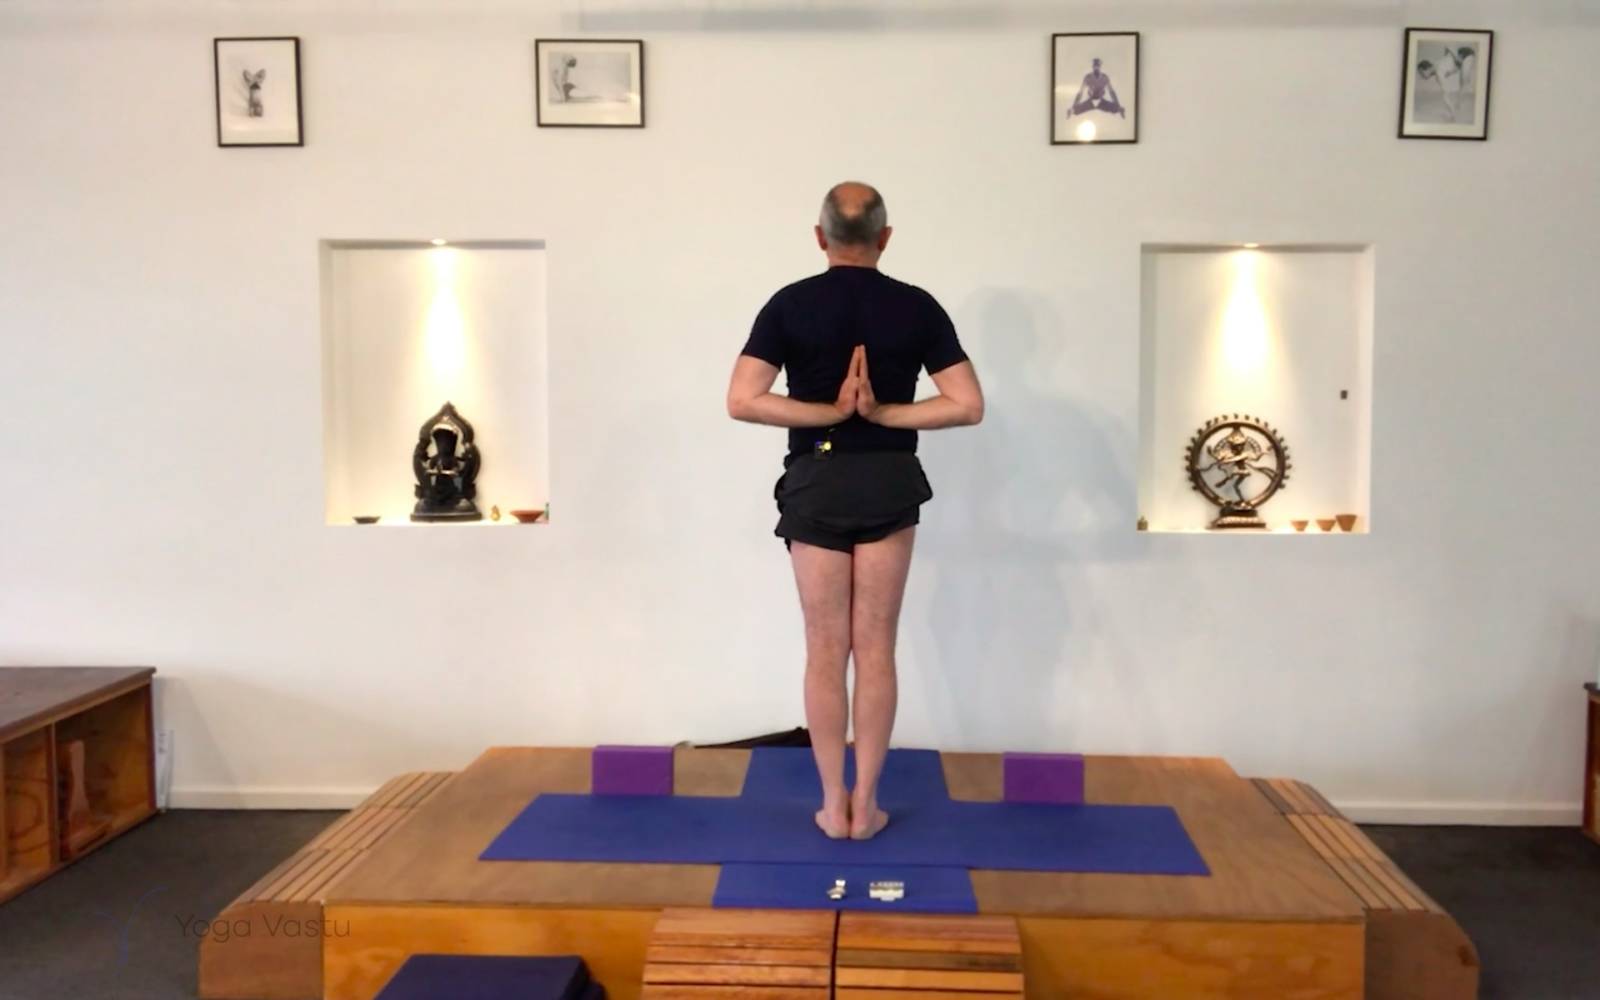
Come back into Tadasana for a while, letting yourself come back to neutral. Bring your hands behinds your back into Paschima Namaskar to spread your shoulders, bringing the shoulder tips back, and moving the elbows down. If this doesn’t come so easily, you can simply fold your elbows over each other behind the back.
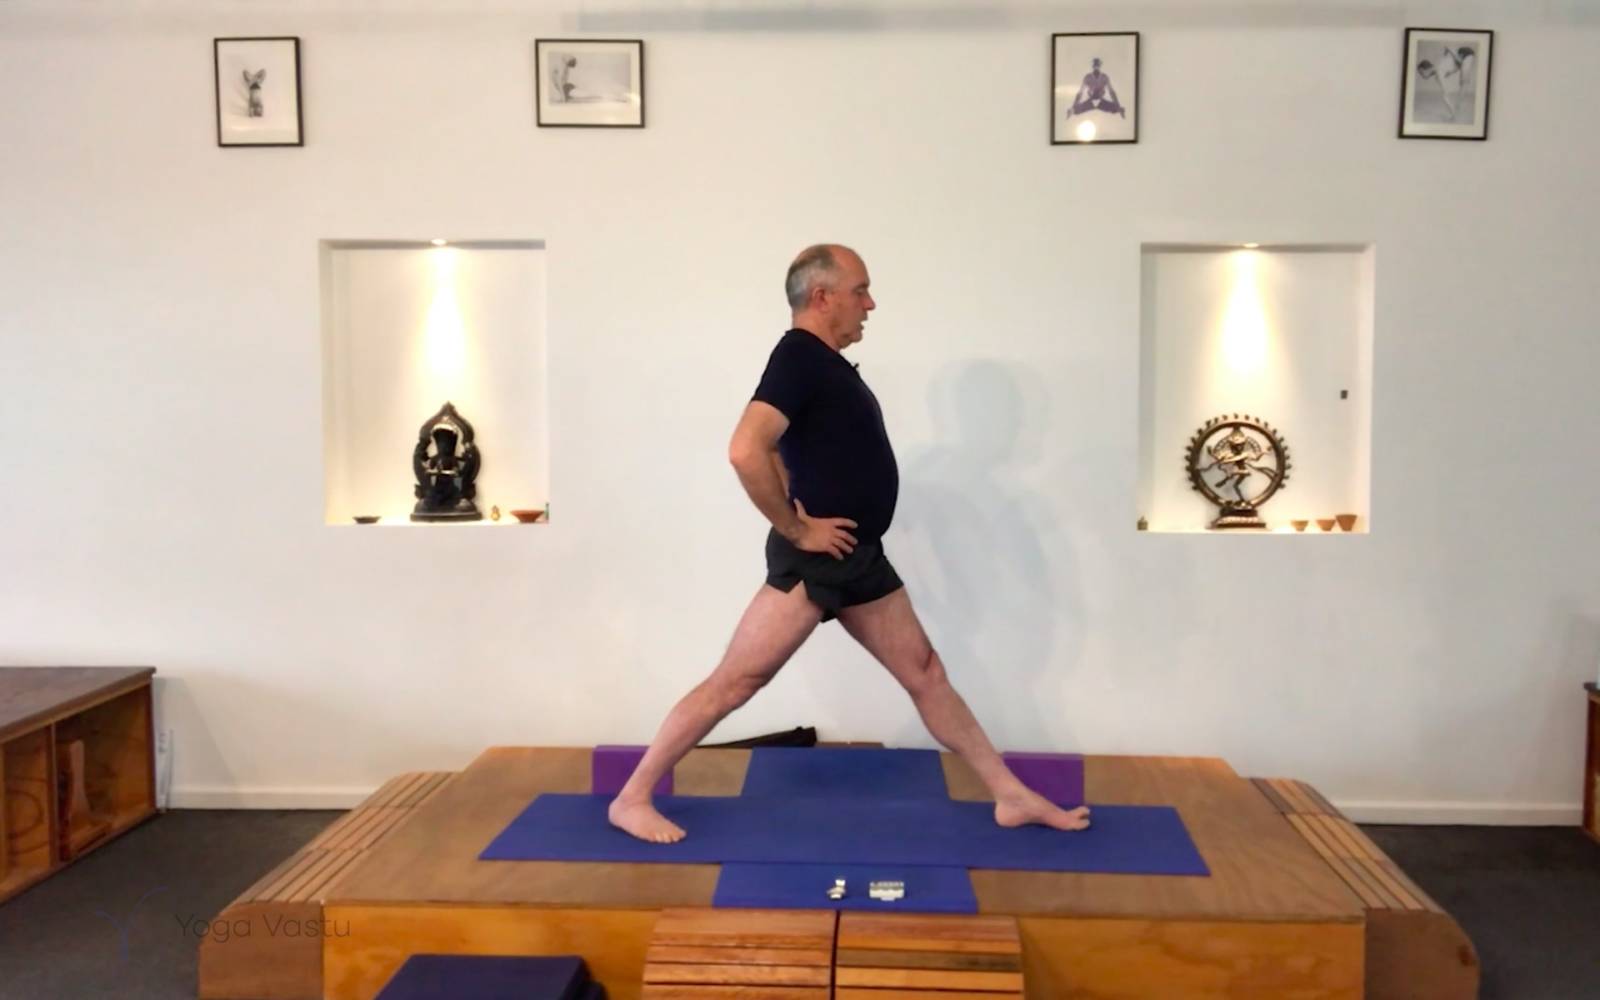
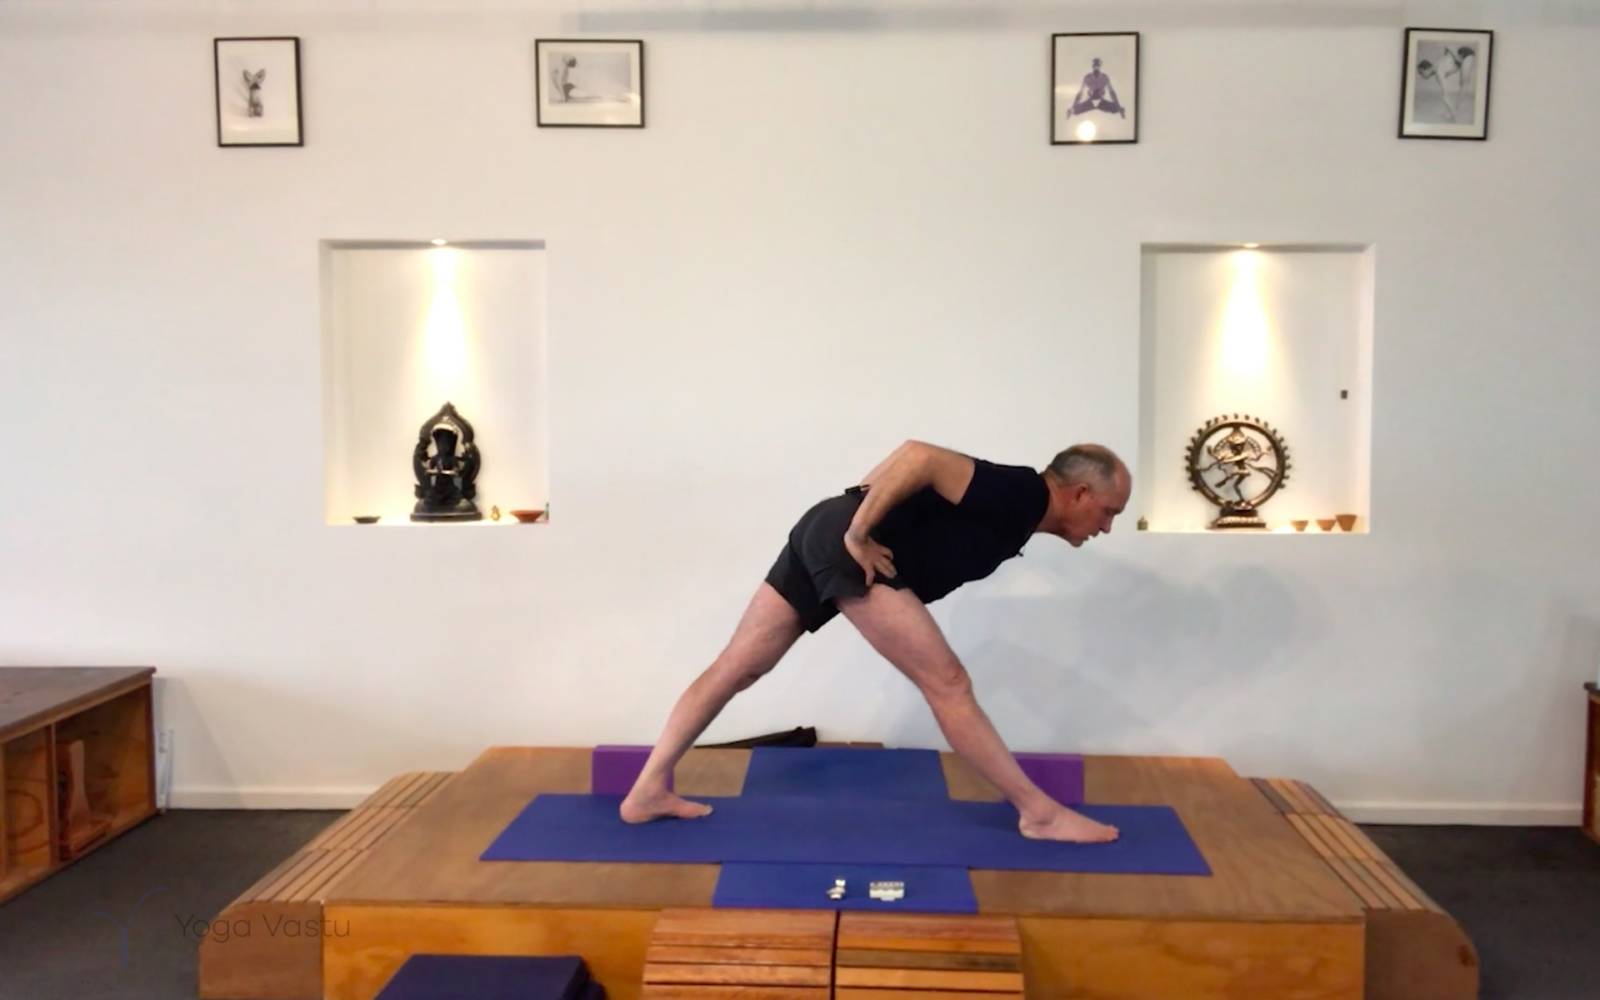
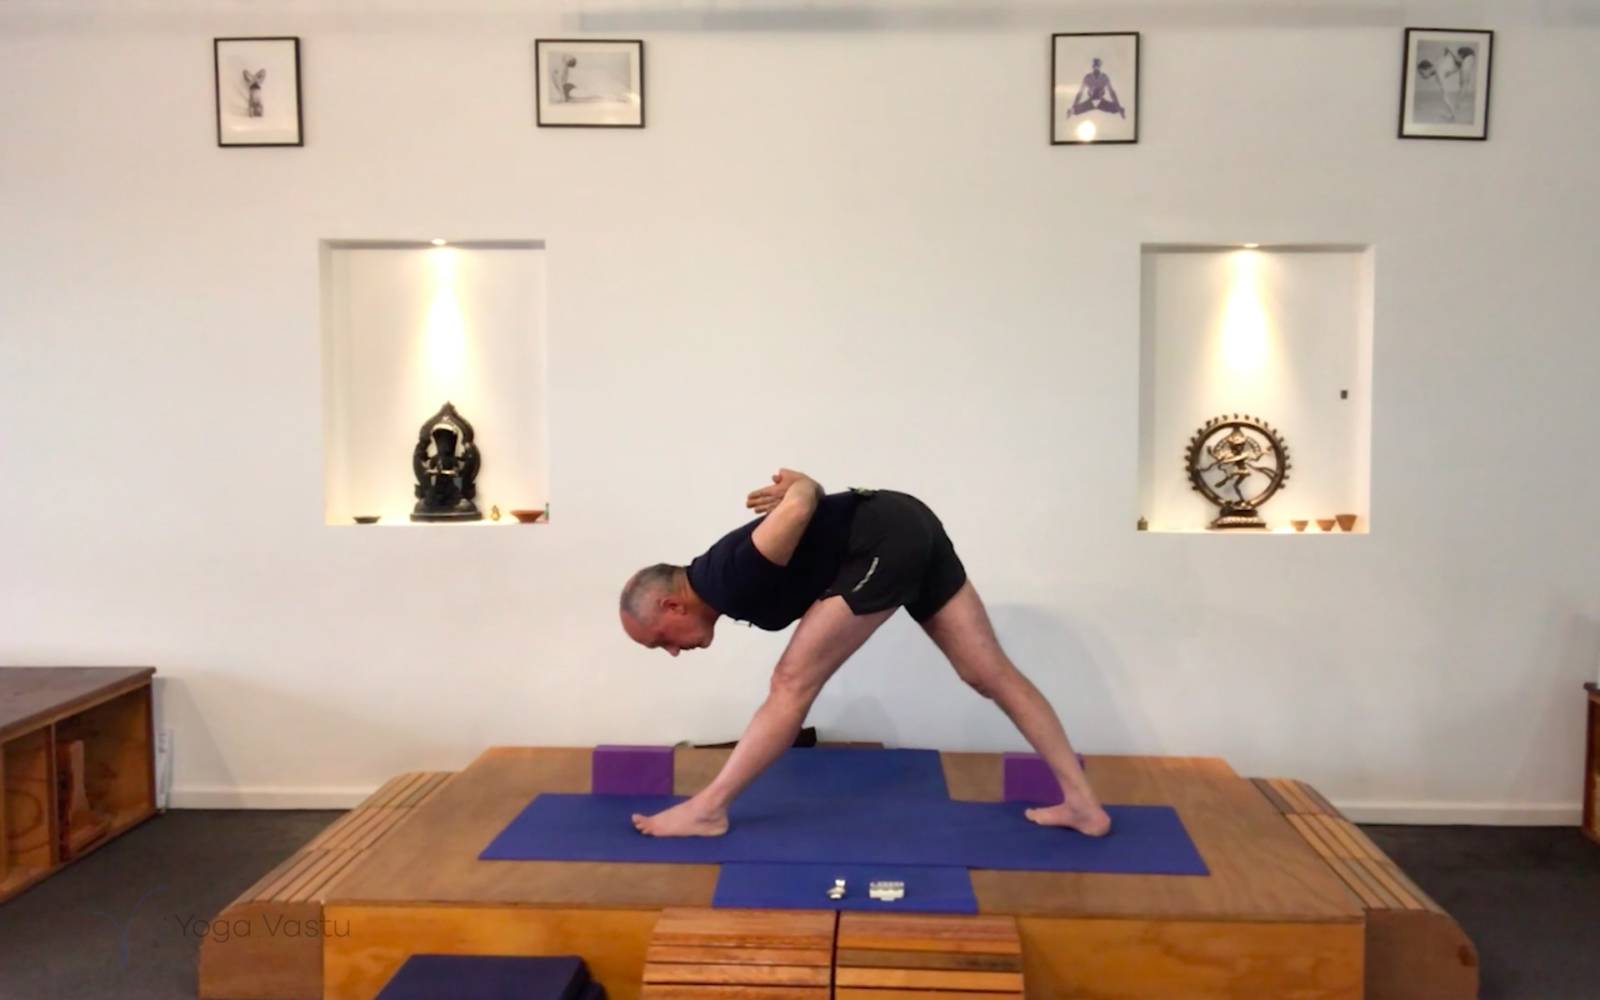
Jump your feet back out. Parsvottanasana. You press into the front toe mound and align the hips. The outer right thigh is brought back. Keep the legs straight and your hands on your hips as you tip from your pelvis. Keep your shoulder tips back as you come down to capacity. Elongate your spine, keep your chest lifted. If you can, try going into Parsvottanasna with your hands in Paschima Namaskar.
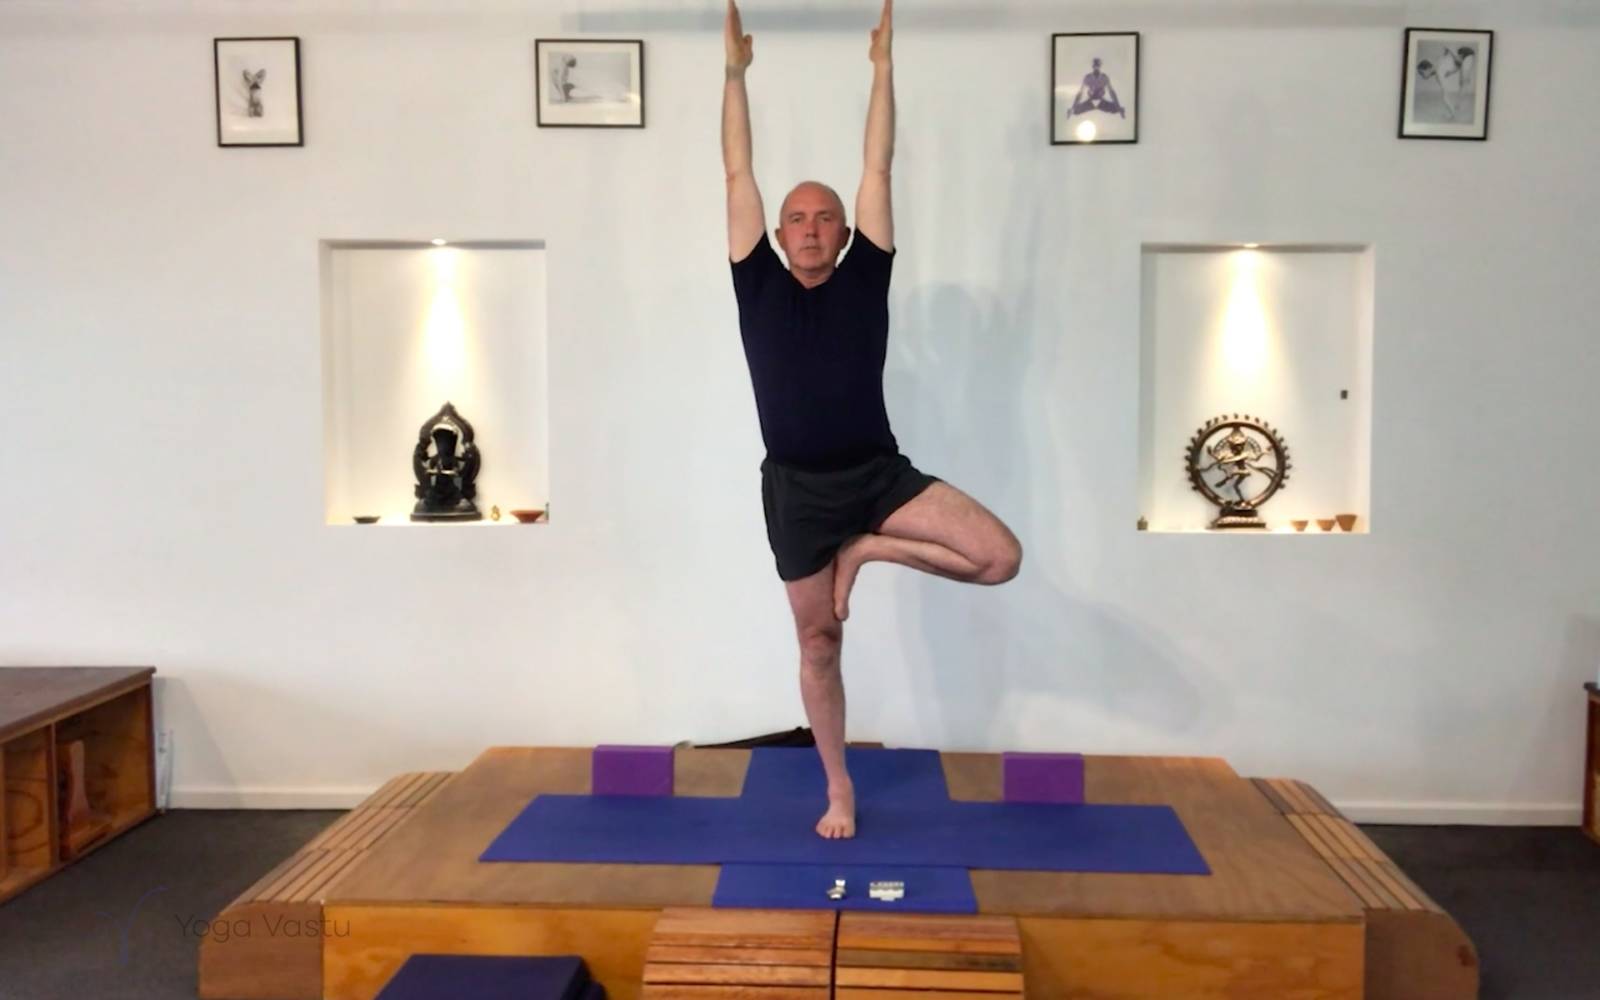
The last standing pose we will do today is Vrksasana (Tree Pose). Maintain your Tadasana line as you keep your eyes lifted and looking straight ahead. If you lack balance, use the support of the wall. Once stable, bring your arms up in Urdhva Hastasana.
Finally, to cool down, we will come into Supported Setu Bandha Sarvangasana over T-shaped bolsters. To keep your legs in place, take a block between your legs and strap a belt around your upper thighs. Focus on the opening in the chest and shoulders. Stay here for a few minutes, softening your abdominal and face muscles as you breathe steadily.
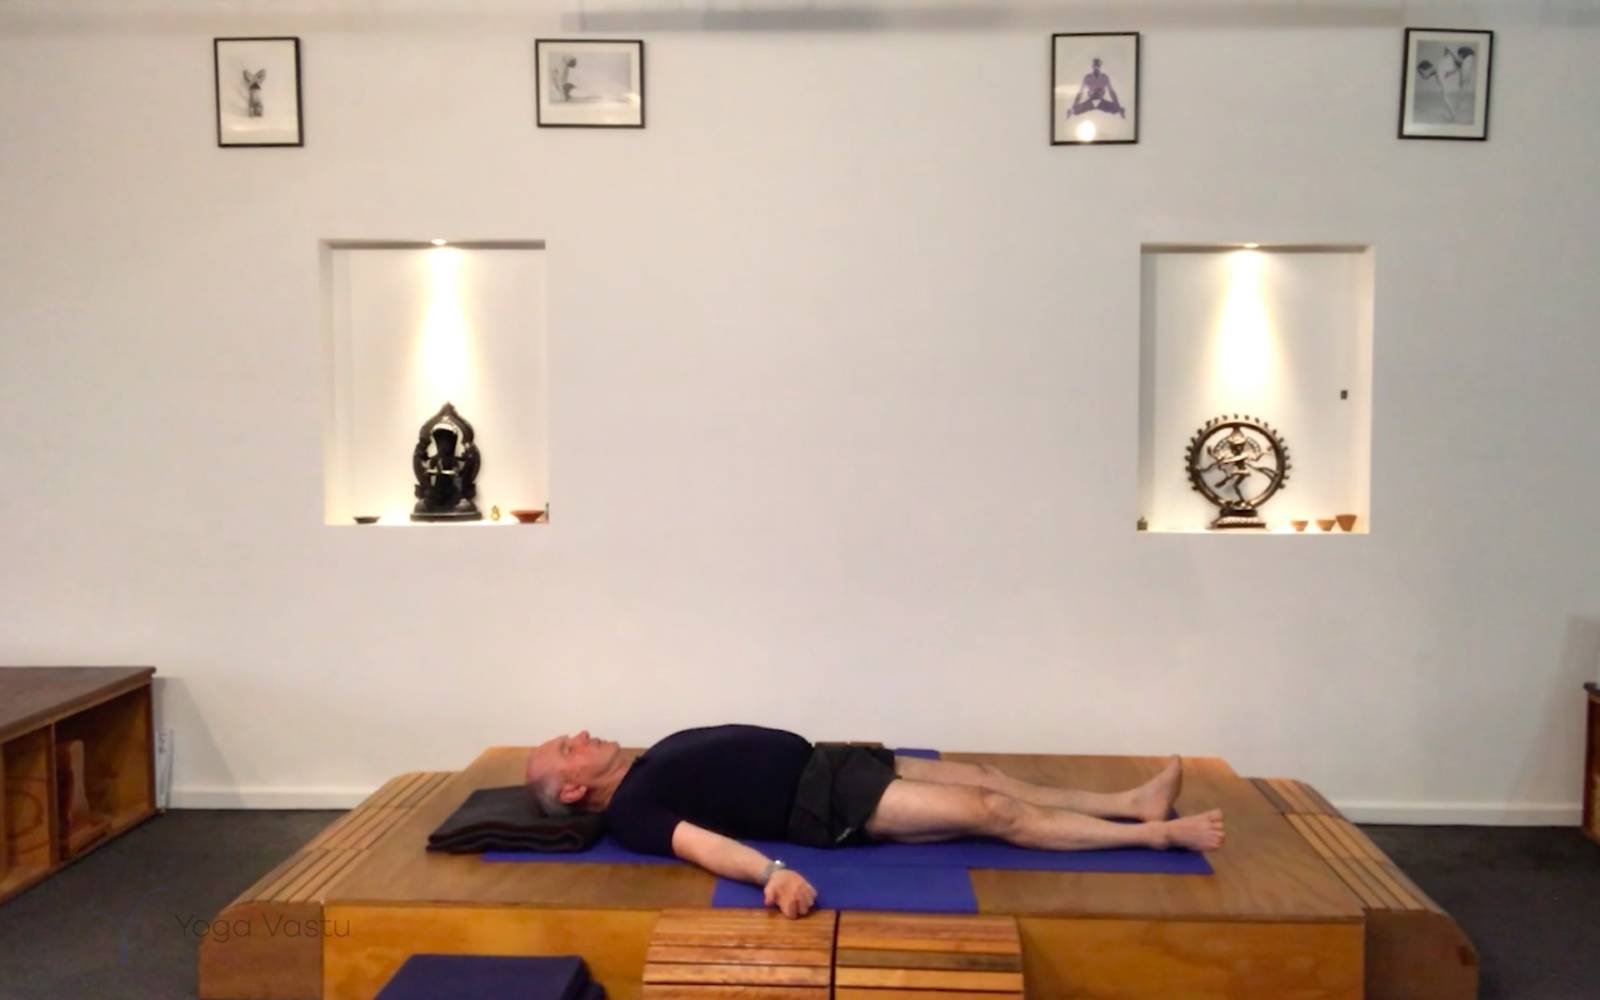
We finish in Savasana with a blanket placed at the base of your neck. This adds a lift to your head and helps lengthen your neck. With each exhalation let your limbs sink and descend. Notice how each breath brings a new wave of relaxation into your body. Savasana can be viewed as a gradual process of relaxation. Very similar to a piece of scrunched-up paper thrown onto the surface of a pond. Gradually, due to the effect of the water that it slowly absorbs, it starts to unravel, flatten out, and sink deeper into the stiller layers of the pond, until it hits the bottom and, eventually, disintegrates and becomes one with its new environment.
Illustrated sequence of video
Download and print the free illustrated sequence of this video.
Video stills from this sequence
