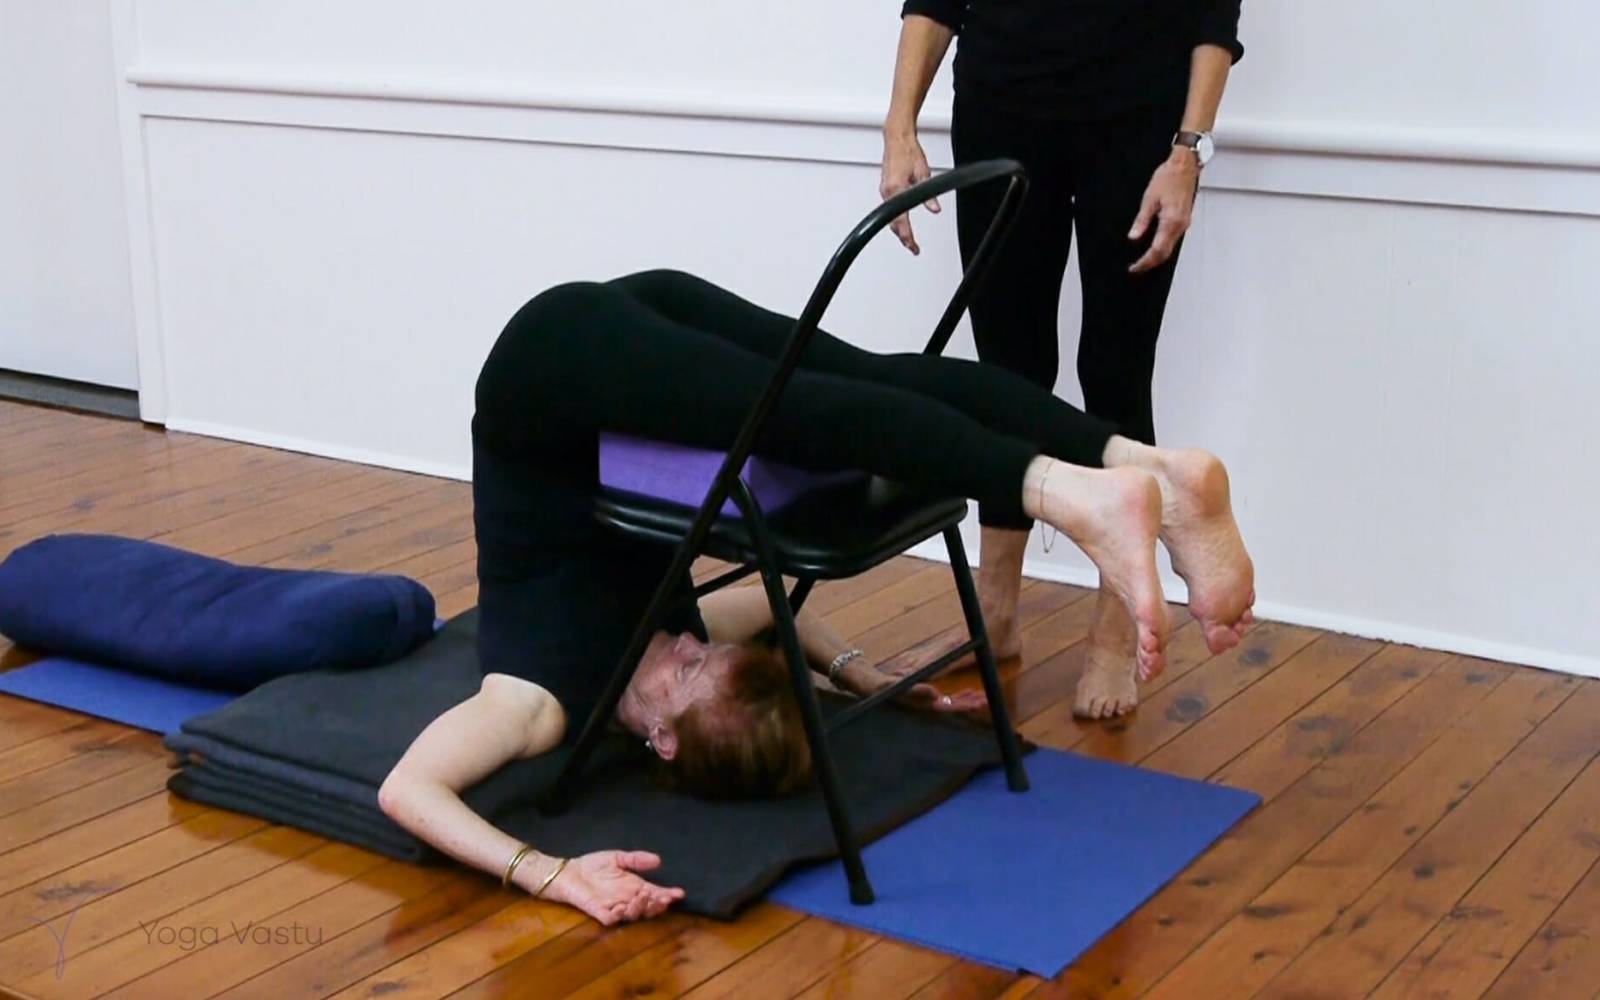
How to do it
You need a stable chair (a folding yoga chair is ideal), three or four firm blankets and a folded blanket or mat for the chair seat. Put the chair on a sticky mat so it cannot slide.
- Fold the blankets into a neat stack with the folded edges lined up. Place the chair at the head end, seat facing the blankets, with a folded blanket on the seat.
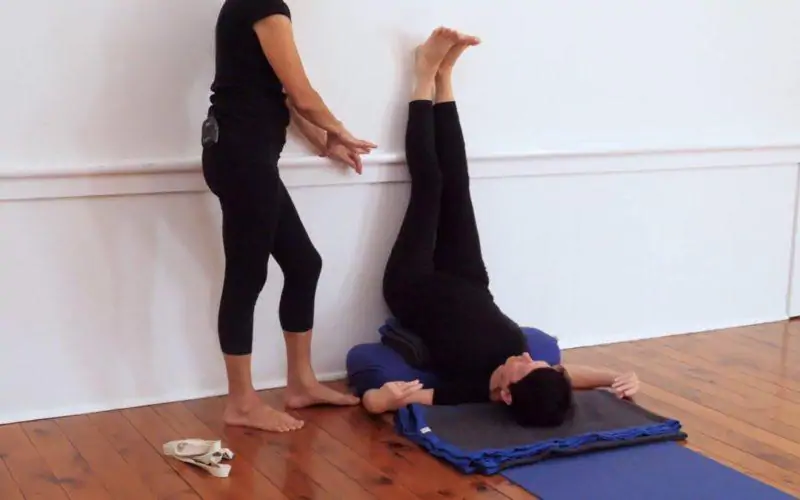
- Lie on your back with your shoulders on the blankets, a few centimetres in from the folded edge, and your head on the floor between the blankets and the chair. Your head should be under the front edge of the seat.
- Bend your knees, bring them towards your chest and, on an exhalation, swing your hips up. Put your hands on your back.
- Take the legs over your head and rest the fronts of your thighs on the chair seat. The thighs carry the weight, not the knees or shins.
- Walk the hands down your back and lift the trunk until it is vertical. If the chair pushes your hips back over your face, it is too close. If the hips sag towards the floor, it is too far away. Come down and adjust the distance before you try again.
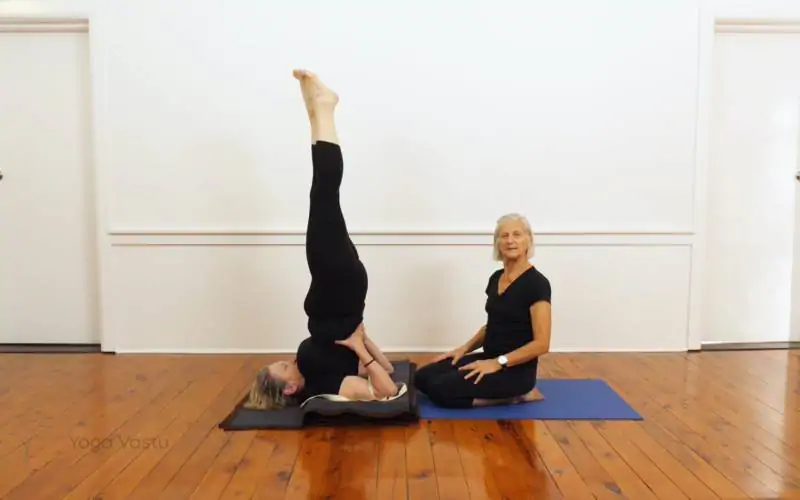
- Once the trunk is steady, release the hands and extend your arms over your head along the floor, under the chair, palms up. You can also hold the back legs of the chair. This is the arms-extended version shown in the photo.
- Stay for three to five minutes with soft eyes and even breathing.
- To come down, bring your hands to your back, slide the legs off the seat, bend your knees and roll down slowly. Rest with your back on the blankets and your lower legs on the chair seat for a few breaths, then turn to one side and sit up.
The right chair distance depends on your height, so expect to adjust it the first time. In our general classes, this chair version is often taught to students working with neck or shoulder limitations, alongside the full Salamba Sarvangasana cycle.
Key actions
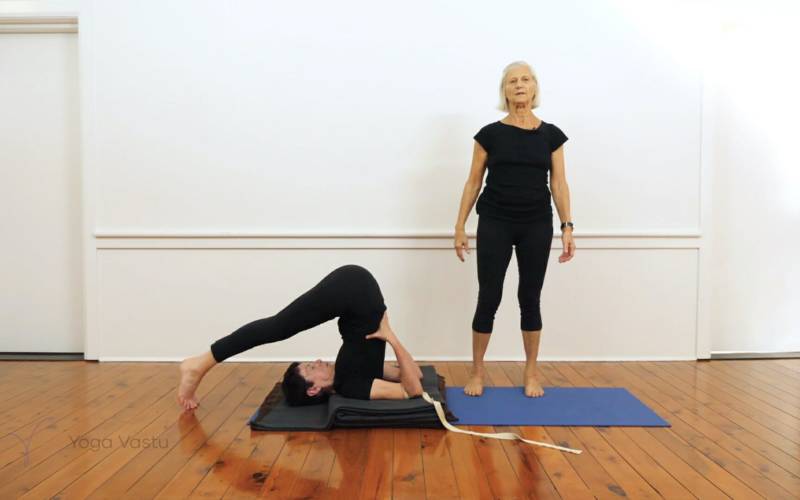
The actions are those of Halasana, with the chair taking away the effort of holding the legs.
- Shoulders – roll the tops of the shoulders under and keep them broad on the blankets. Extending the arms overhead opens the armpits and the front of the shoulders.
- Neck – keep the back of the neck slightly curved and lifted off the floor. It should feel free, with no weight on it.
- Trunk – keep the back ribs moving in and the trunk vertical, so the chest comes towards the chin rather than the chin pushing into the chest.
- Legs – keep the legs straight with the kneecaps lifted, even though the thighs are resting. Let the lower legs extend beyond the seat.
- Face and breath – soften the throat, eyes and jaw. This is a pose to rest in once the setup is right.
Props and variations
- Chair – the standard support. A folding chair lets your head sit under the seat with room to spare.
- Height on the seat – if the hips drop because the seat is too low for you, add a folded blanket or a bolster on the seat. Shorter students may prefer a stool.
- Bench – in some restorative sequences I use a padded bench instead of a chair, so the thighs and shins rest along its length.
- Arm positions – keep the hands on the back for more lift, extend the arms overhead as shown, or bend the arms and hold the elbows overhead for a more restful version.
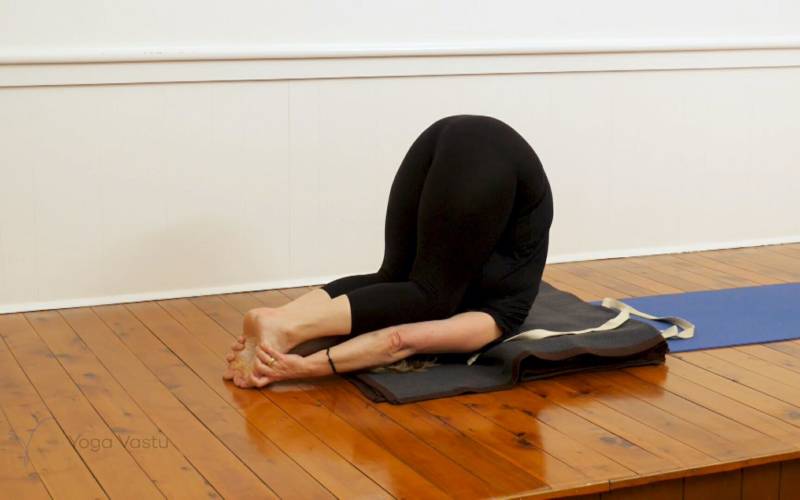
- Feet on the chair – resting the shins or the tops of the feet on the seat, instead of the thighs, asks more of the back and shoulders and moves you closer to full Halasana.
- One leg at a time – lower one foot to the floor behind you while the other leg stays on the chair, then change. This is a useful step towards the full pose.
- Full Halasana – when the back lifts easily and the neck stays free, take the feet to the floor. See Halasana for the full instructions.
Cautions
Ardha Halasana is gentler than the full pose, but it is still an inversion.
- Neck – avoid this pose if you have a neck injury unless a teacher is guiding you. Come down if you feel strain in the neck or a headache.
- Menstruation – the Iyengar method advises against inversions during menstruation. Choose a reclining restorative pose instead.
- Pregnancy – do not start inversions in pregnancy. If you have an established practice, follow an experienced teacher’s guidance.
- Blood pressure, heart and eyes – if you have high blood pressure, a heart condition, glaucoma or a detached retina, check with your doctor and a teacher before you practise any inversion.
- Recent injury or surgery – wait until you are cleared, especially after neck, shoulder, back or abdominal surgery.
- Equipment – check that the chair is stable and will not slide before you go up.
Benefits
Ardha Halasana gives you much of what Halasana offers with less effort. Because the chair holds the legs, you can stay long enough for the breath and the mind to settle. Many students find it calming at the end of a practice and a useful pose on days when they feel tired or stressed.
It stretches the back and shoulders gently and teaches the shoulder action that both Halasana and Salamba Sarvangasana depend on. Students with a mild, non-specific backache often find the supported stretch comfortable, though a sore back should be checked with a teacher first.
Common questions
What is ardha halasana?
In Iyengar yoga, Ardha Halasana is half plough pose: you lie with your shoulders on folded blankets, lift your hips over your shoulders and rest your thighs on a chair or stool behind your head. It is the supported form of Halasana.
Is ardha halasana the same as raising the legs to 90 degrees?
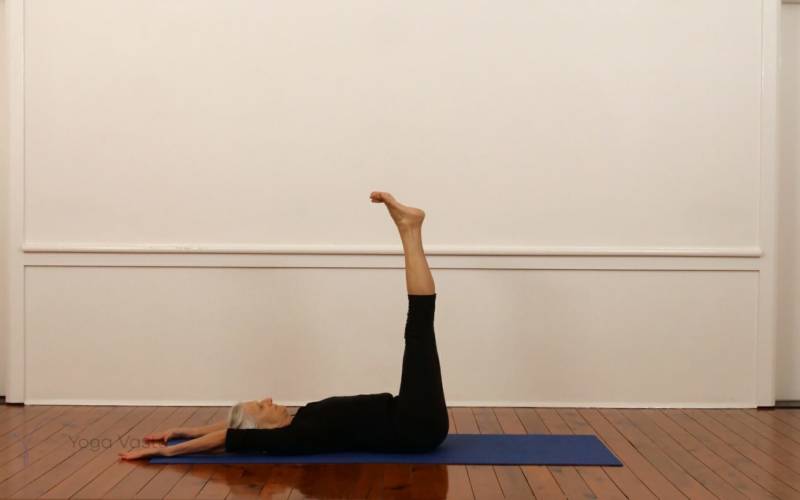
Not in Iyengar yoga. Many school and hatha syllabi use the name Ardha Halasana for lying on your back and lifting straight legs to 90 degrees. In the Iyengar method that leg raise is called Urdhva Prasarita Padasana, and Ardha Halasana means the half plough with the thighs supported on a chair.
How long should you hold ardha halasana?
Three to five minutes is a good start. Because the chair takes the weight of the legs, experienced students often stay five minutes or more in a restorative sequence.
What are the benefits of ardha halasana?
It gives you the calming effect of Halasana with much less effort, stretches the back and shoulders gently, and builds the shoulder actions needed for Halasana and Salamba Sarvangasana. Students often use it on tired days.
Can beginners do ardha halasana?
Yes. It is often how beginners first learn Halasana, because the chair limits how far the legs go and keeps the trunk upright. Learn the setup with a teacher, and skip it if you have a neck injury.
About the teacher
Pixie Lillas: Pixie Lillas first went to the Ramamani Iyengar Memorial Yoga Institute in Pune, India in 1977. She co-founded the Balmain Iyengar Yoga Studio in 1980 and has been director and principal teacher there ever since.