This session uses various standing poses to bring extra focus to the hips. We use the wall to support ourselves but also to bring extra awareness from the legs back into the hip region.
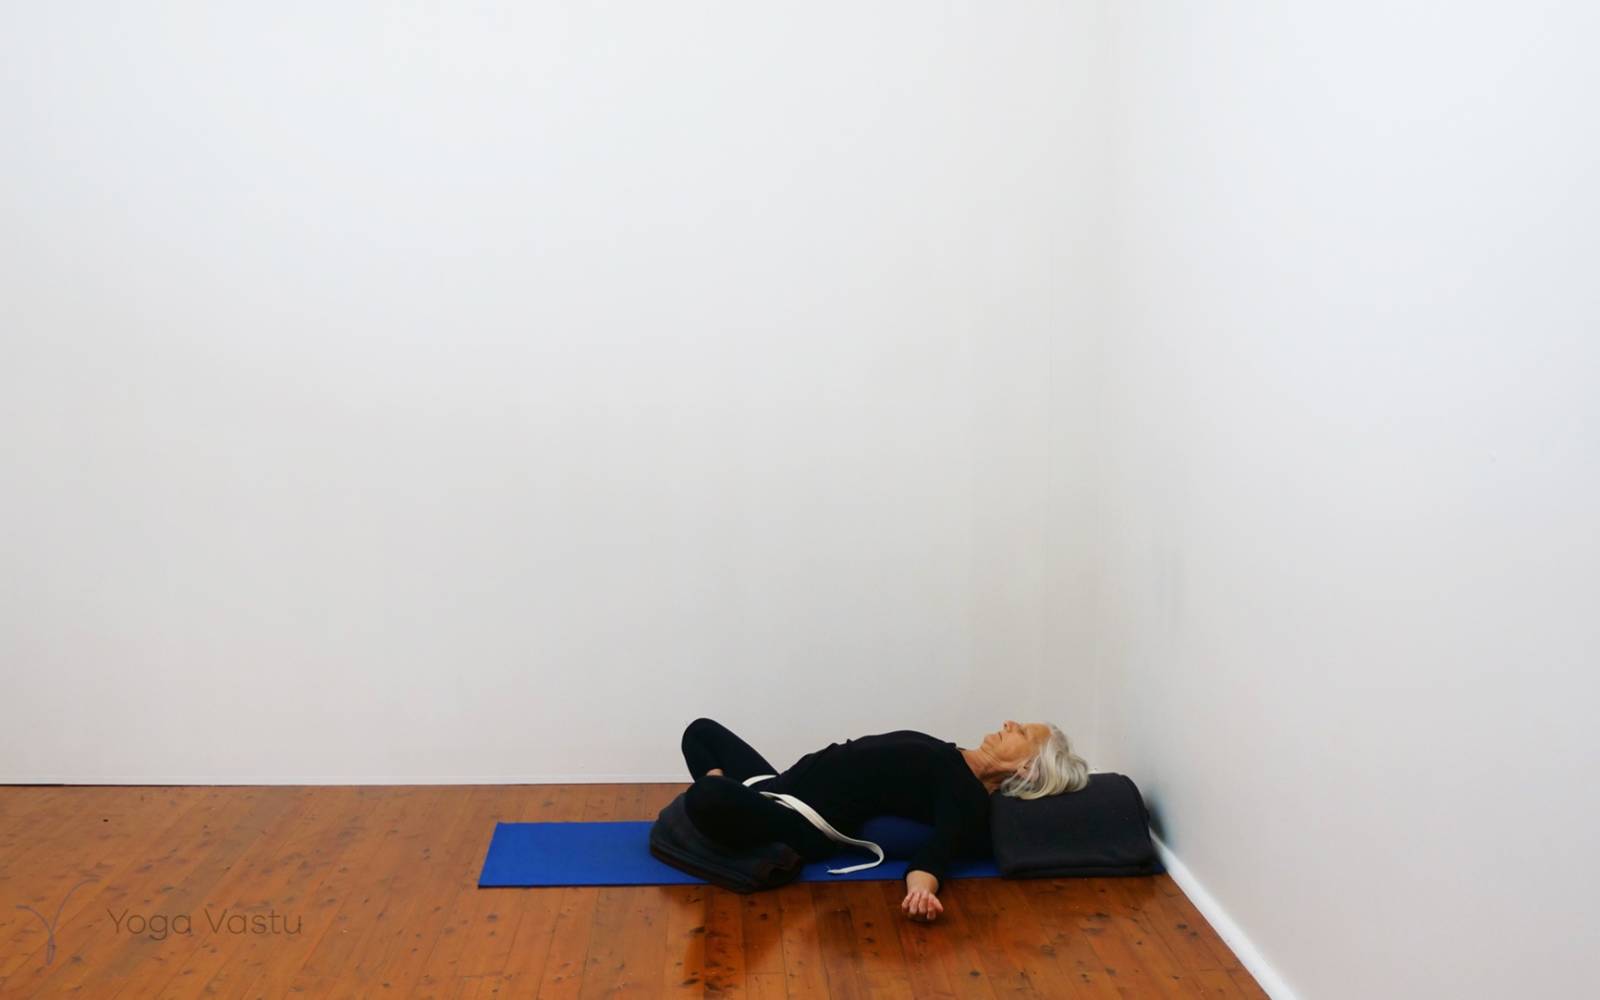
Set up in Supta Baddhakonasana, using a bolster or folded blankets for the back of the torso, and an extra folded blanket wrapped under the shins for a little extra support for the hips, if needed.
Come up into Virasana forward, letting the thighs drop down towards the floor to release any holding in the lower back and hips.
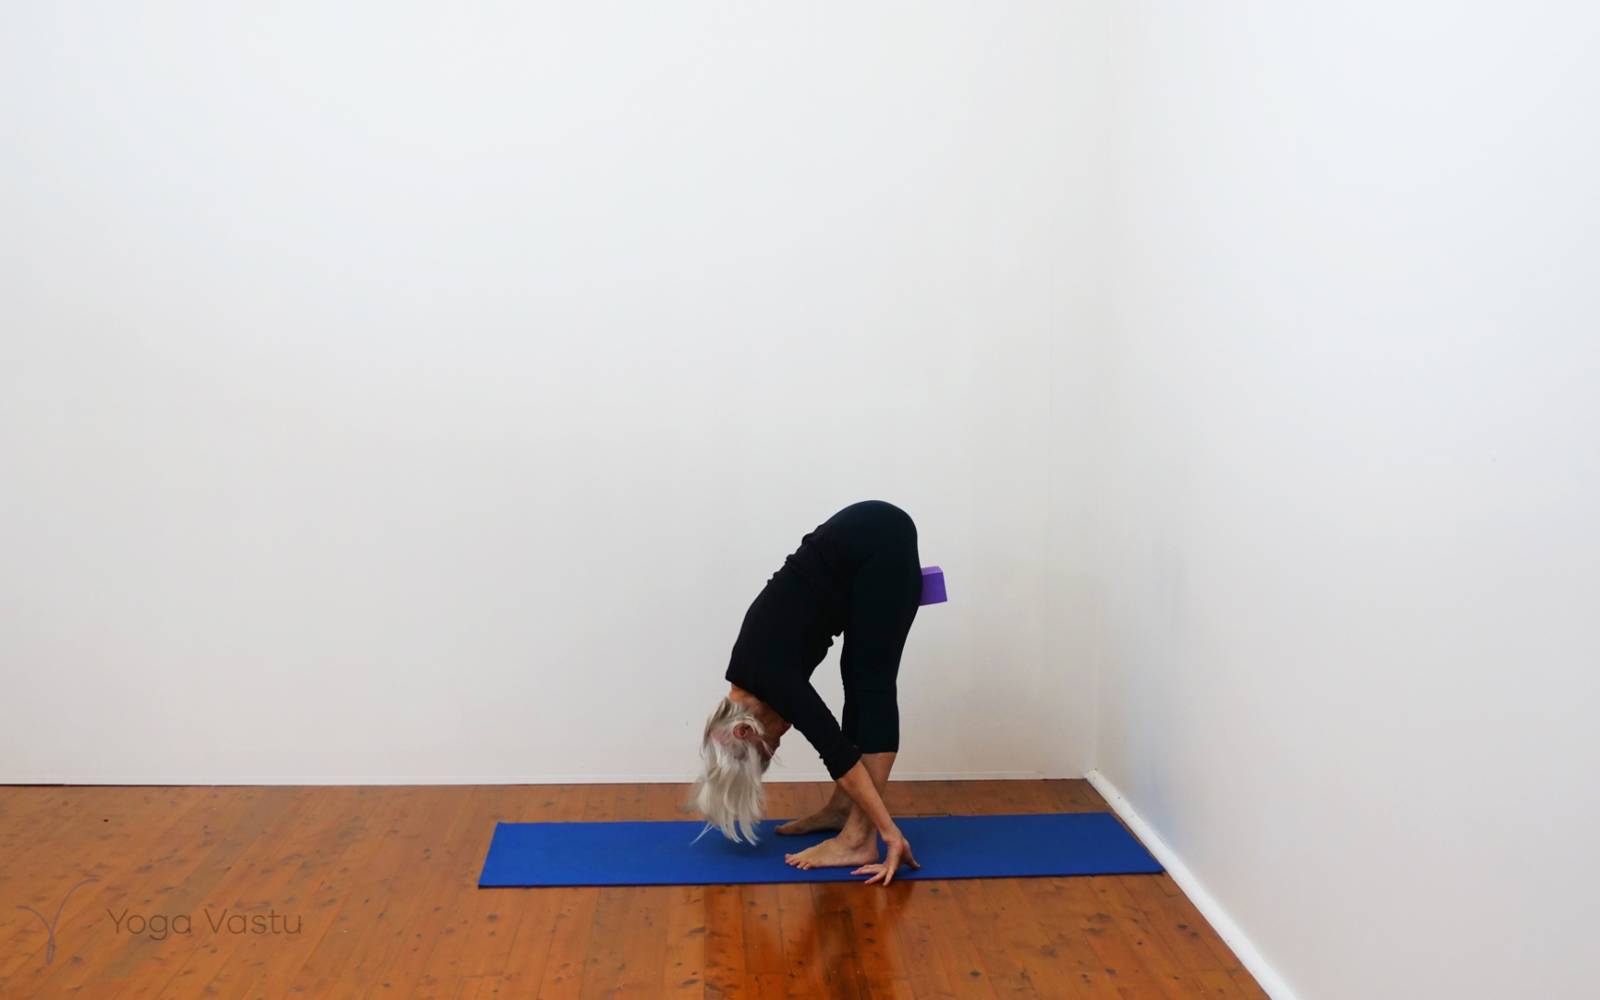
Stand for Uttanasana, first just with the feet hip-width apart and then with a block high up between the thighs to feel how the inner legs lift more and how this draws our attention into the hips.
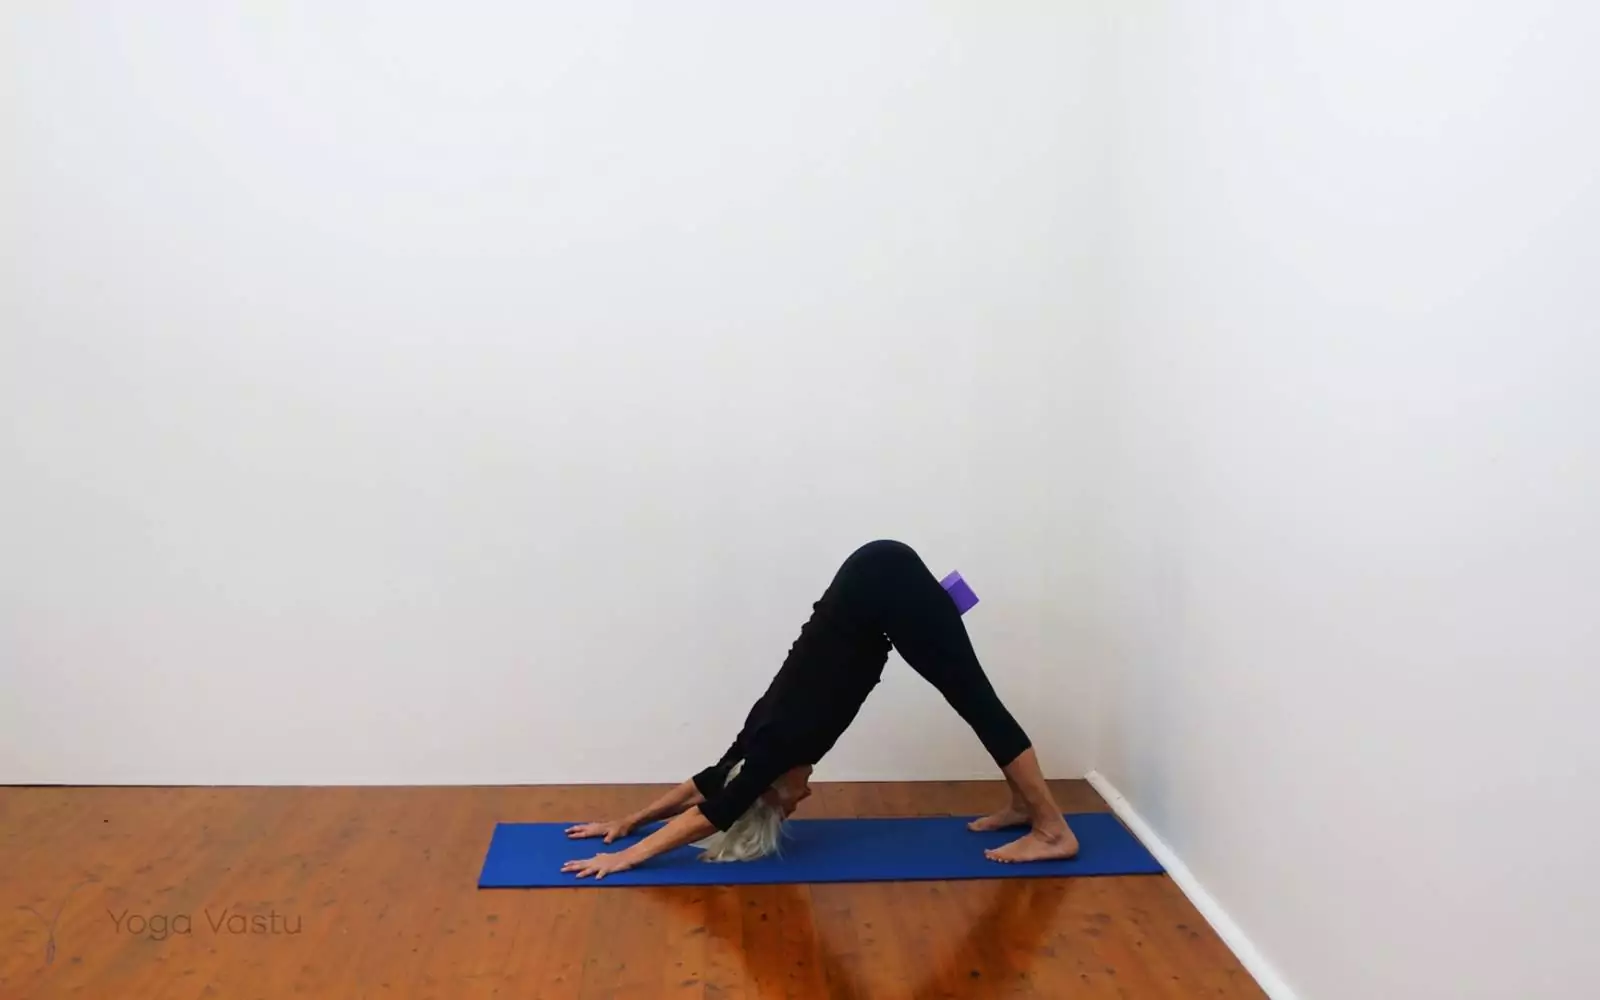
Adho Mukha Svanasana, first with the same block high up between the thighs, and then Adho Mukha Svanasana without the block to see if you can still feel the “imprint” of the block.
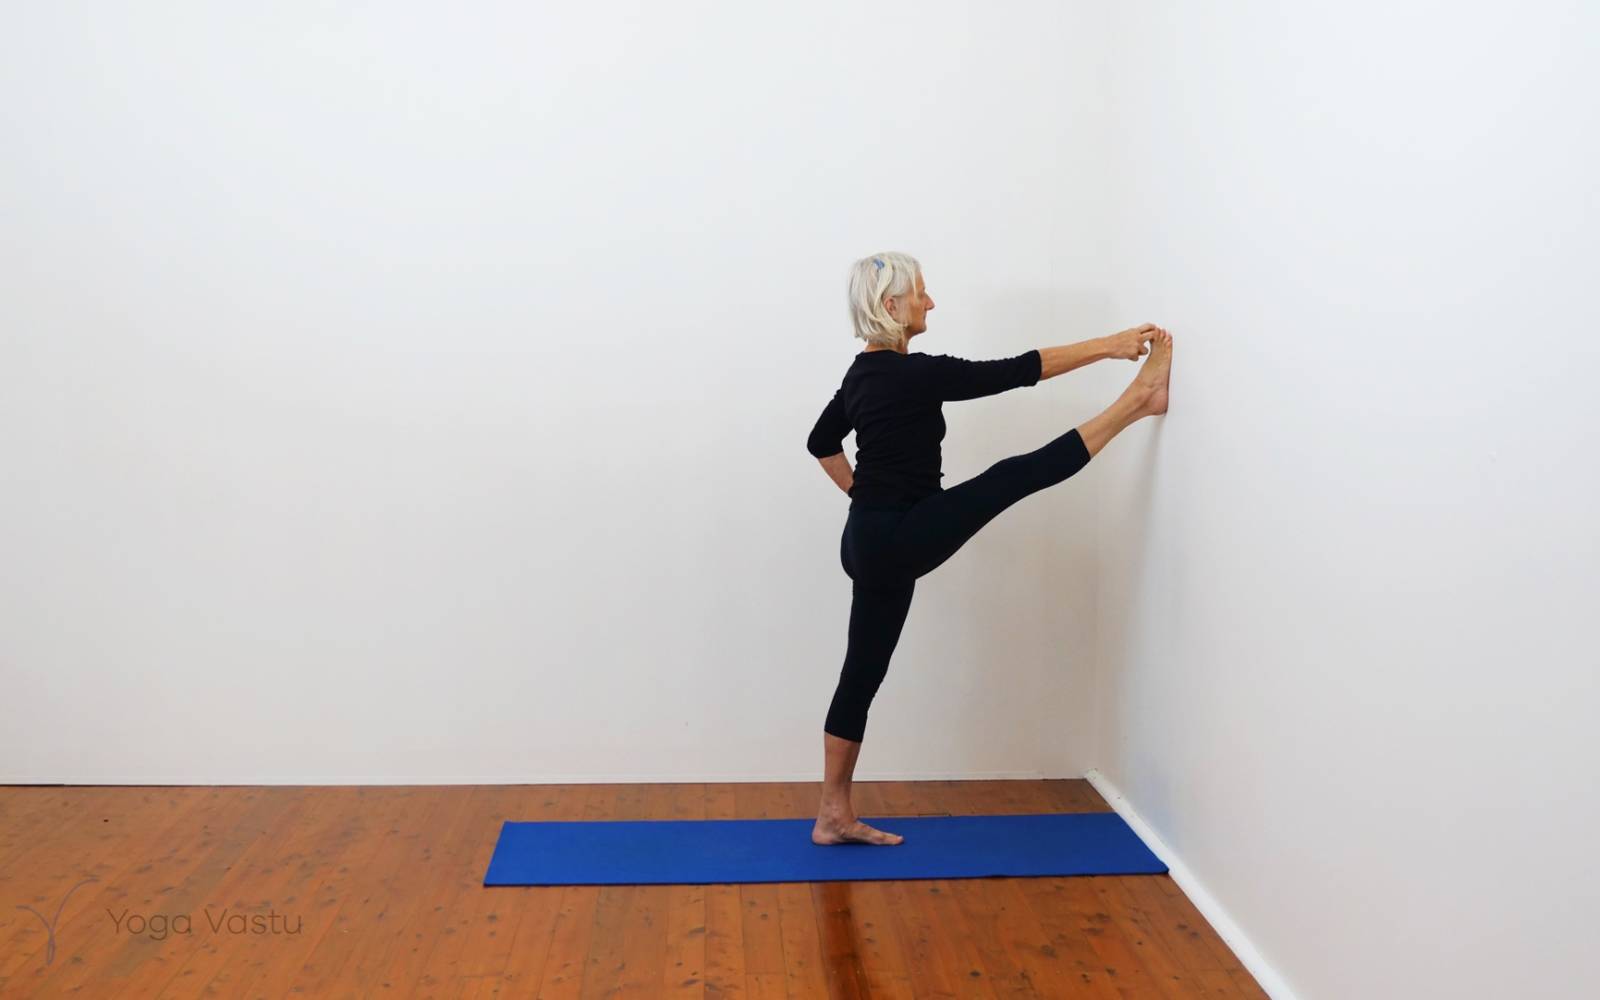
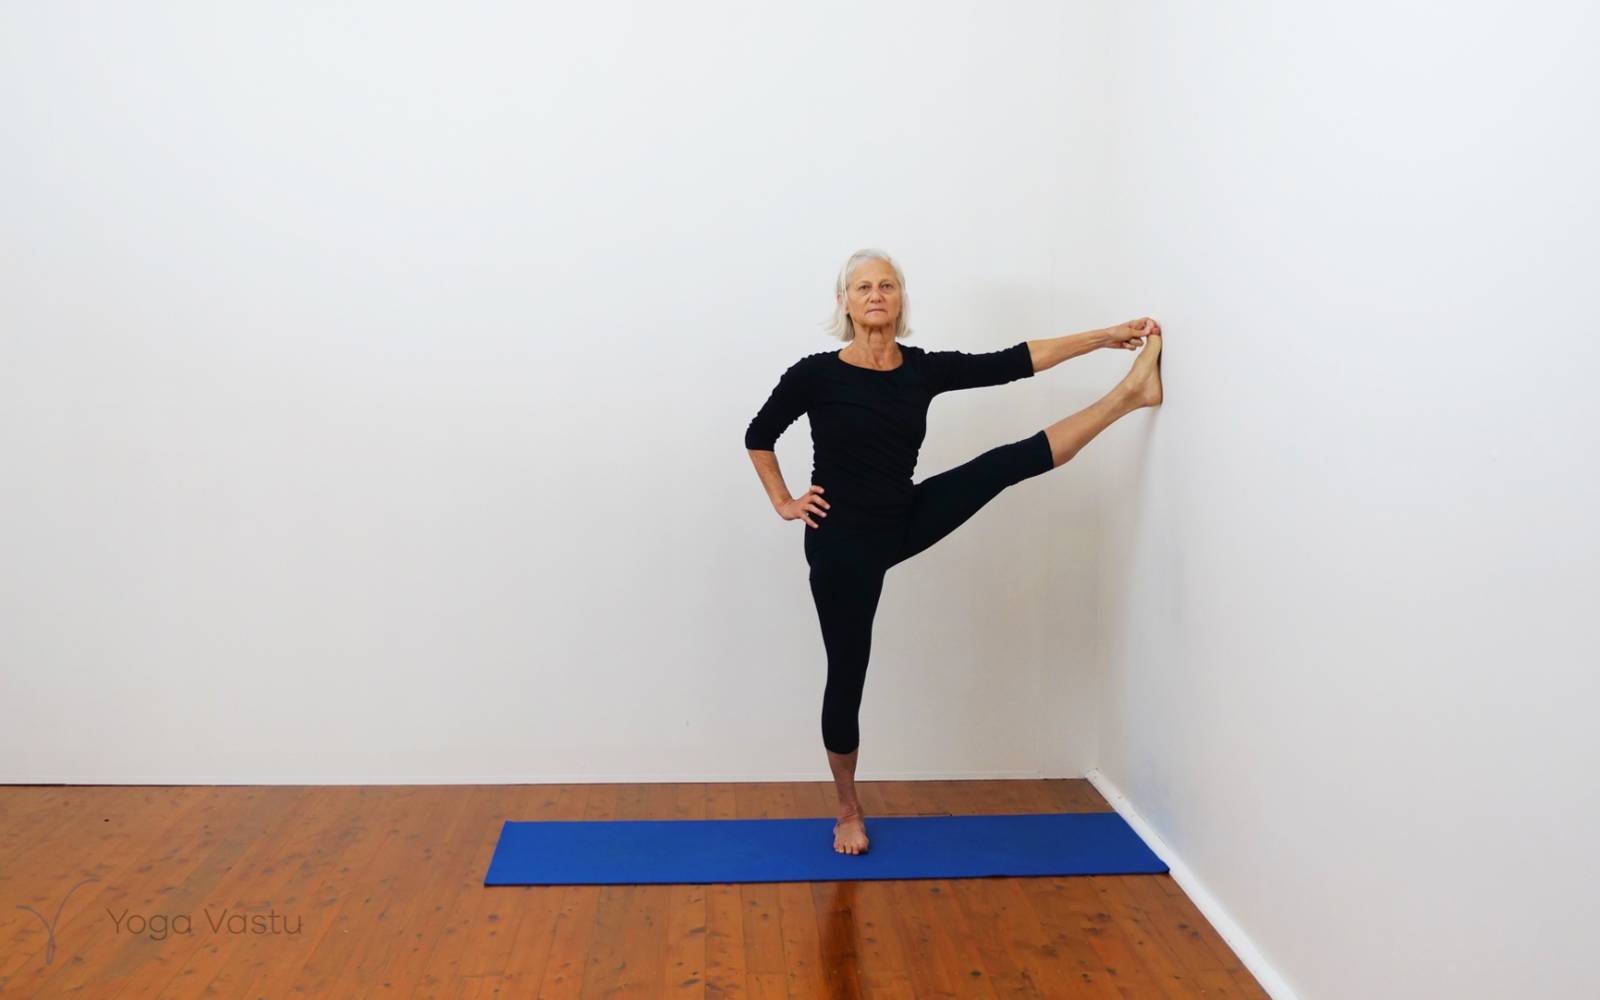
Utthita Hasta Padangusthasana 1 and then 2, taking one foot up against the wall, as high as your capacity allows, without bending the standing leg. Use a belt for the raised foot, as needed.
These two variations will start to work into the inner groins and inner thighs and they also open up the hamstrings. All these actions are helpful in getting a little more into the hips.
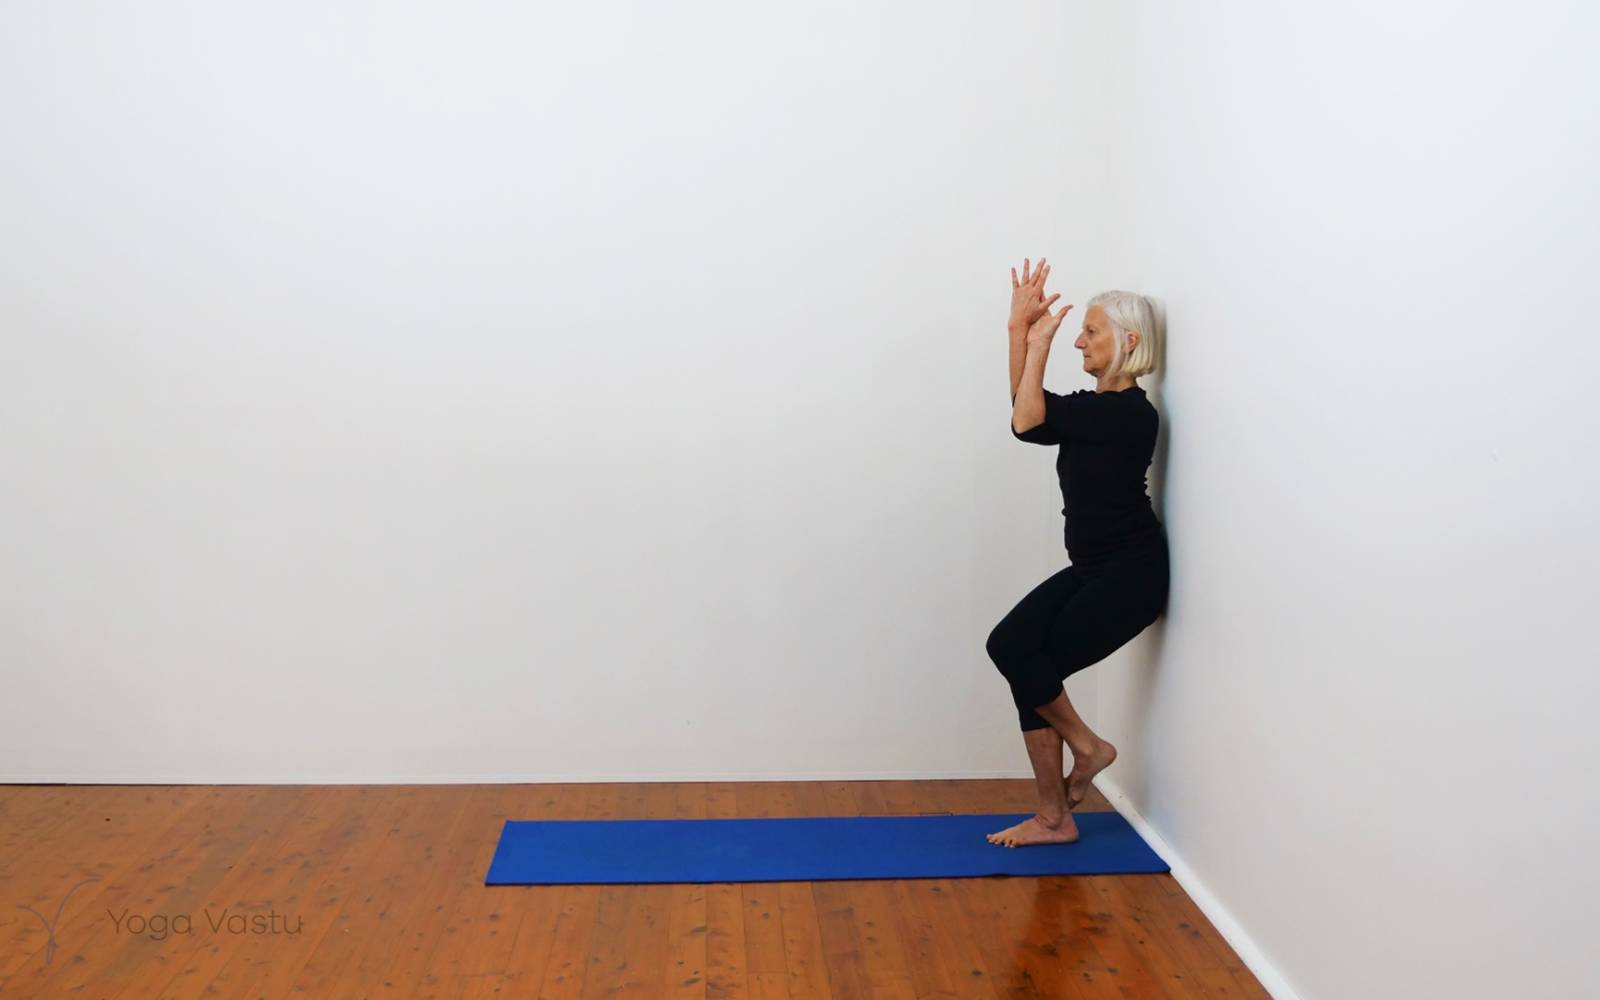
Use the wall for support, if needed, for Garudasana, Eagle Pose. In Garudasana we work specifically into hip joints as well as opening in the shoulders.
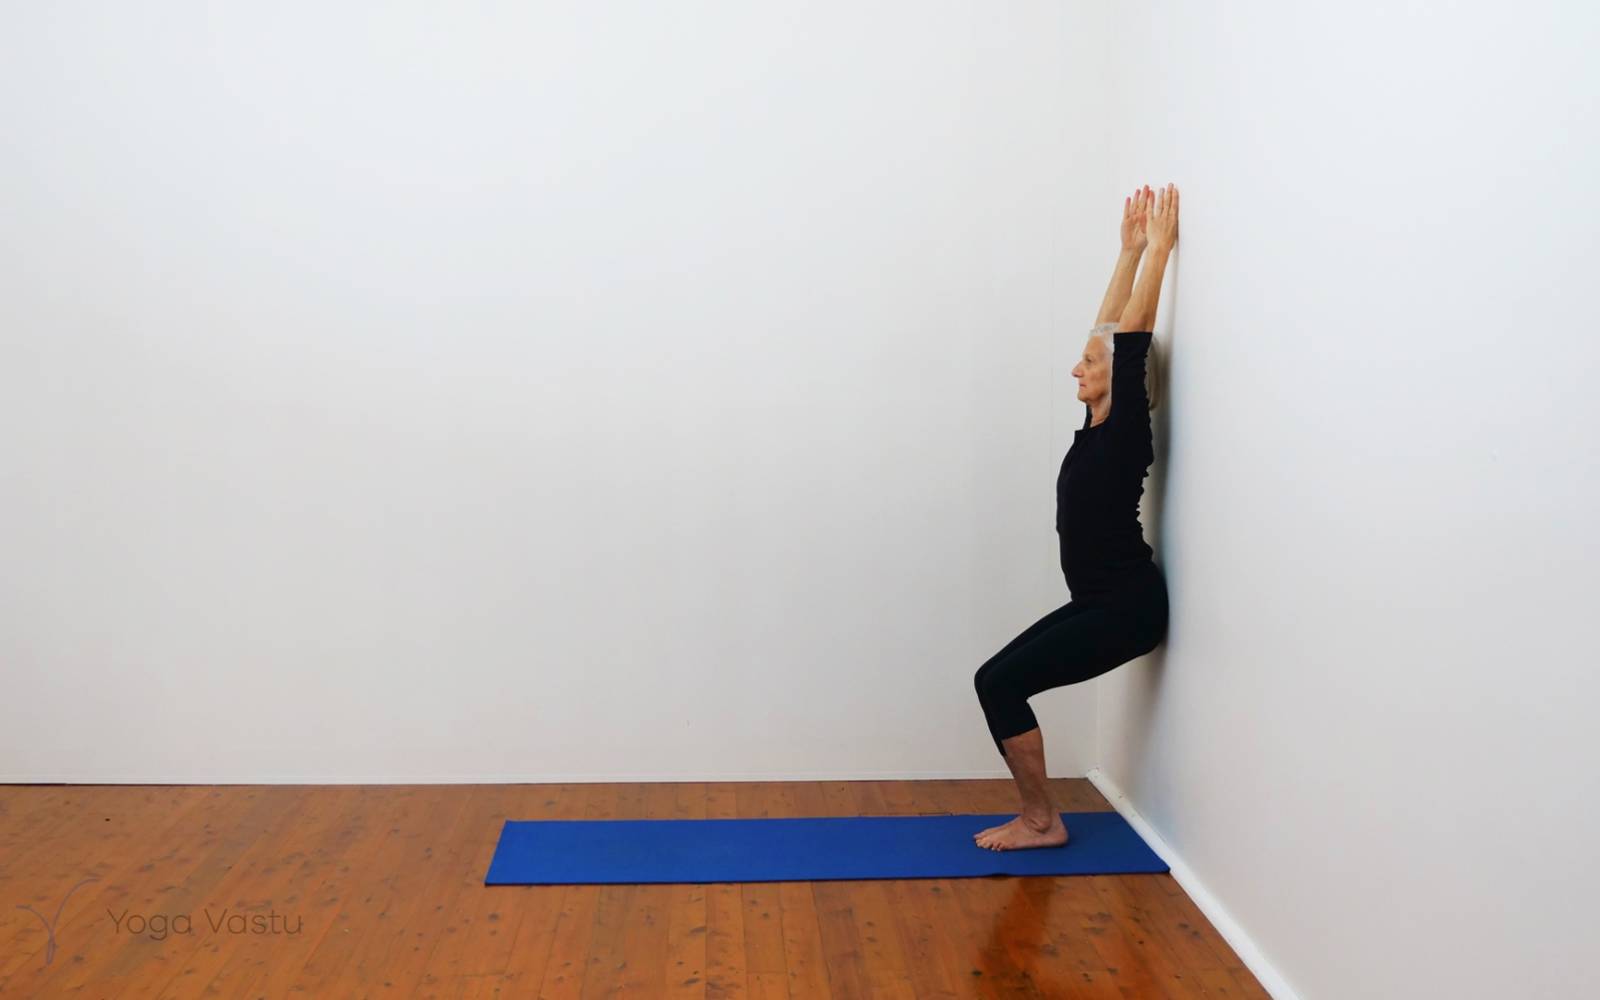
Next, keeping the back close to the wall, set up for Utkatasana, taking only the tailbone to the wall, feet away, and as you bend reach the thumb side of the hands to or towards the wall.
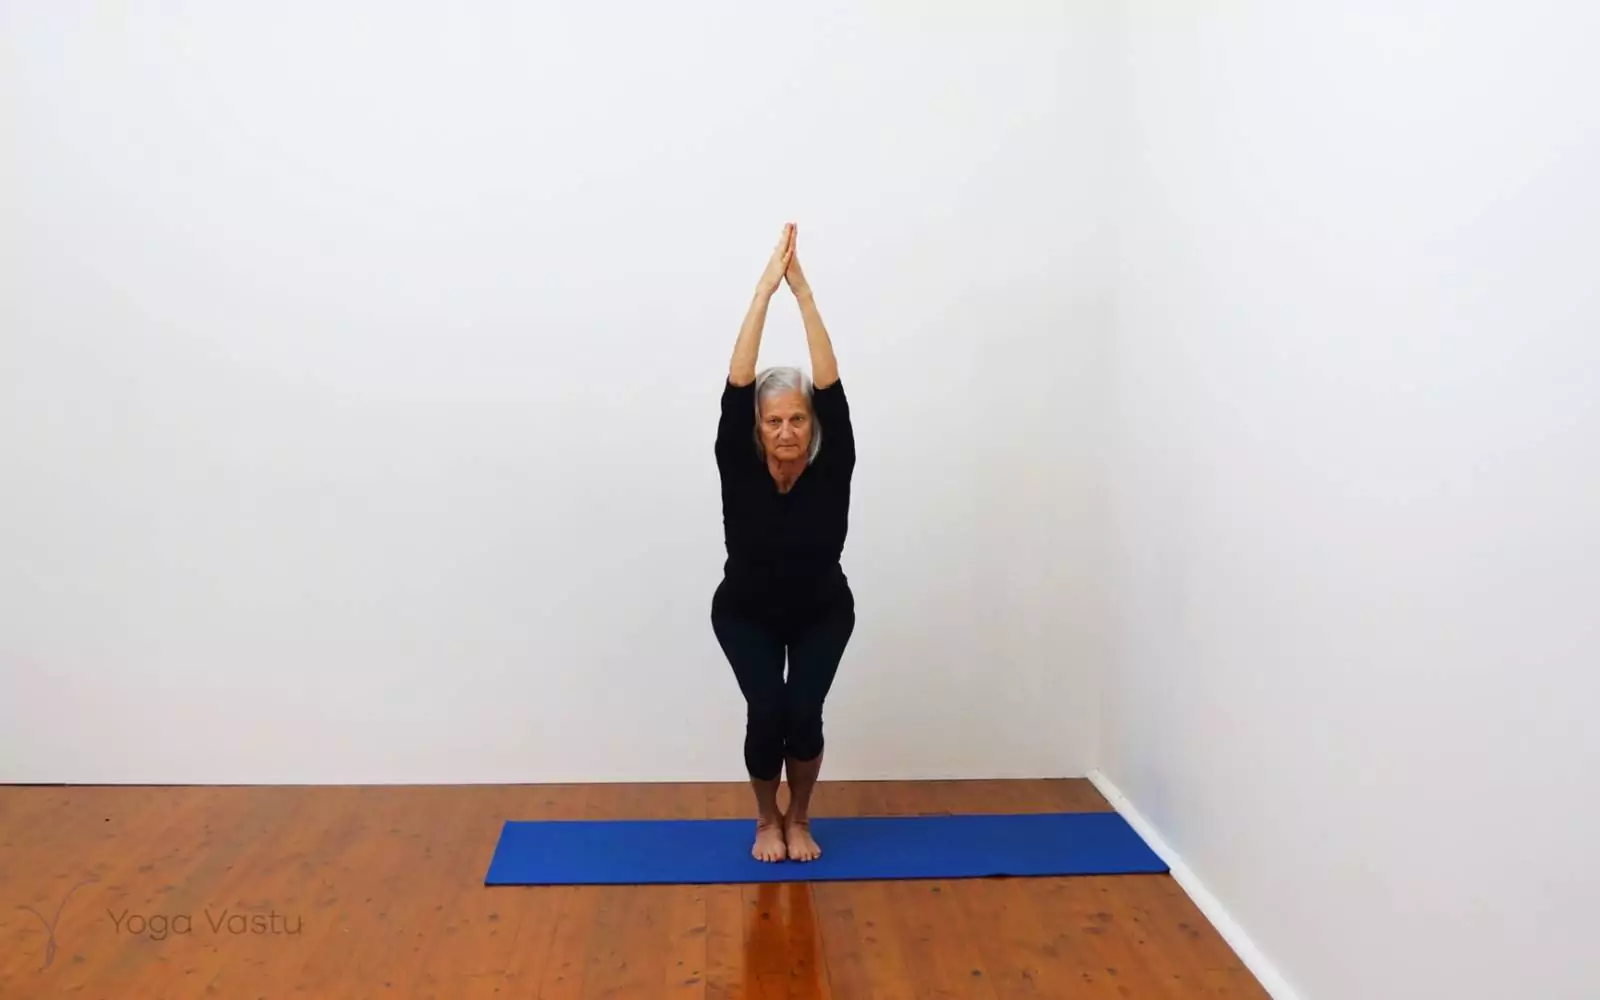
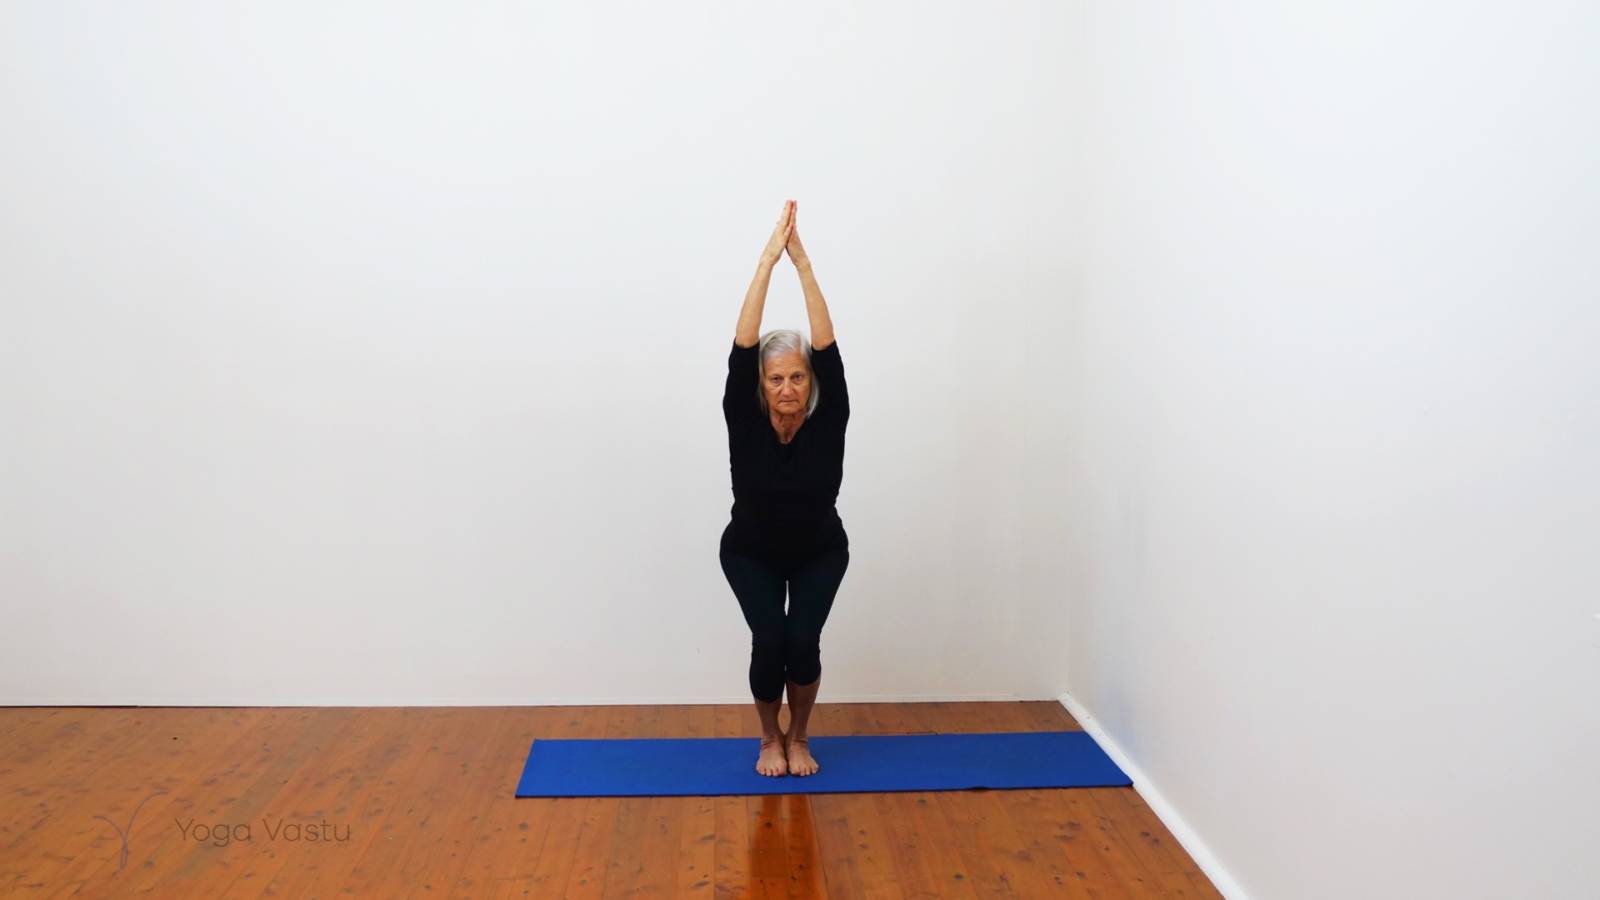
Now step away from the wall and repeat Utkatasana, without the wall, and see how the legs, though bending, still connect into the hips as you raise your arms up to Namaskar above the head.
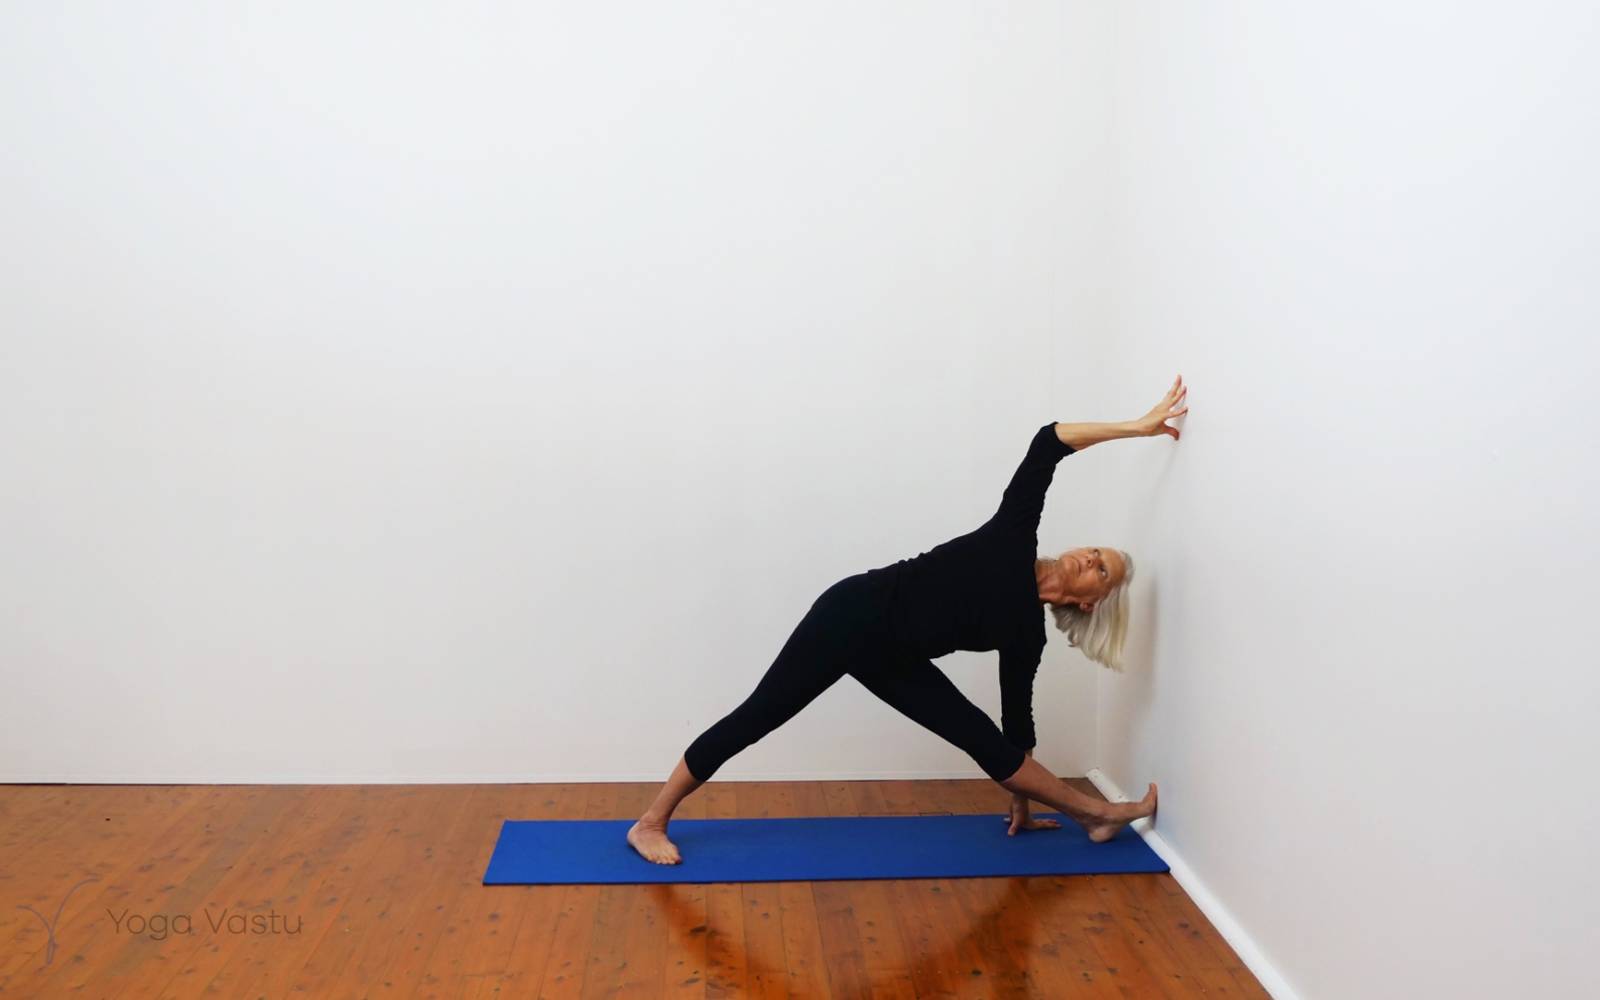
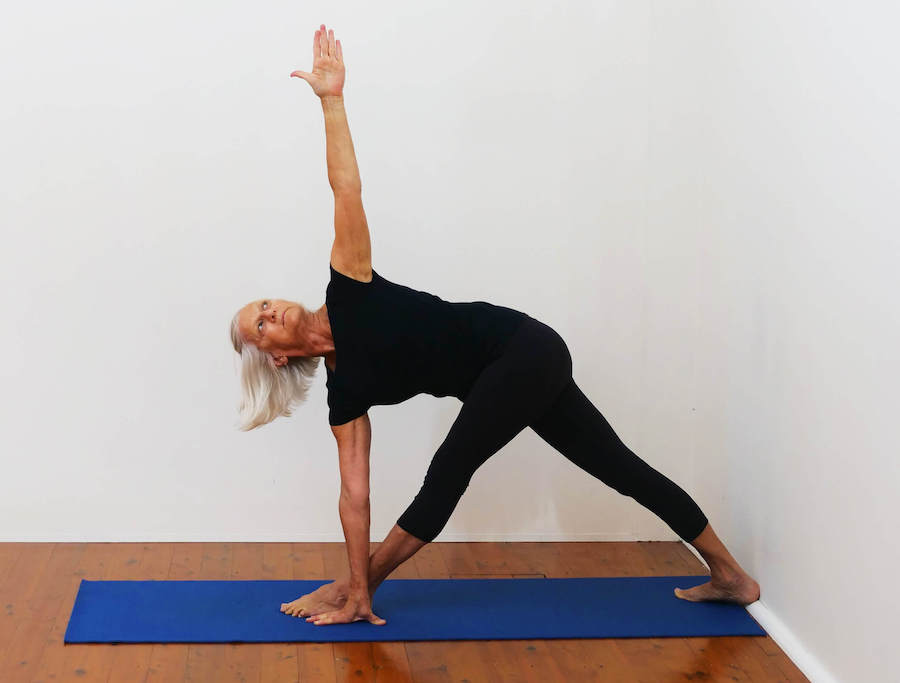
Set up for Trikonasana, with the front foot up the wall, only with the ball of the foot, not on the tip of the toes. Take good distance so that you don’t feel crammed into the wall, and notice how the front thigh gets drawn back into the hip. Keep the front leg buttock drawn in, towards the front where you are facing.
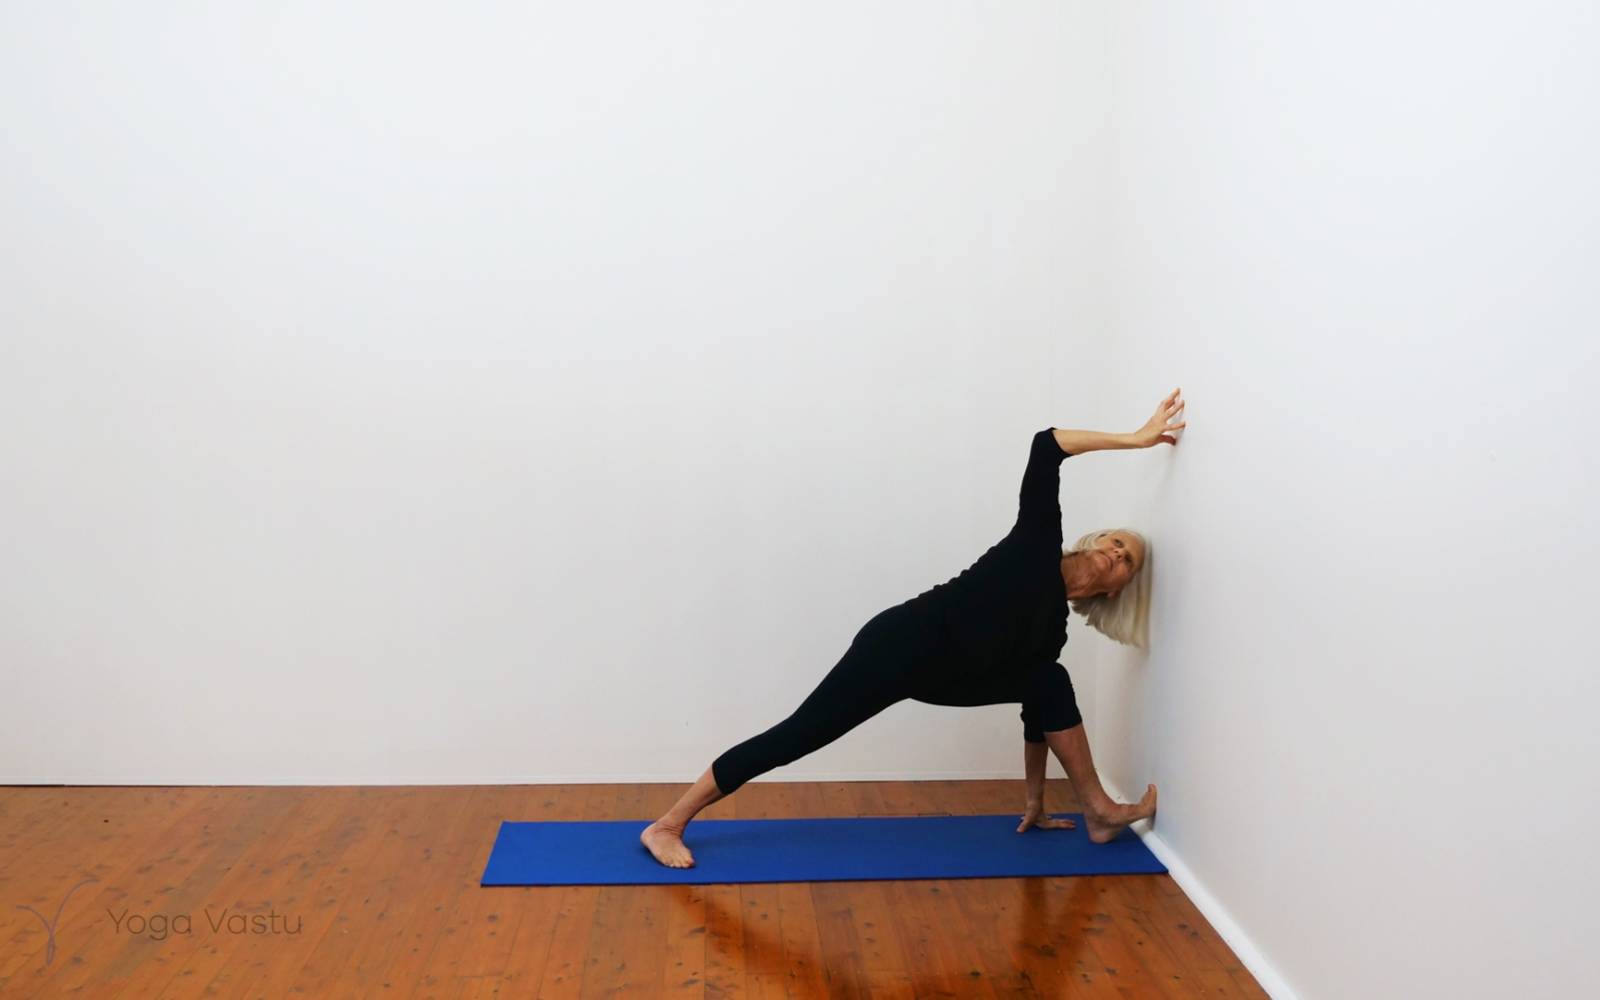
Next, go to Parsvakonasana, a wider distance still, and notice how the front shin bone gets a feeling of ‘resistance’ to help focus attention on the descending buttock and hip.
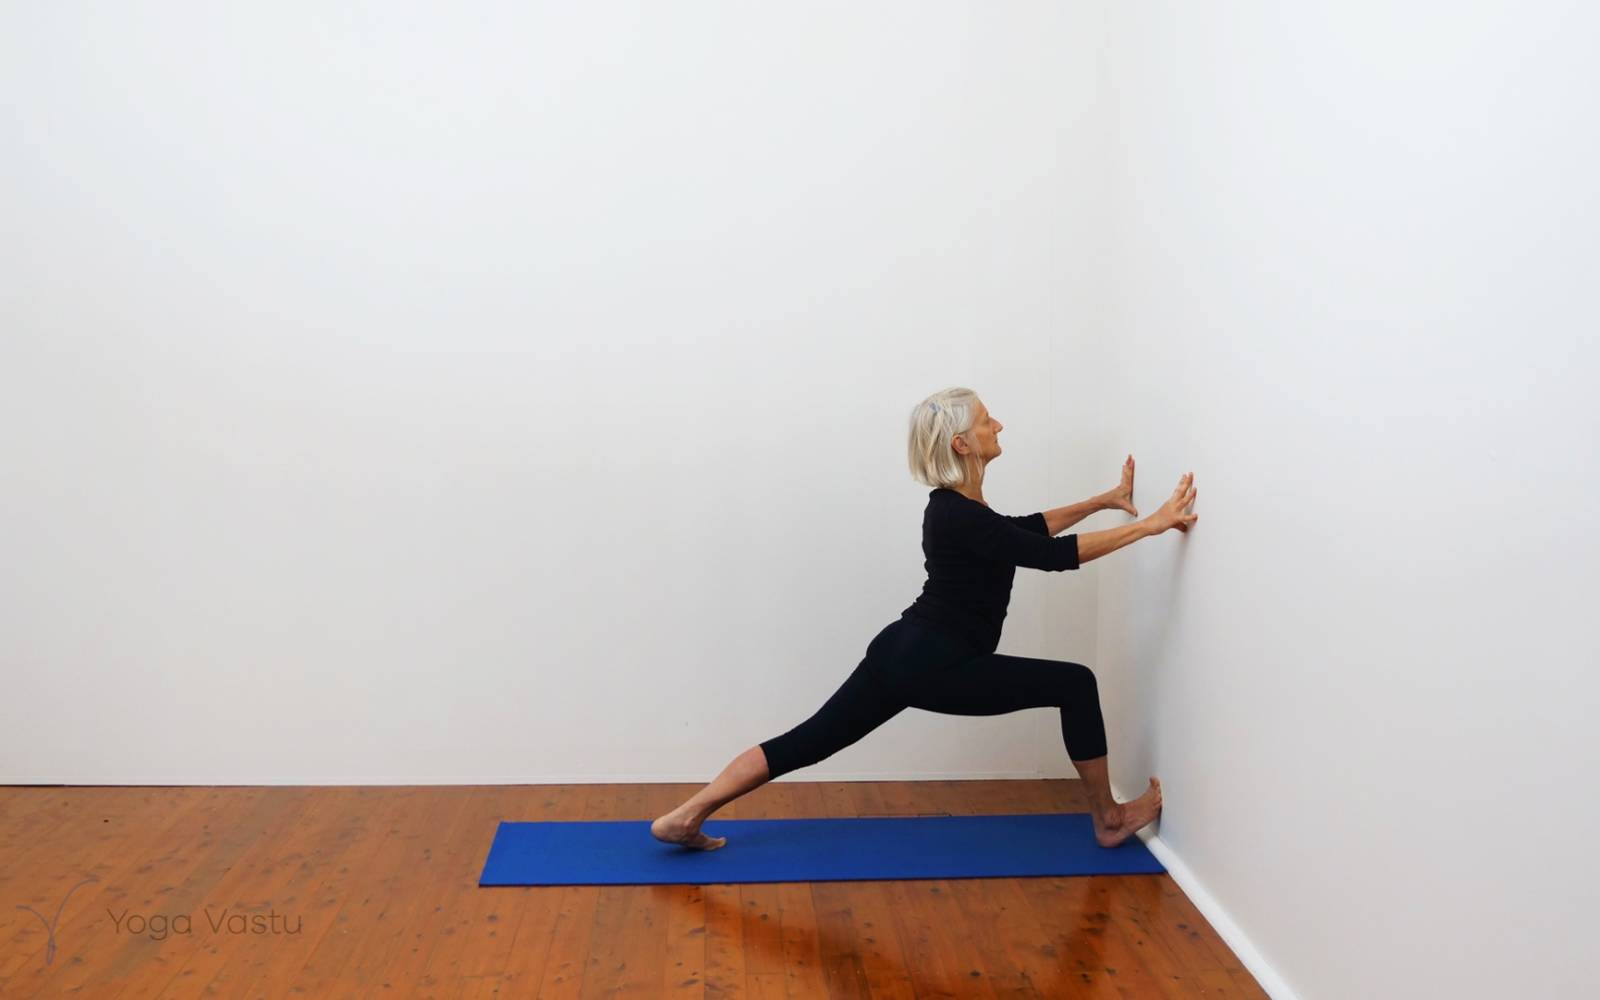
Stand and turn towards the wall for Virabhadrasana 1, fingertips to the wall, and the ball fo the front foot to the wall. Hold and work to bend deeper in the pose, taking more distance as needed. Keep the two buttocks even, and with the help of the fingers to the wall, take the back ribs in and raise the spine up.
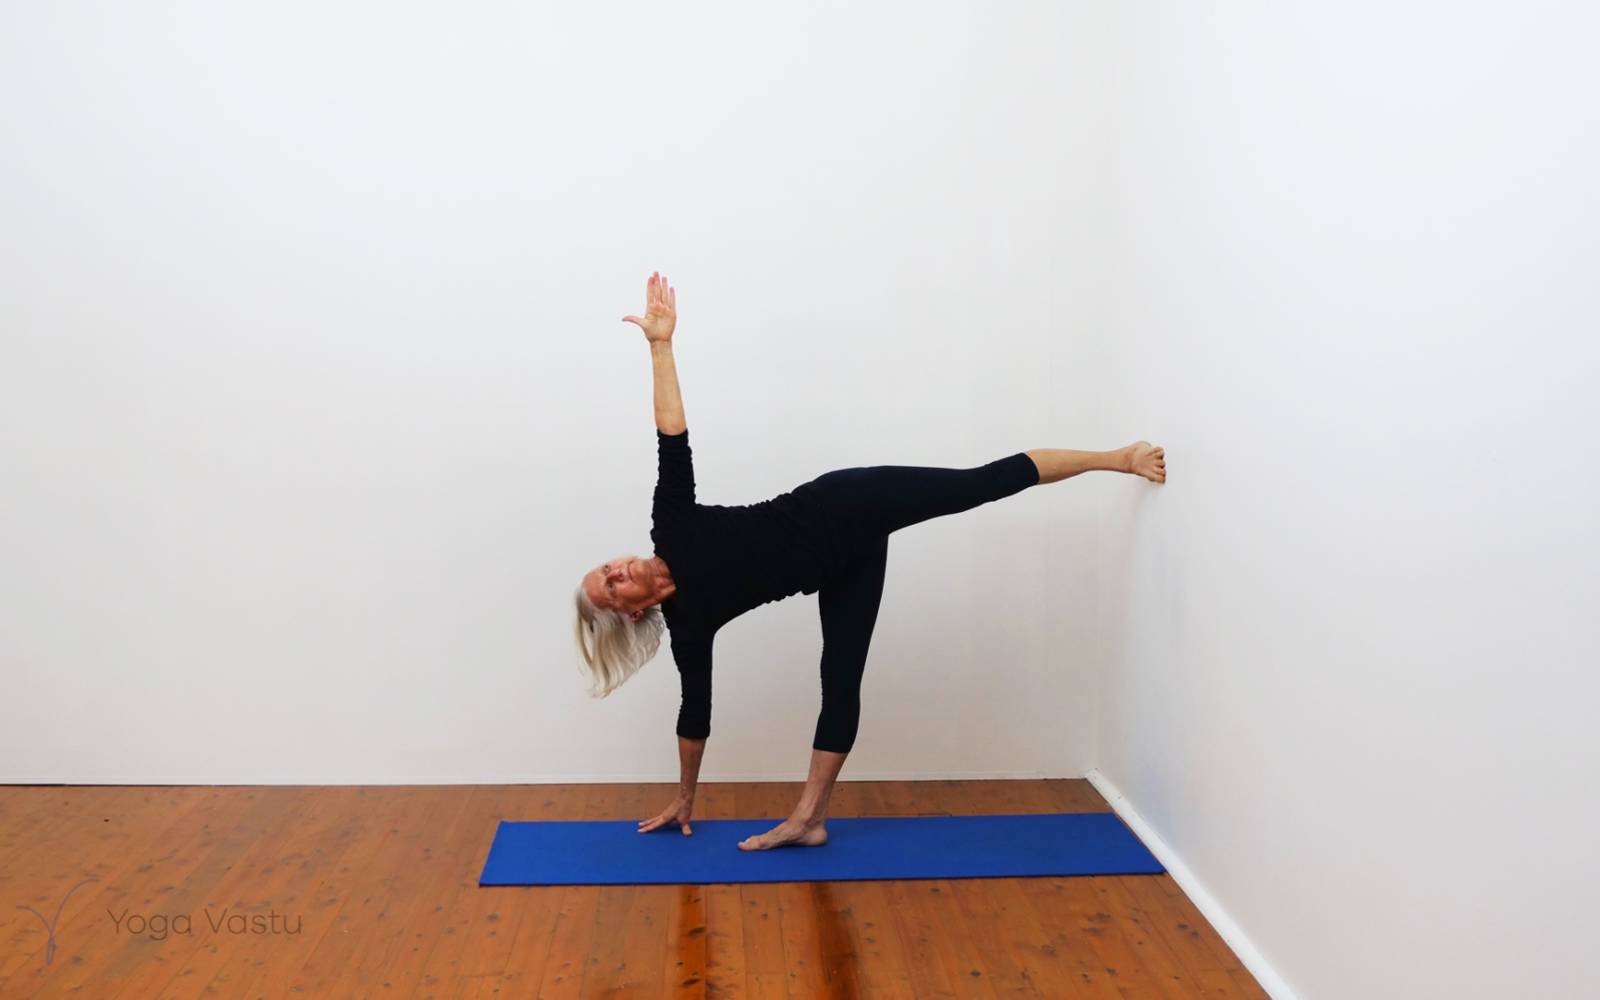
Ardha Chandrasana, back foot to the wall now. Keep the standing leg buttock in, and turn the chest, using the foot that is against the wall for stability.
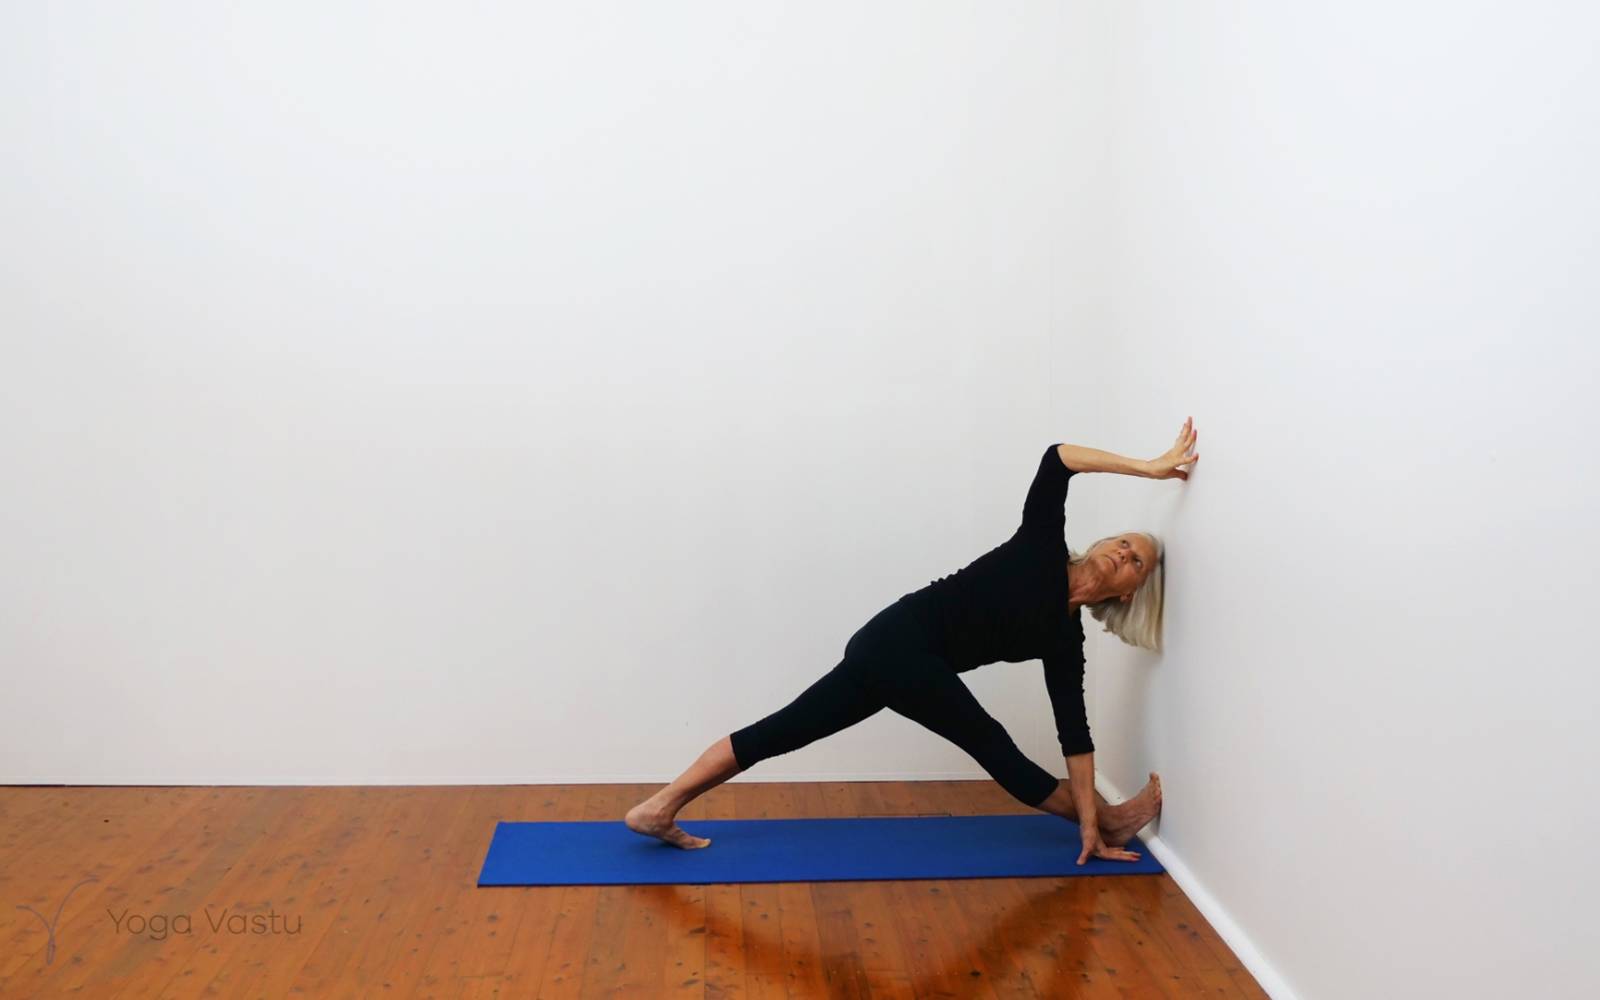
Parivrtta Trikonasana, front foot up the wall. Keep the two hips even and then turn the lower ribs further down and the top shoulder up. The foot support to the wall will keep you steady.
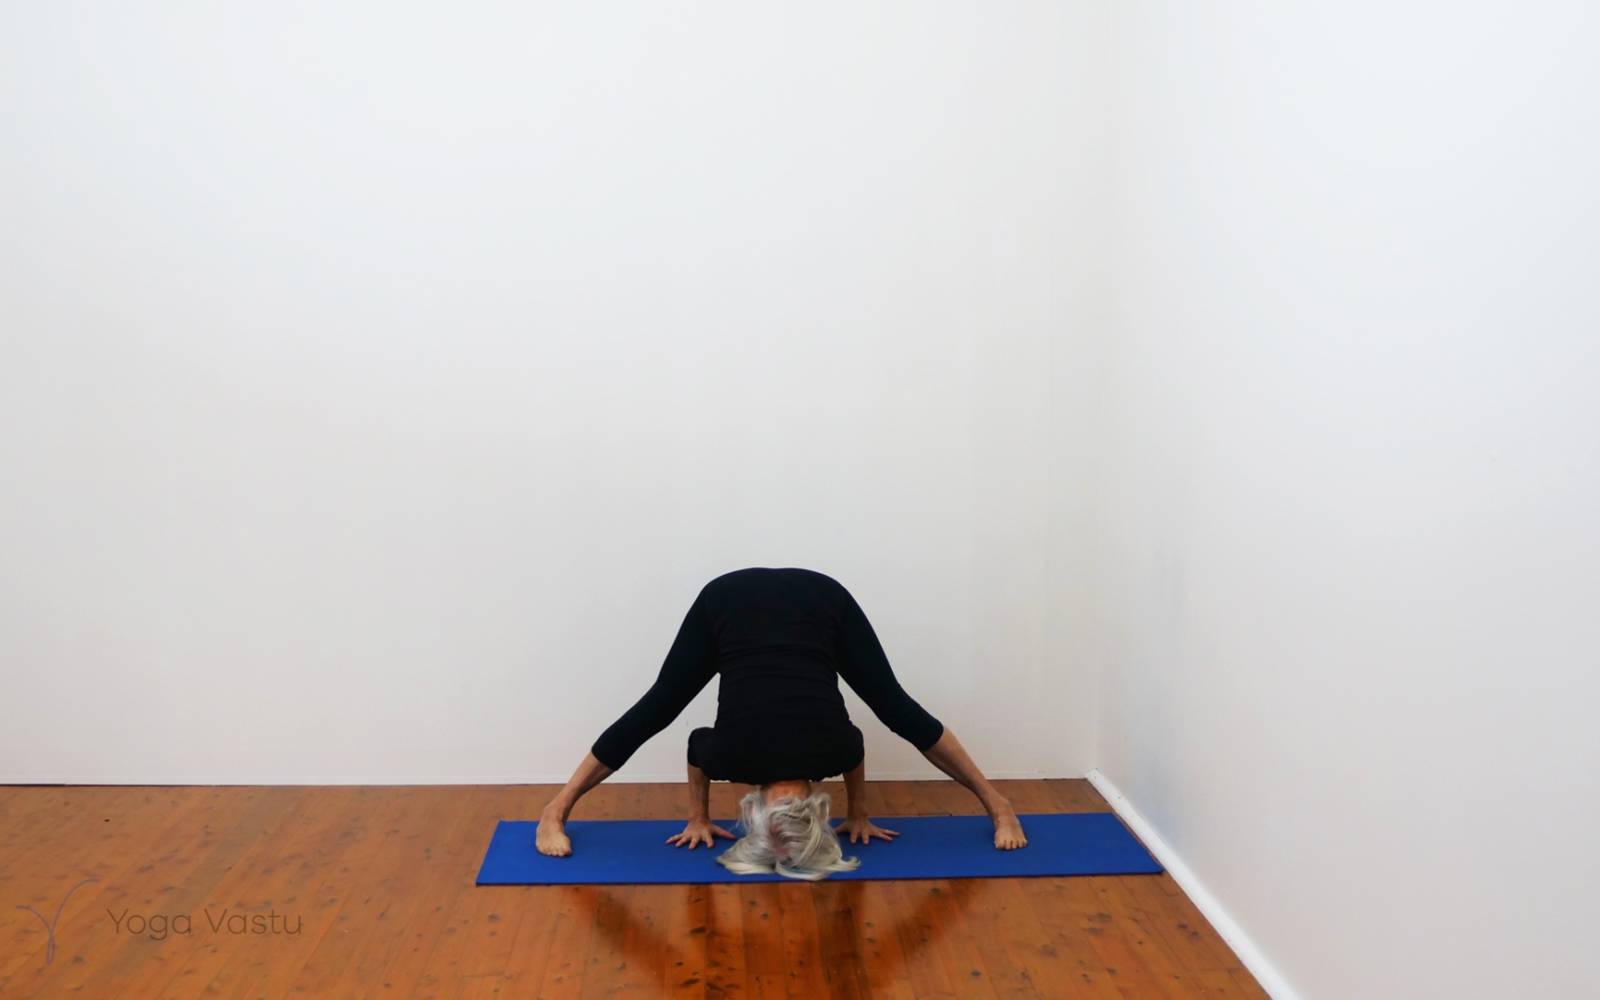
The last standing pose is Prasarita Padottanasana, opening into the hamstrings more fully. Release the head down to prepare for Sirsasana.
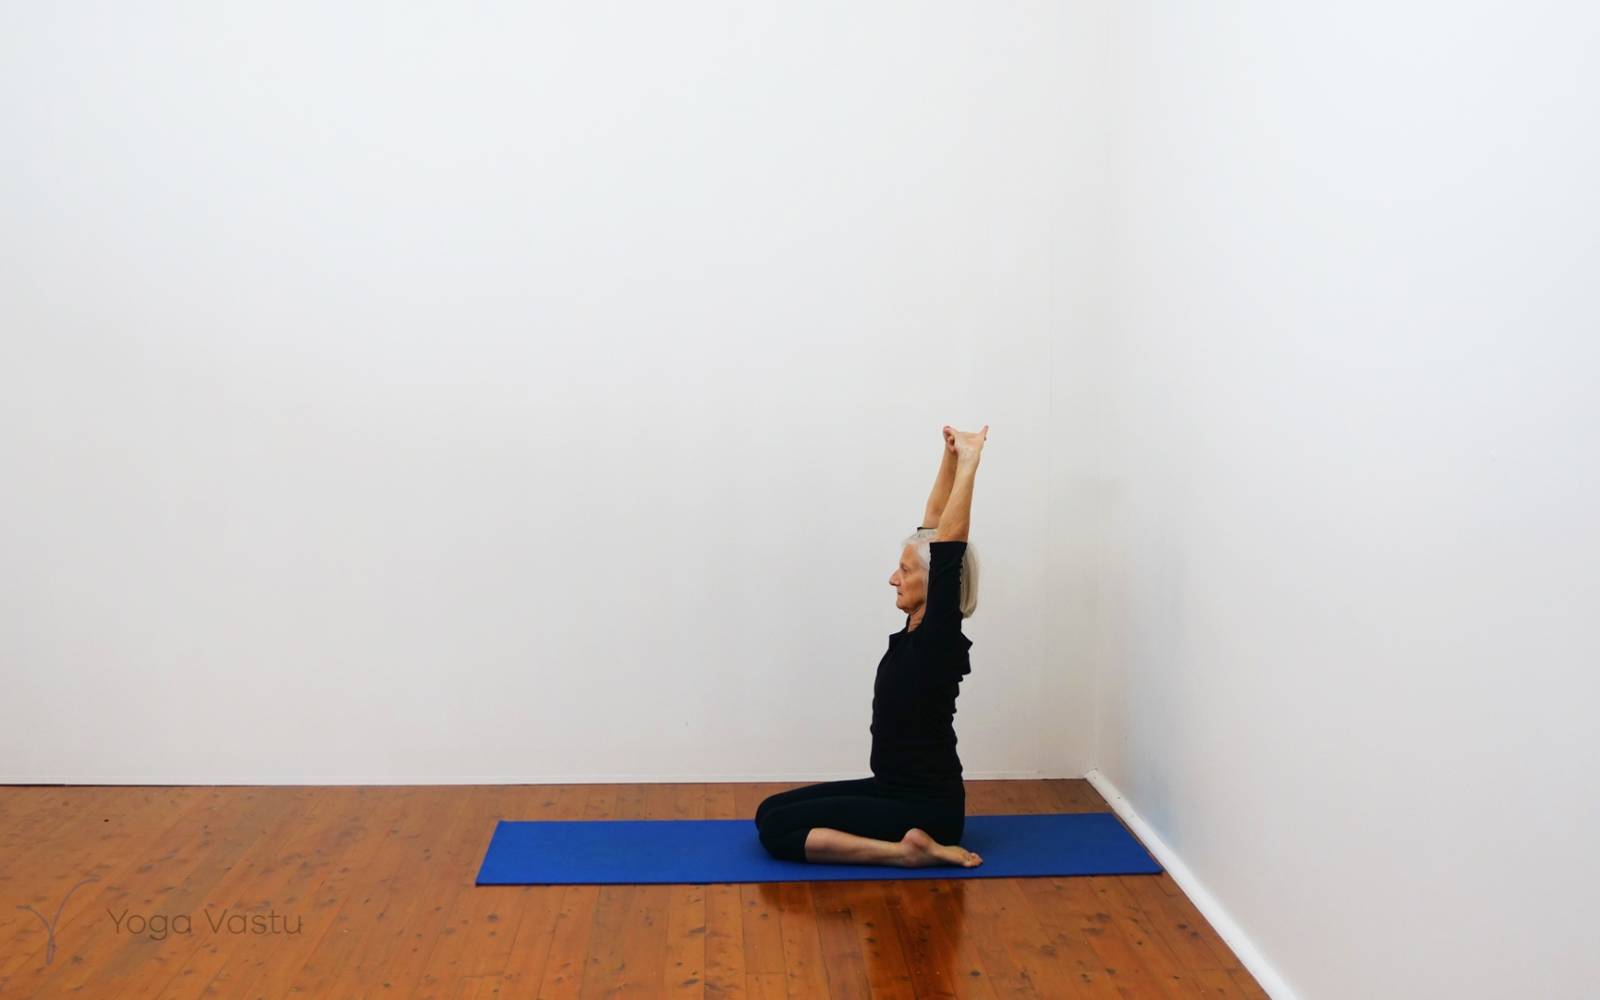
Before Sirsasana, take a moment to rest the legs, sitting for a few minutes in Virasana, and interlock the fingers and raise the arms up into Parvatasana. This relieves any hardness in the legs and also gives a good lift to the side chest for Sirsasana.
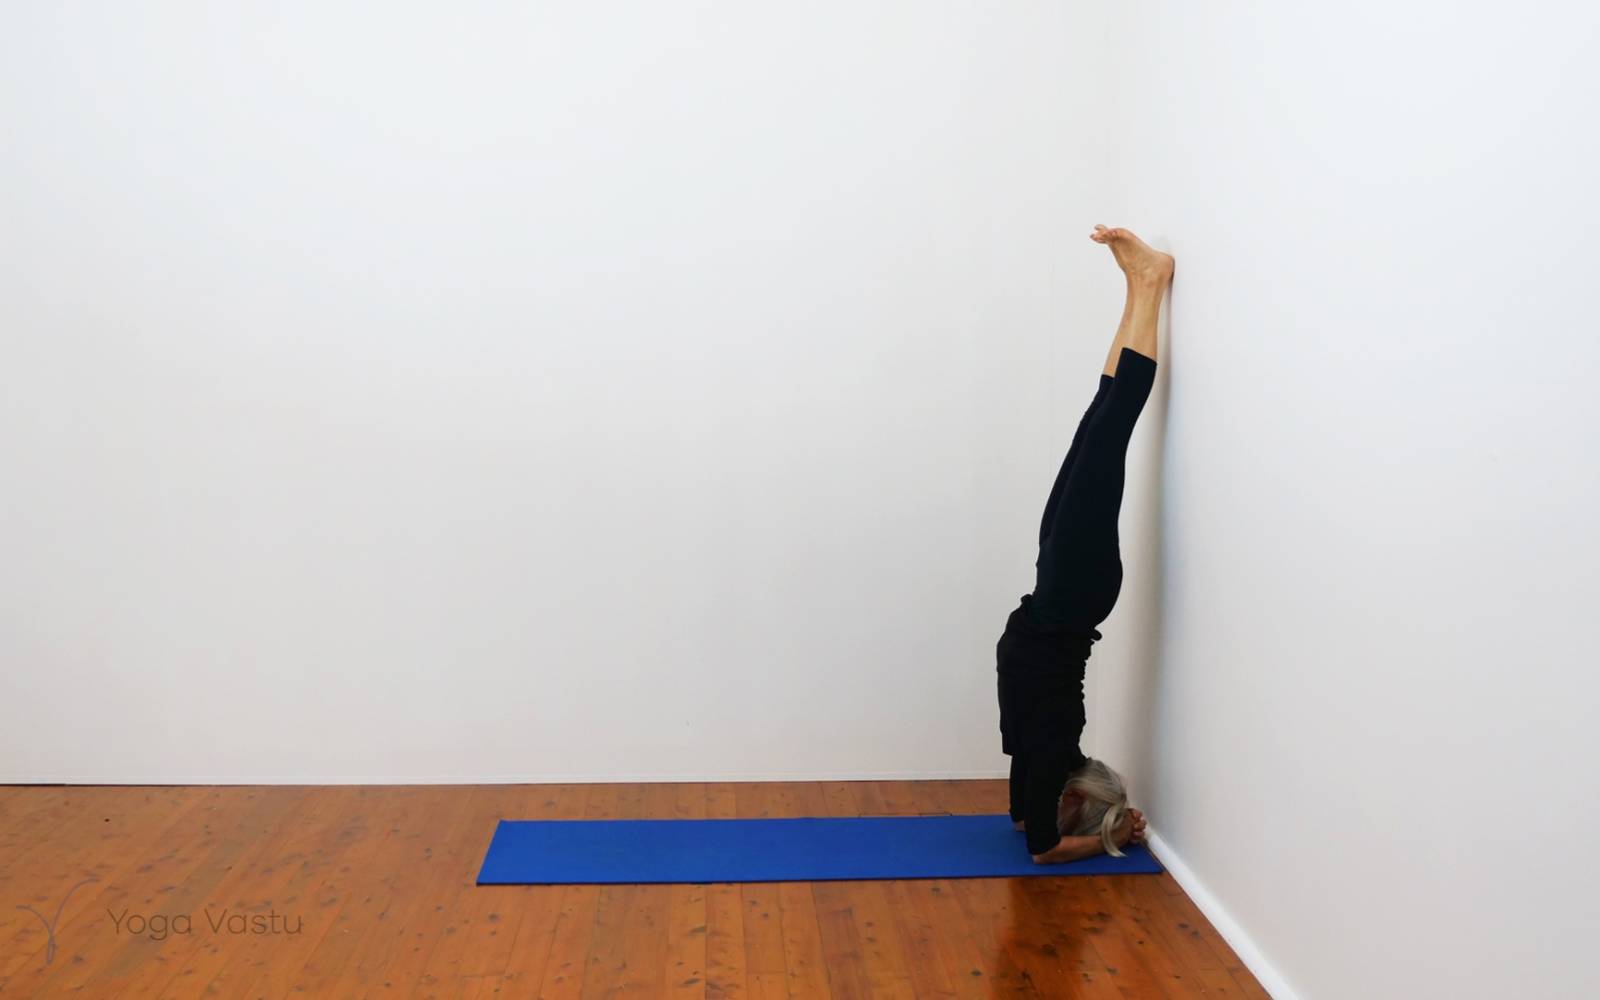
Set up in Sirsasana for 4-5 minutes, finishing with the legs in Baddhakonasana for 5-6 breaths before coming down.
If not going into the full pose, follow the preparatory poses:
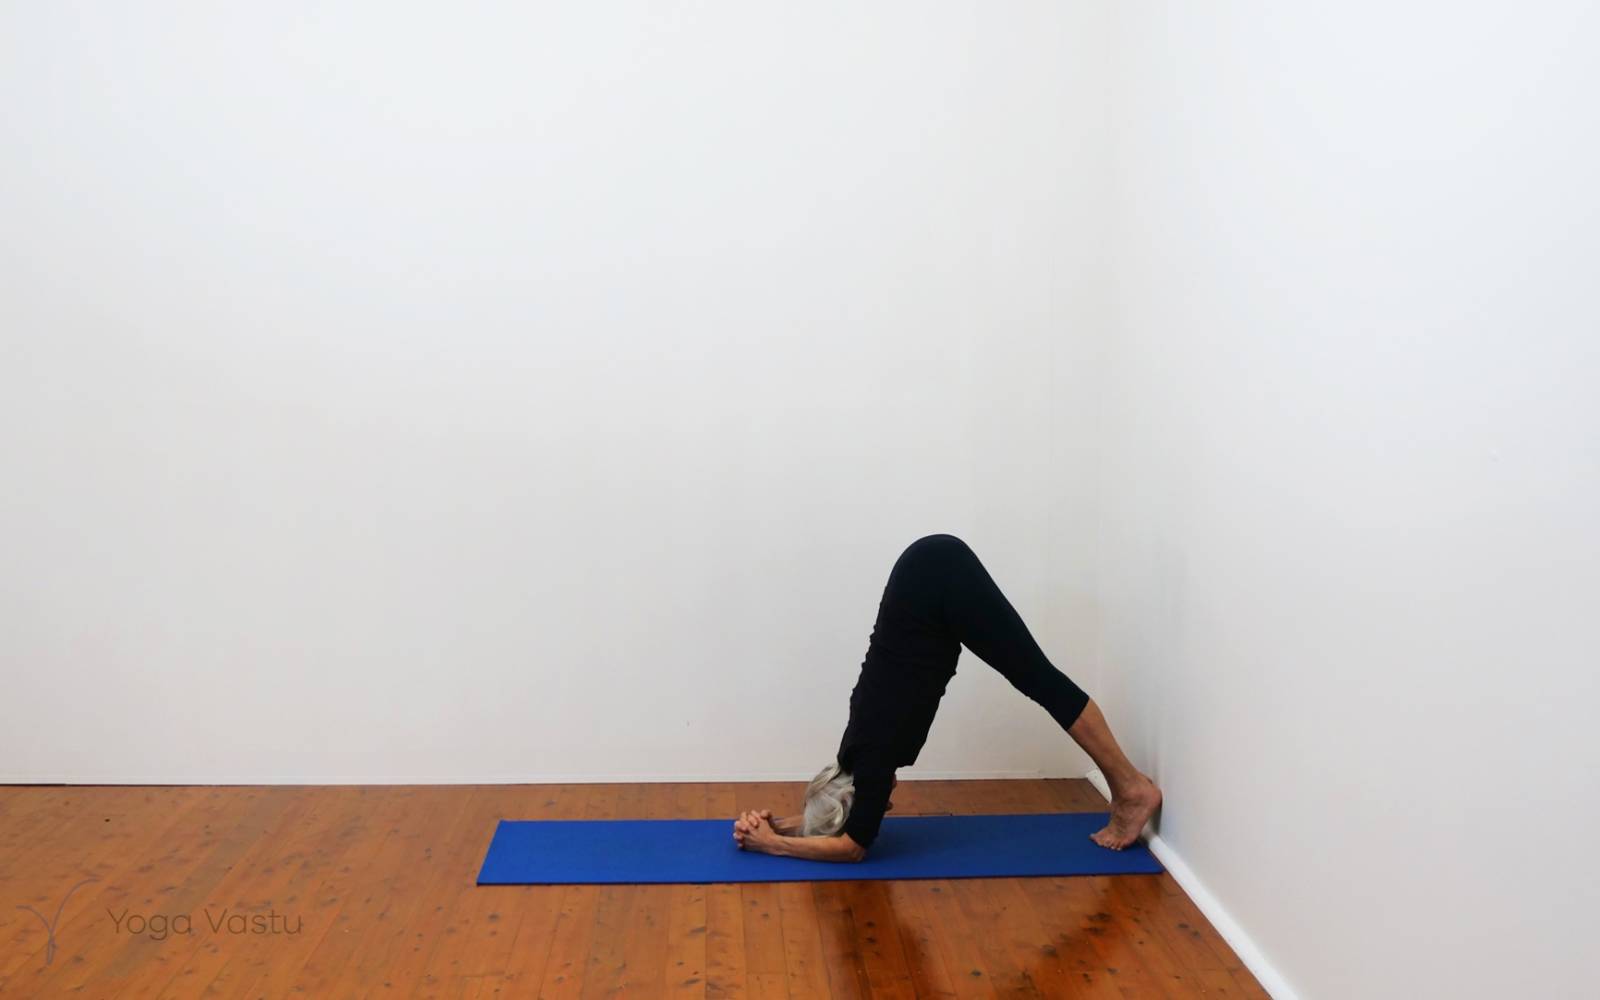
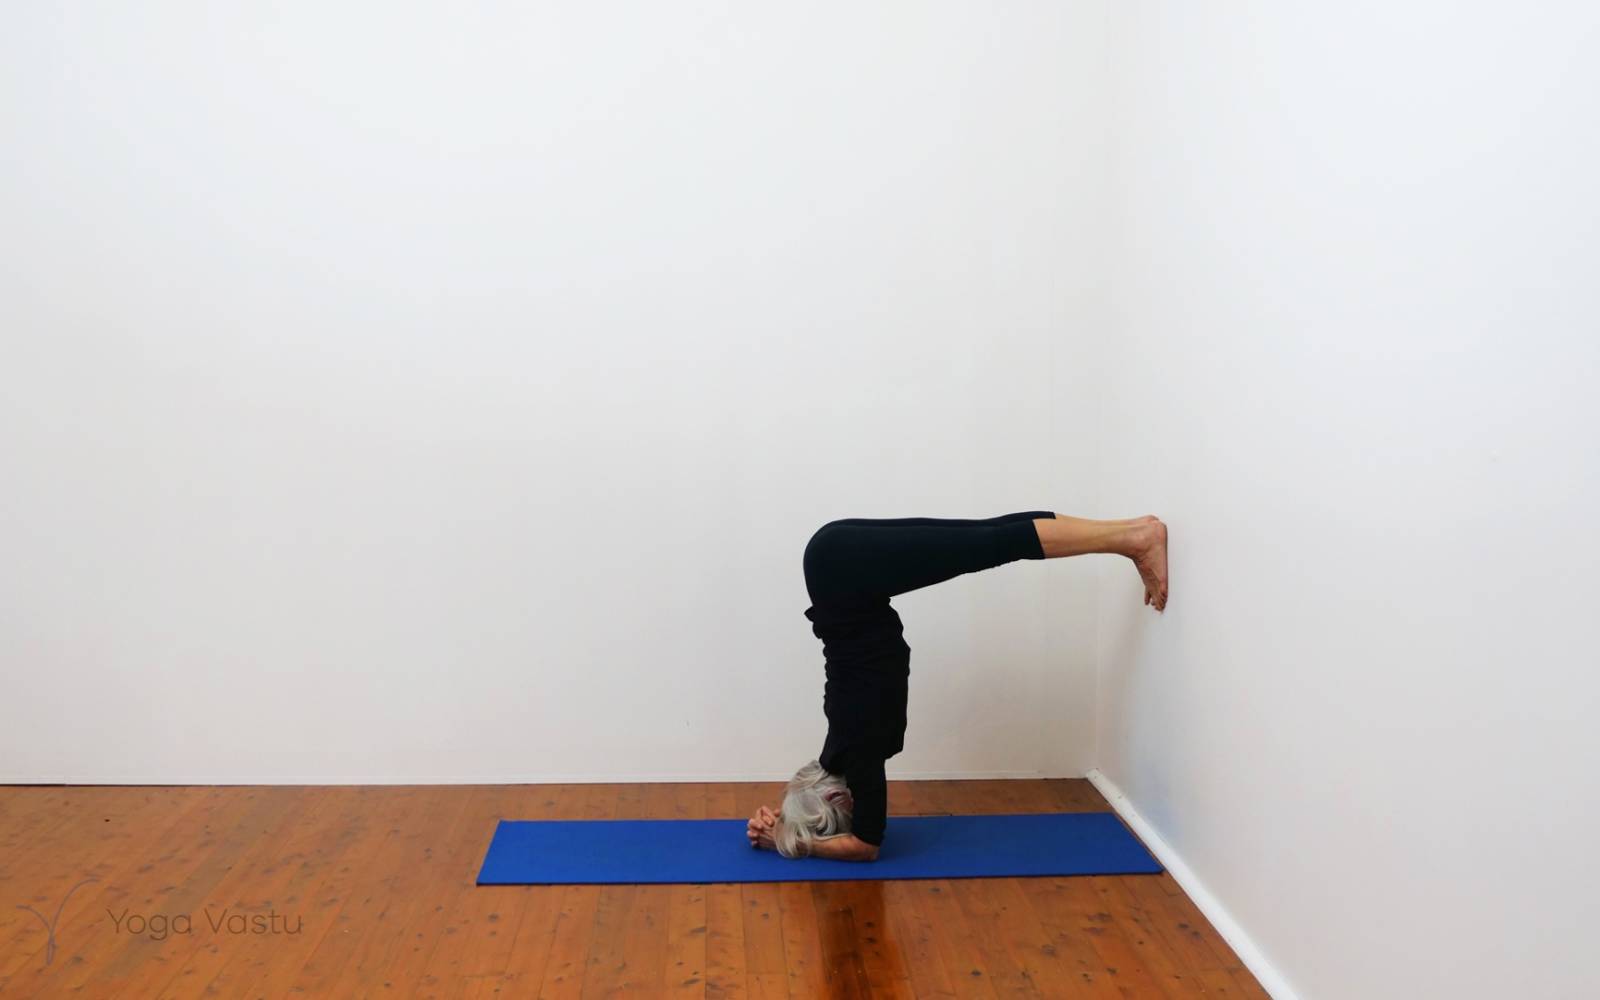
Place the heels to the wall staying on the balls of the feet, and raise the buttocks up, hands and arms in Sirsasana.
Then walk the feet up the wall, to challenge the shoulders and the upper back, but also to keep the legs driving back into the pelvis.
Then turn to face the wall, and hands interlocked for Sirsasana, kick up to the wall, one leg at a time, head off the floor.
Build your timing in these preparation poses to learn to keep the shoulders lifted as you get ready to go up into the full pose when ready.
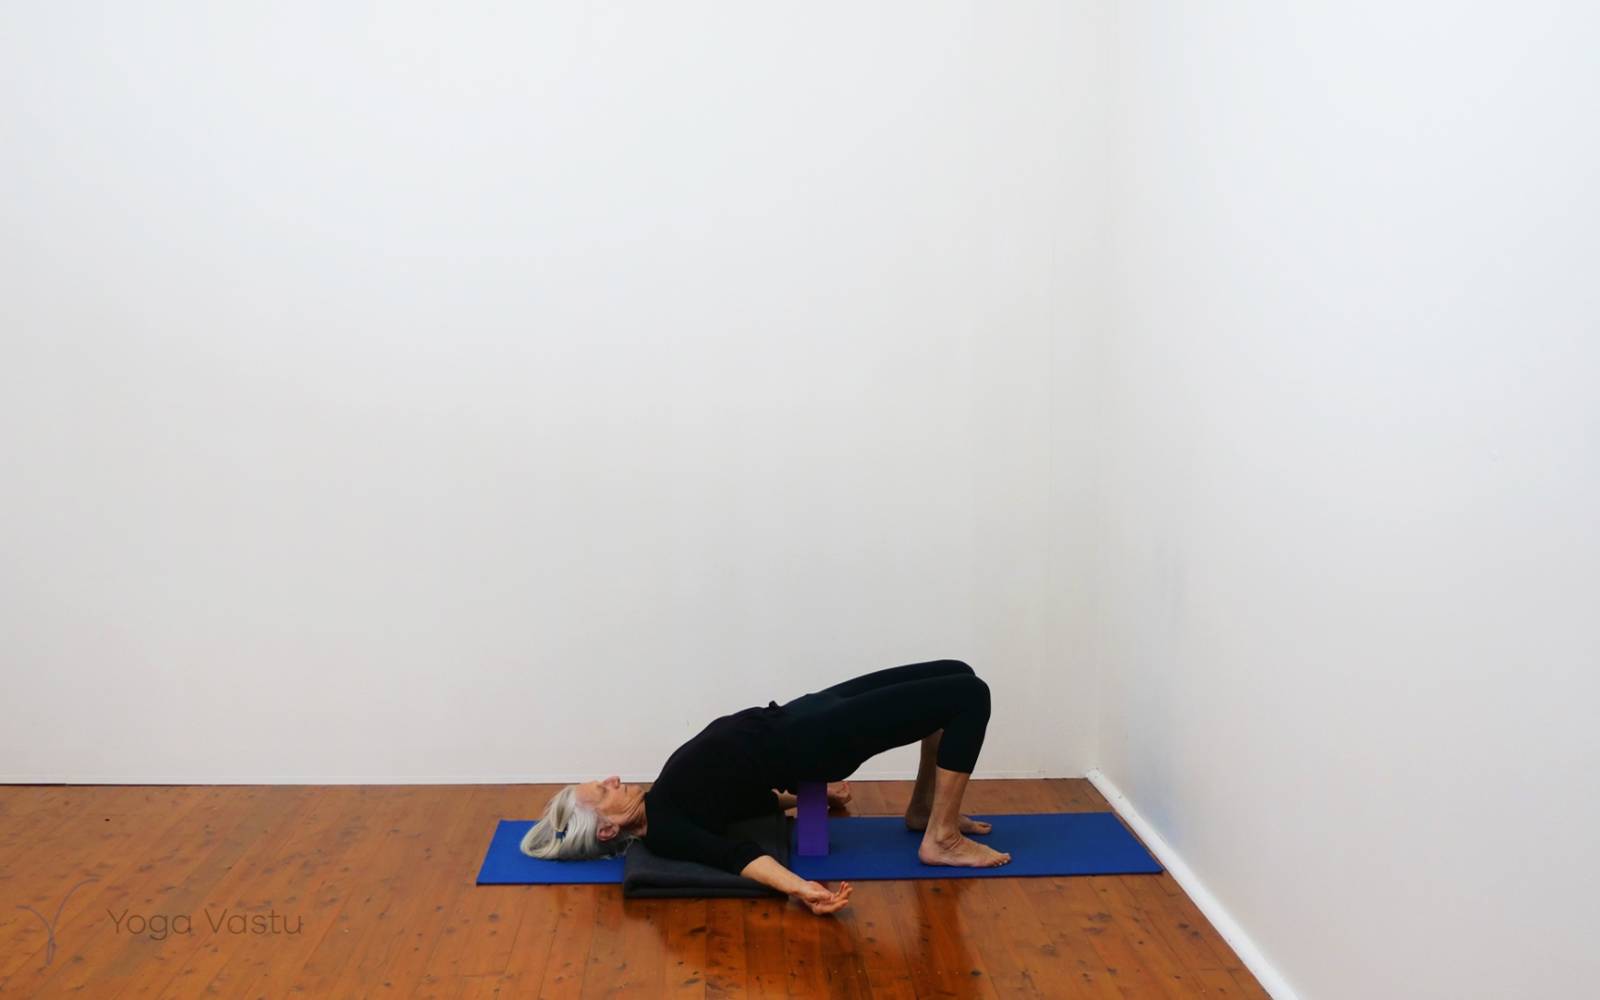
Virasana forward for a few breaths, and then take a block and lie on your back and lift the buttocks up, placing the block upright and broad under the sacrum. Knees bent, feet to the floor. It may be easier for some necks to use a folded blanket under the shoulders, as in Sarvangasana.
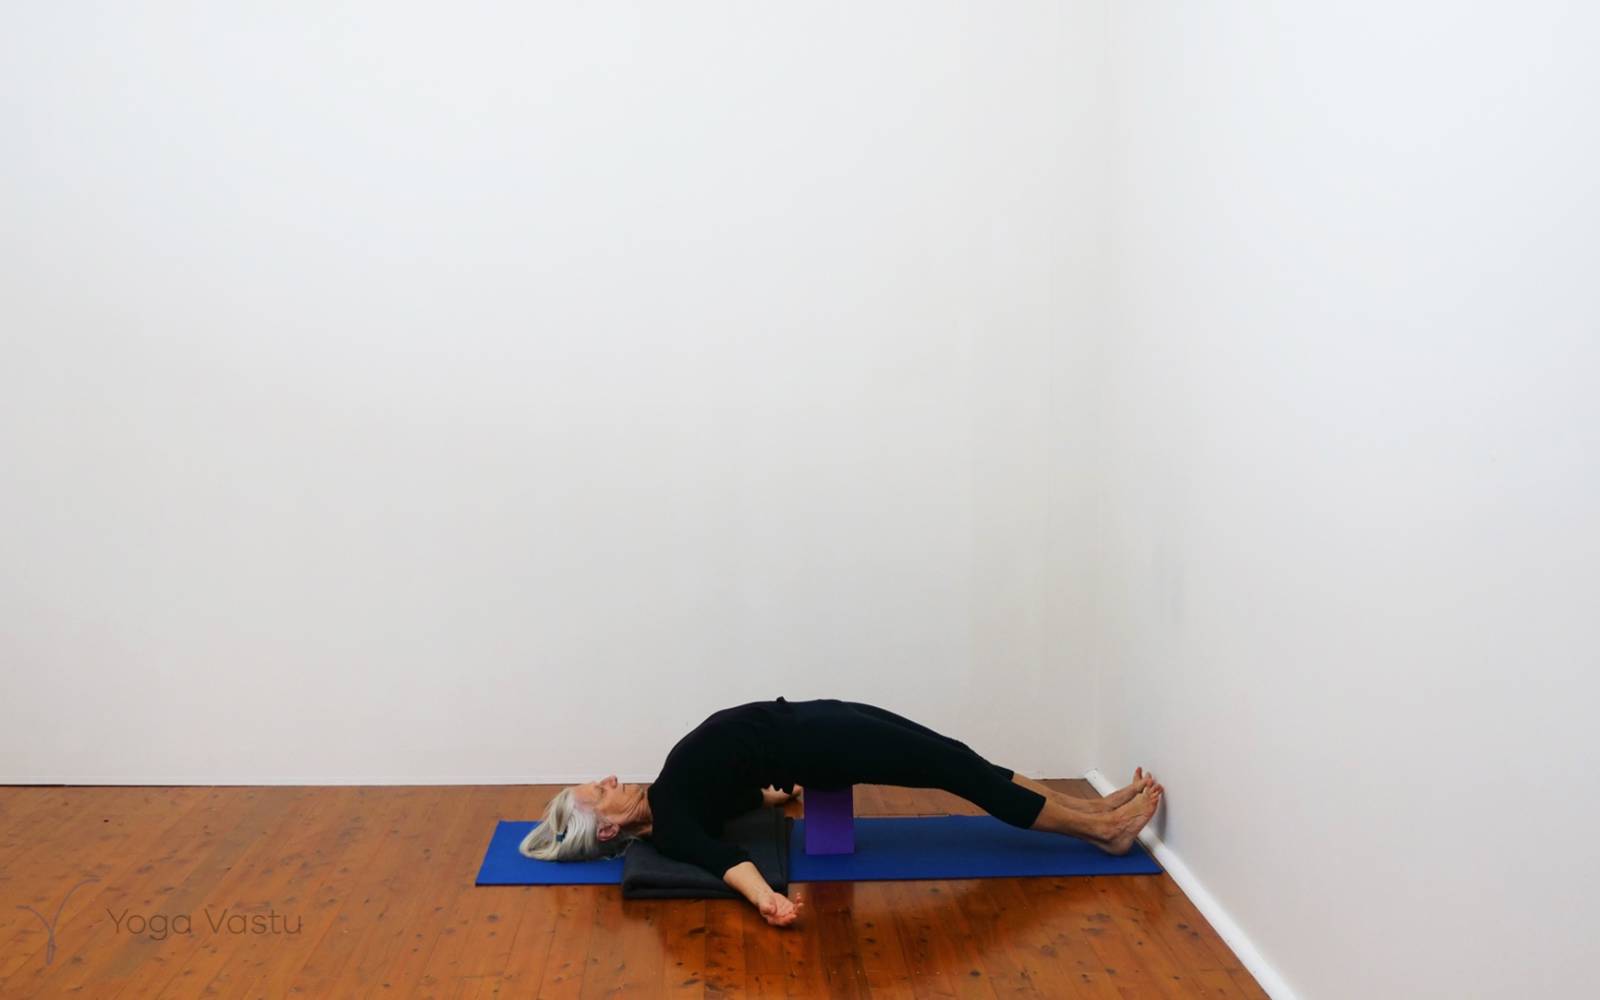
Then lift the buttocks a little to turn the block to its upright narrow edge and place it further down so that the edge comes under the tailbone. See if you can straighten the legs, still keeping the shoulders on the floor. This gives a good opening to the upper back, the shoulders, and the hips. It is also a counterpose to Sirsasana.
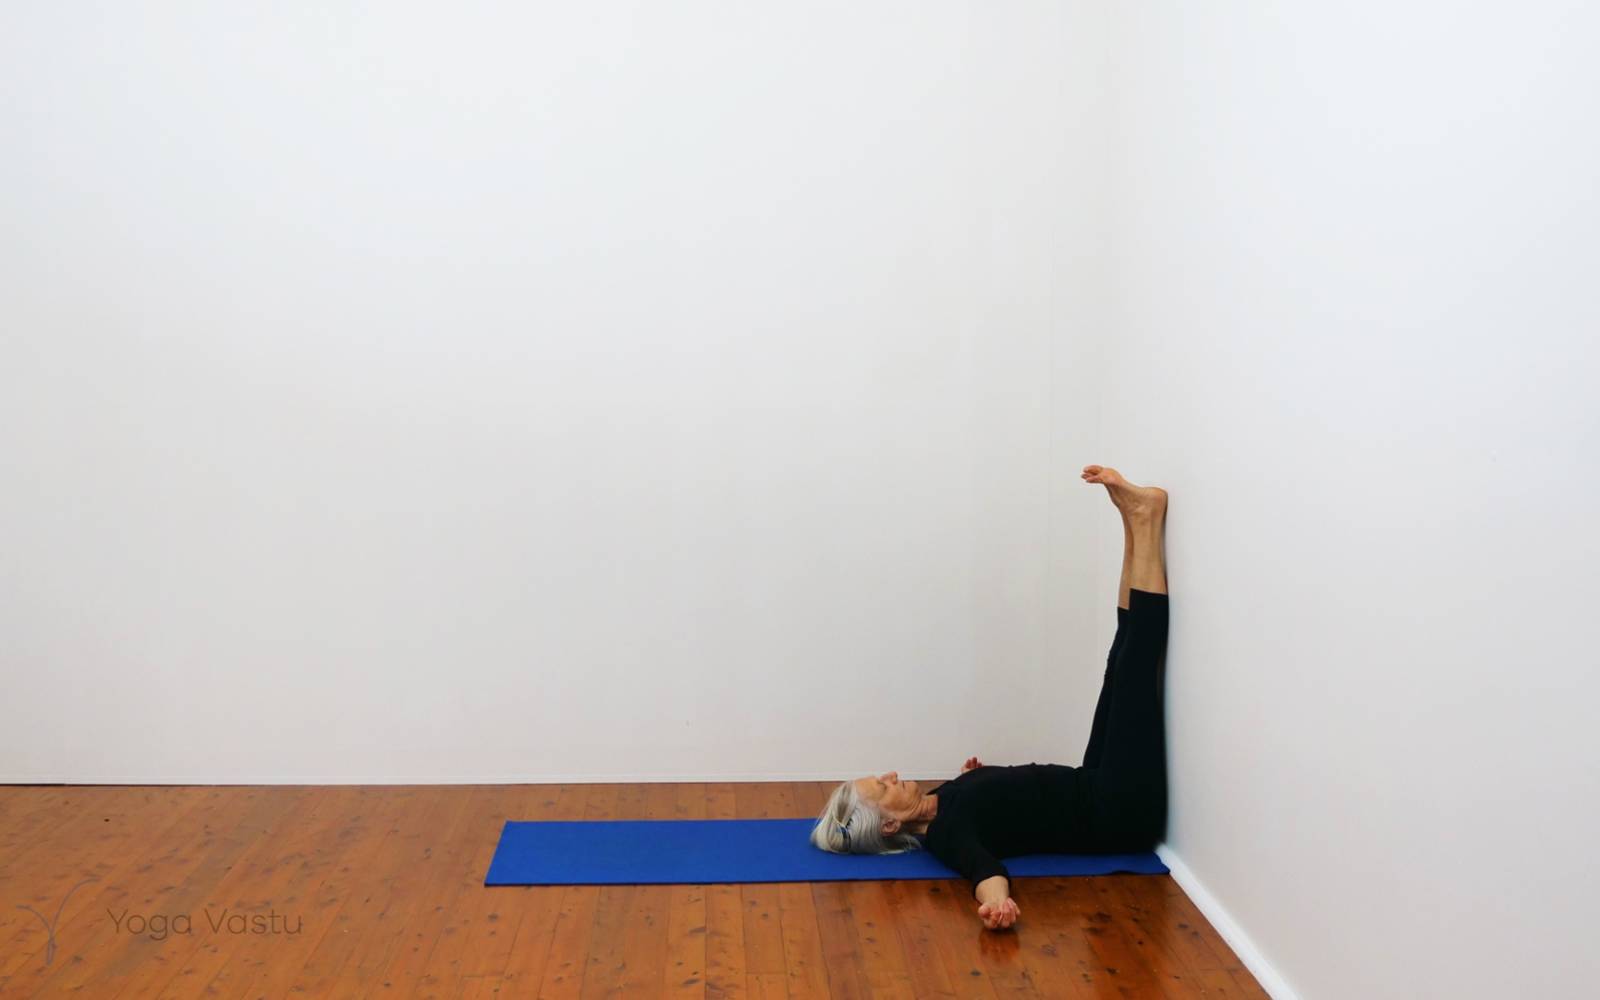
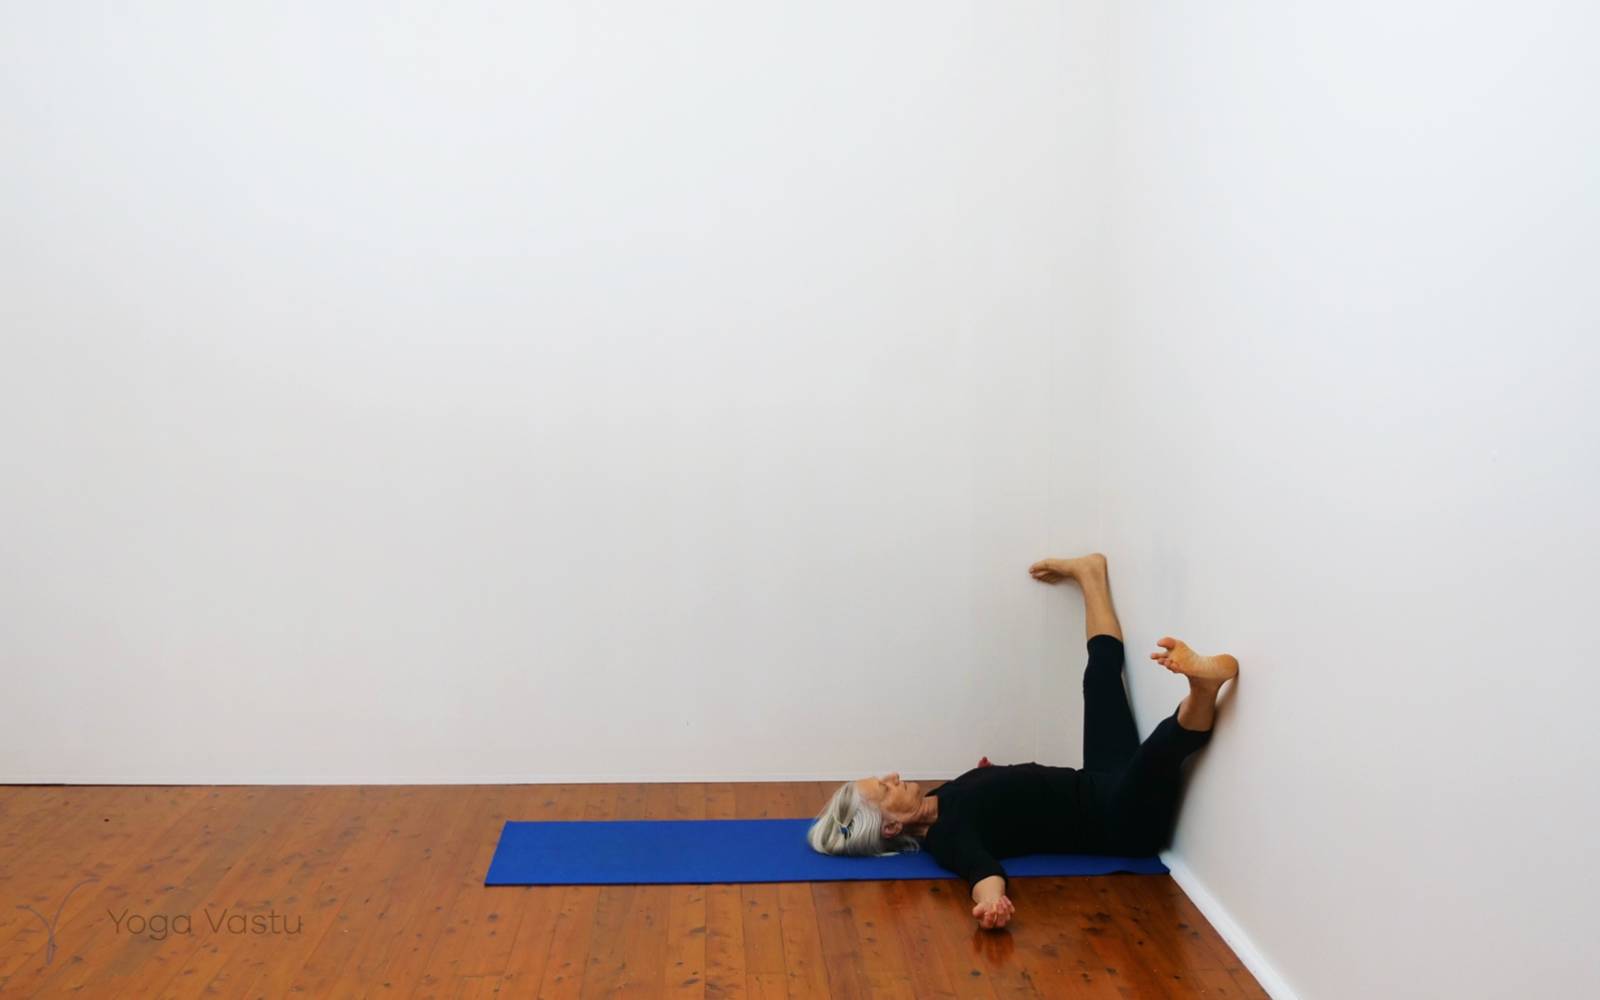
To finish, and to release any residual tension in the back, take the legs up the wall to 90 degrees, pelvis, and upper back and neck flat onto the floor. After a minute or two, bend the legs out to Baddhakonasana, bringing opening to the hips whilst further releasing the lower back. Then Upavistha Konasana, with the legs wide. This gives a good broadening to the front of the pelvis and further opens the inner thighs.
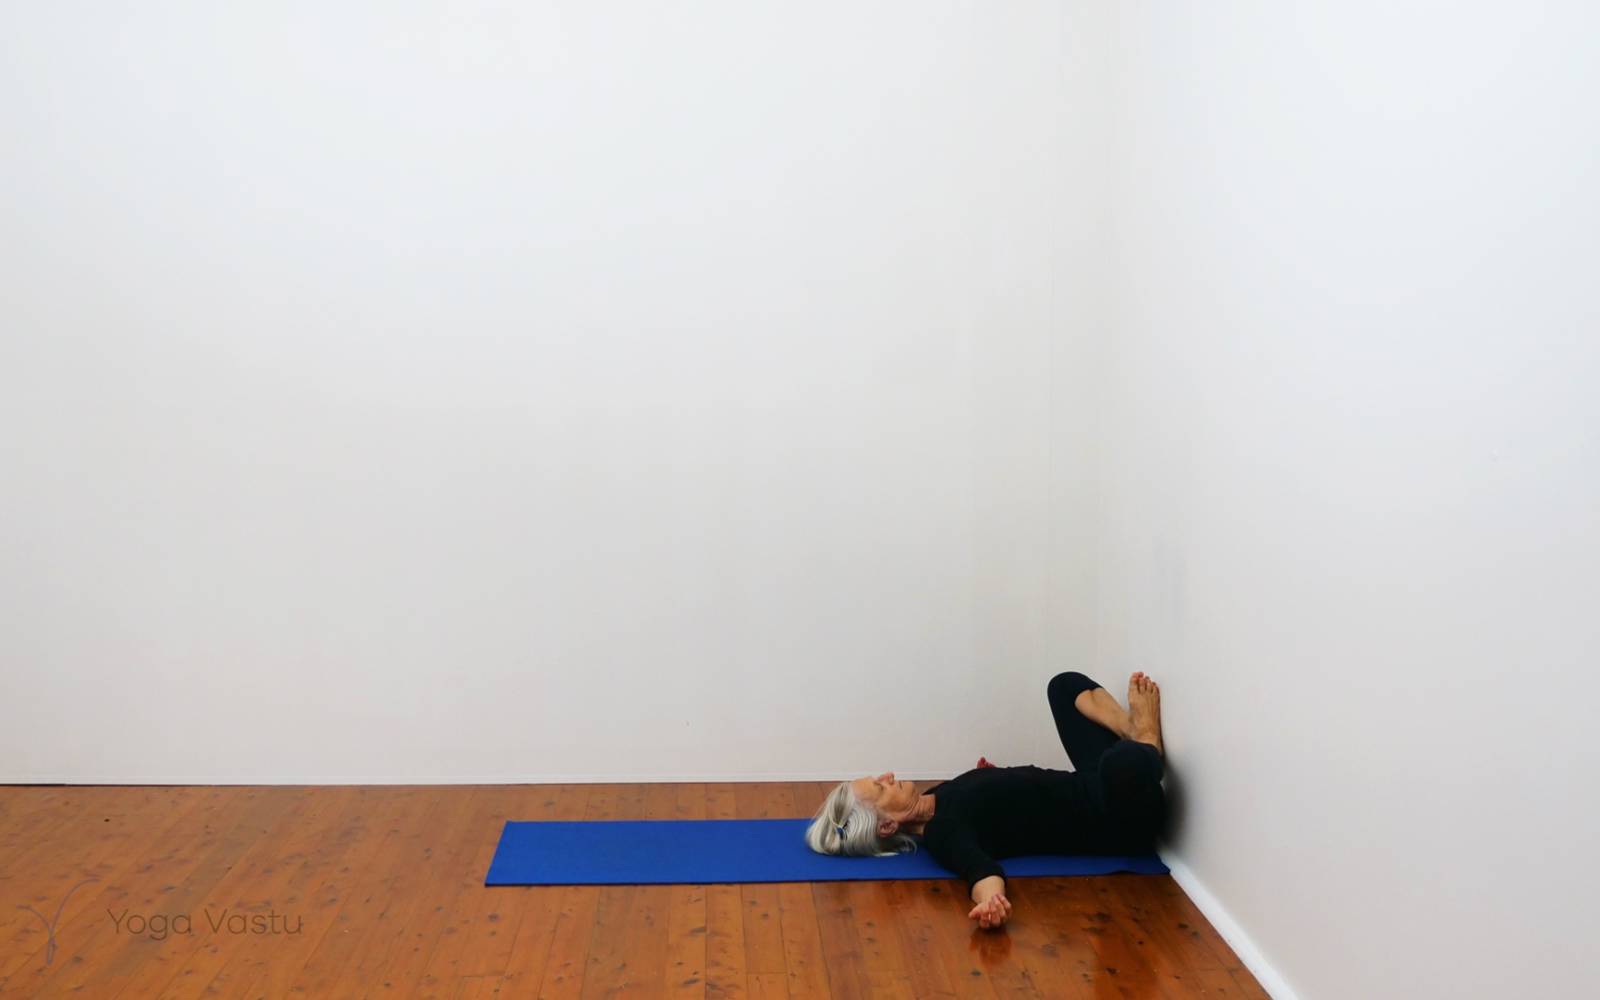
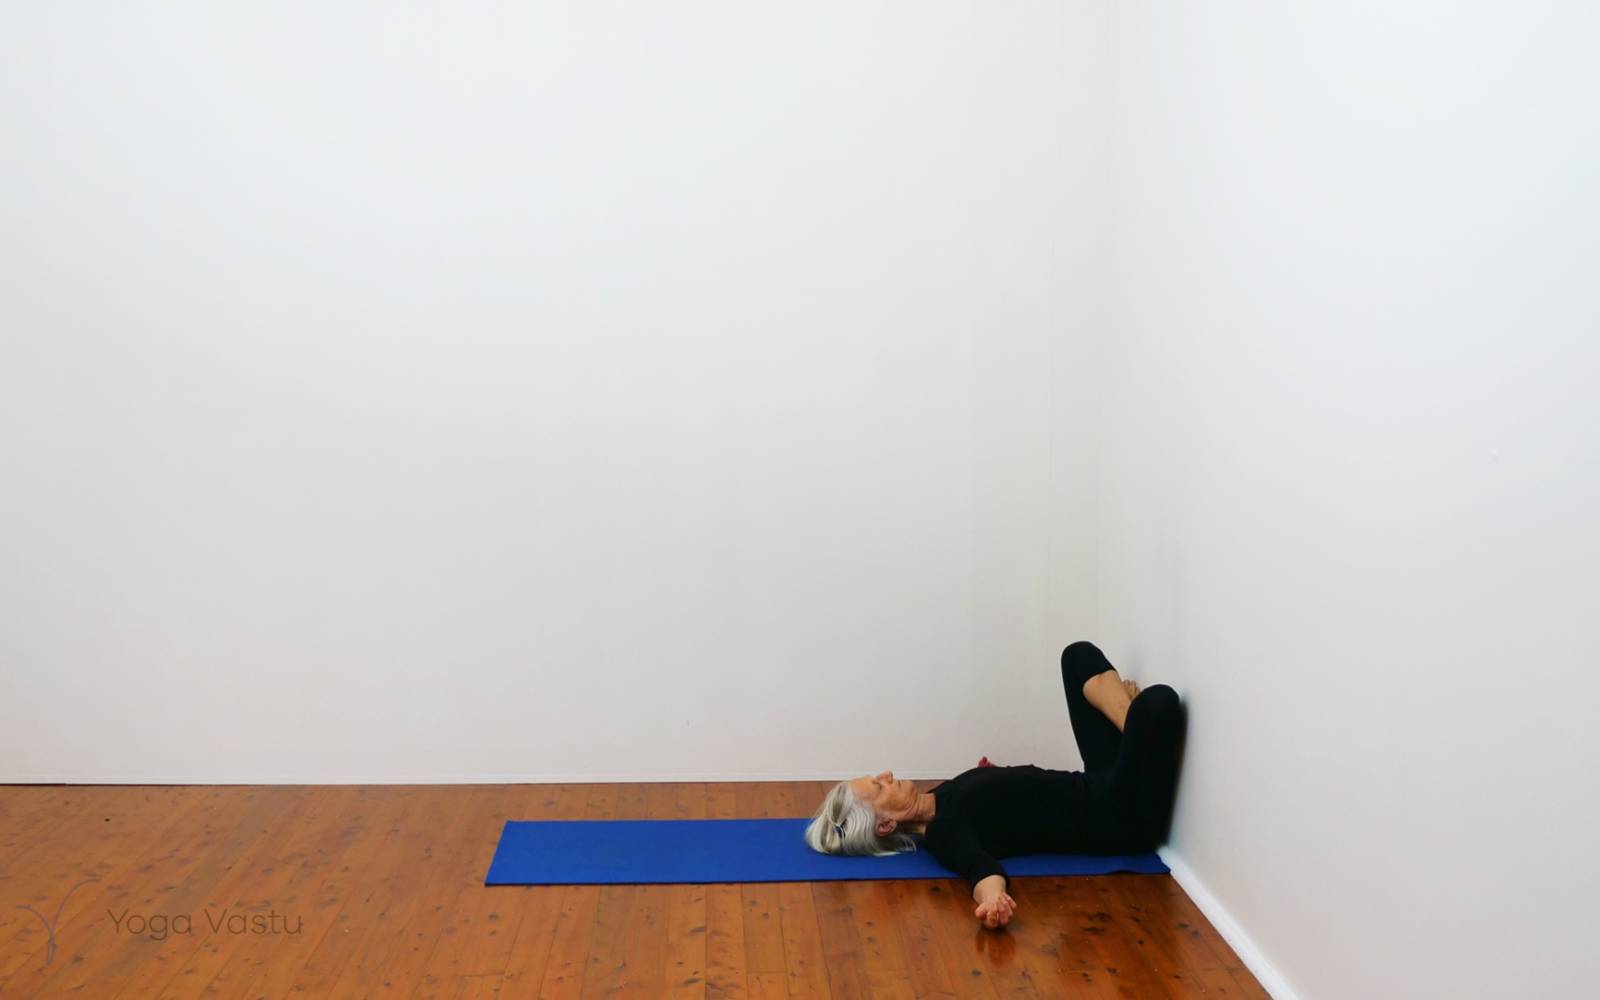
Now bring the legs to simple cross legs, resting the knees against the wall. Soften the face and the breath. Change the cross leg.
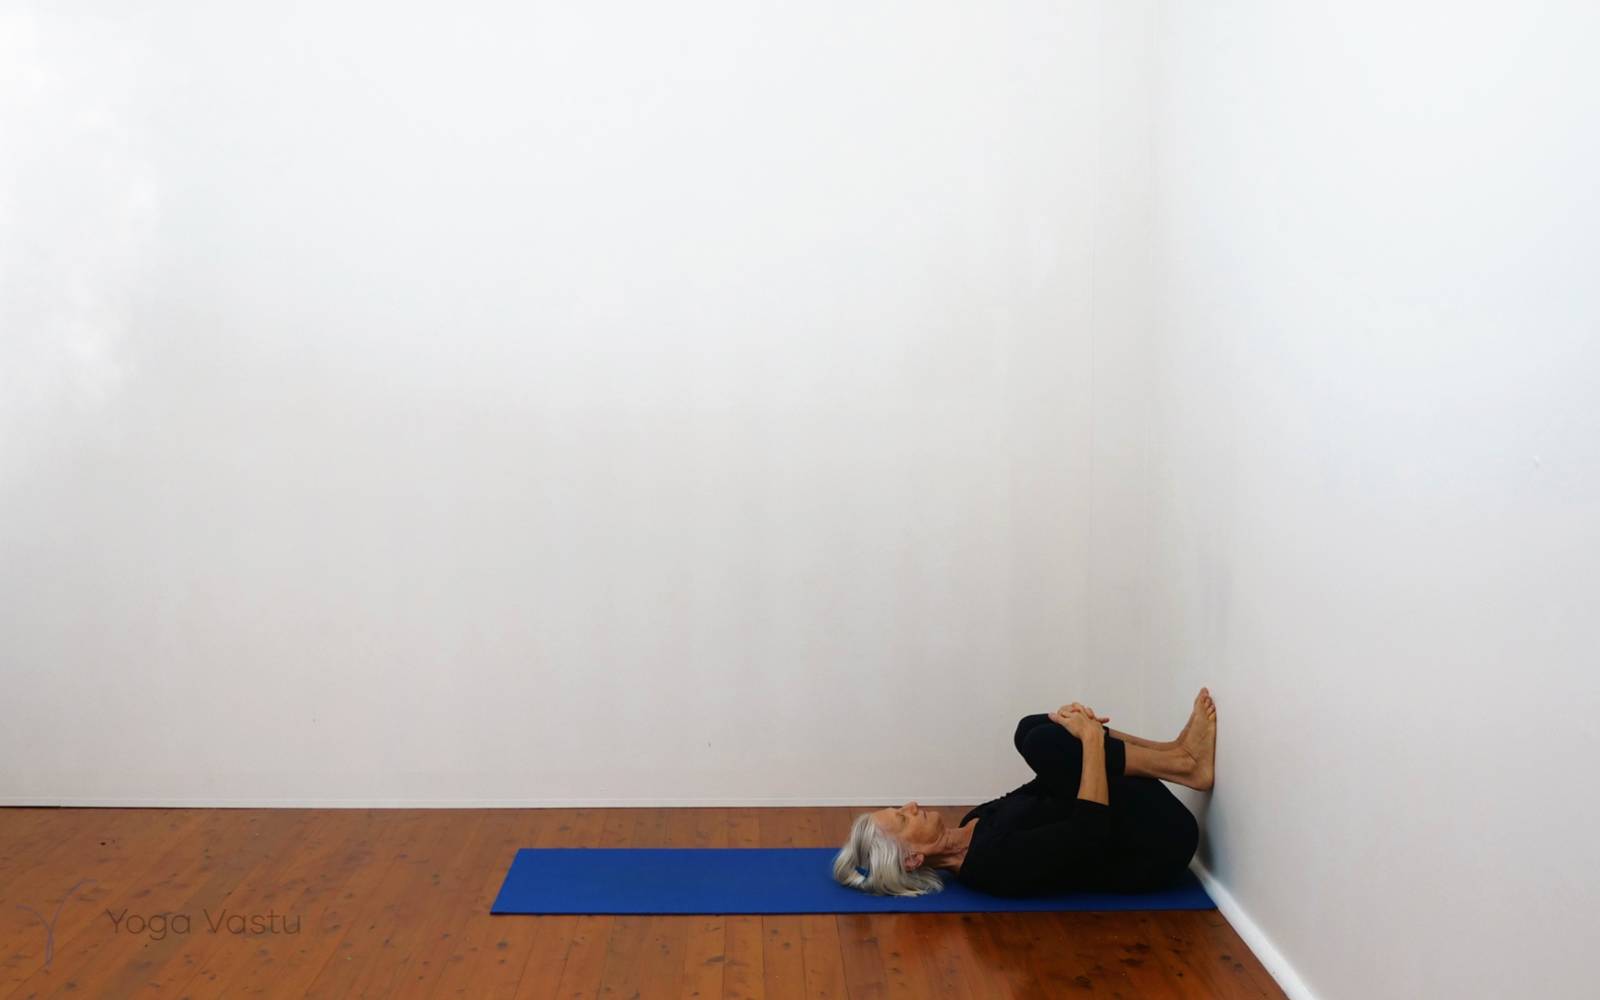
Then bring the knees together and roll to the Right side to finish the session.
Illustrated sequence of video
Download and print the free illustrated sequence of this video.
Video stills from this sequence
