How to do it
You need a mat, a folded blanket, and a block or a rolled towel in case the knees or ankles need support.
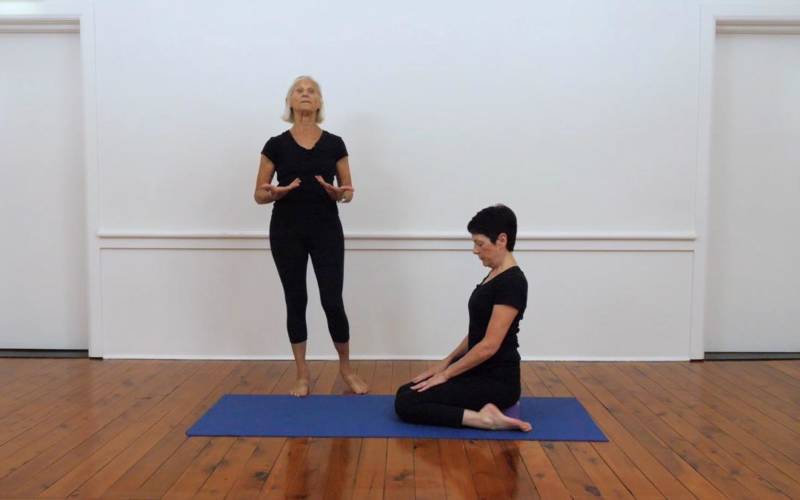
- Kneel on the mat with your knees together and your thighs upright. If the floor is hard, put a folded blanket under your knees and shins.
- Bring your feet together behind you, tops of the feet on the floor and toes pointing straight back. Let the big toes touch and the heels part slightly.
- Before you sit, check that the feet point straight back and do not turn out to the sides.
- Sit back slowly onto your heels. If the knees feel crowded, use your hands to draw the calf flesh slightly out to the sides as you lower.
- Rest your hands on your thighs, palms down. Lift the spine, roll the shoulders back and keep the head level.
- Stay for one to five minutes, breathing evenly.
- To come out, lean forward onto your hands, lift the buttocks and straighten one leg back at a time. Or sit to one side and stretch the legs forward into Dandasana.
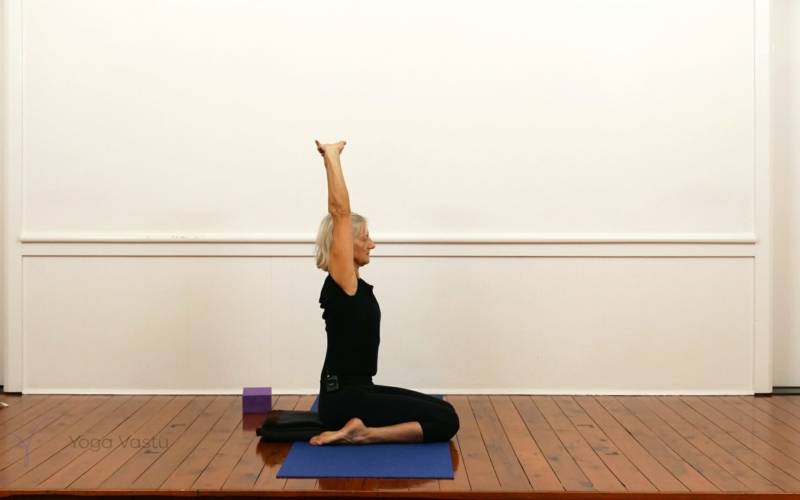
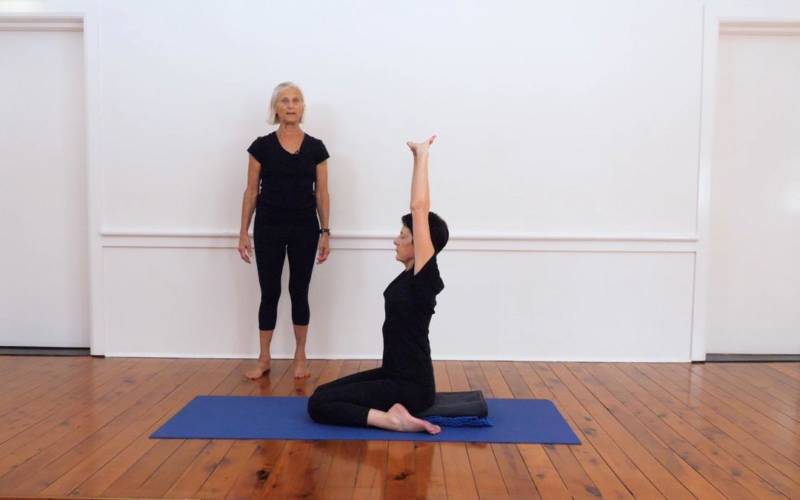
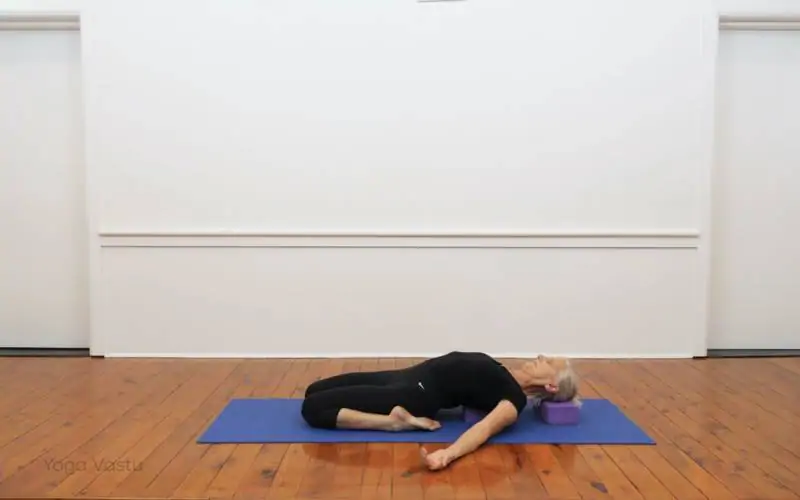
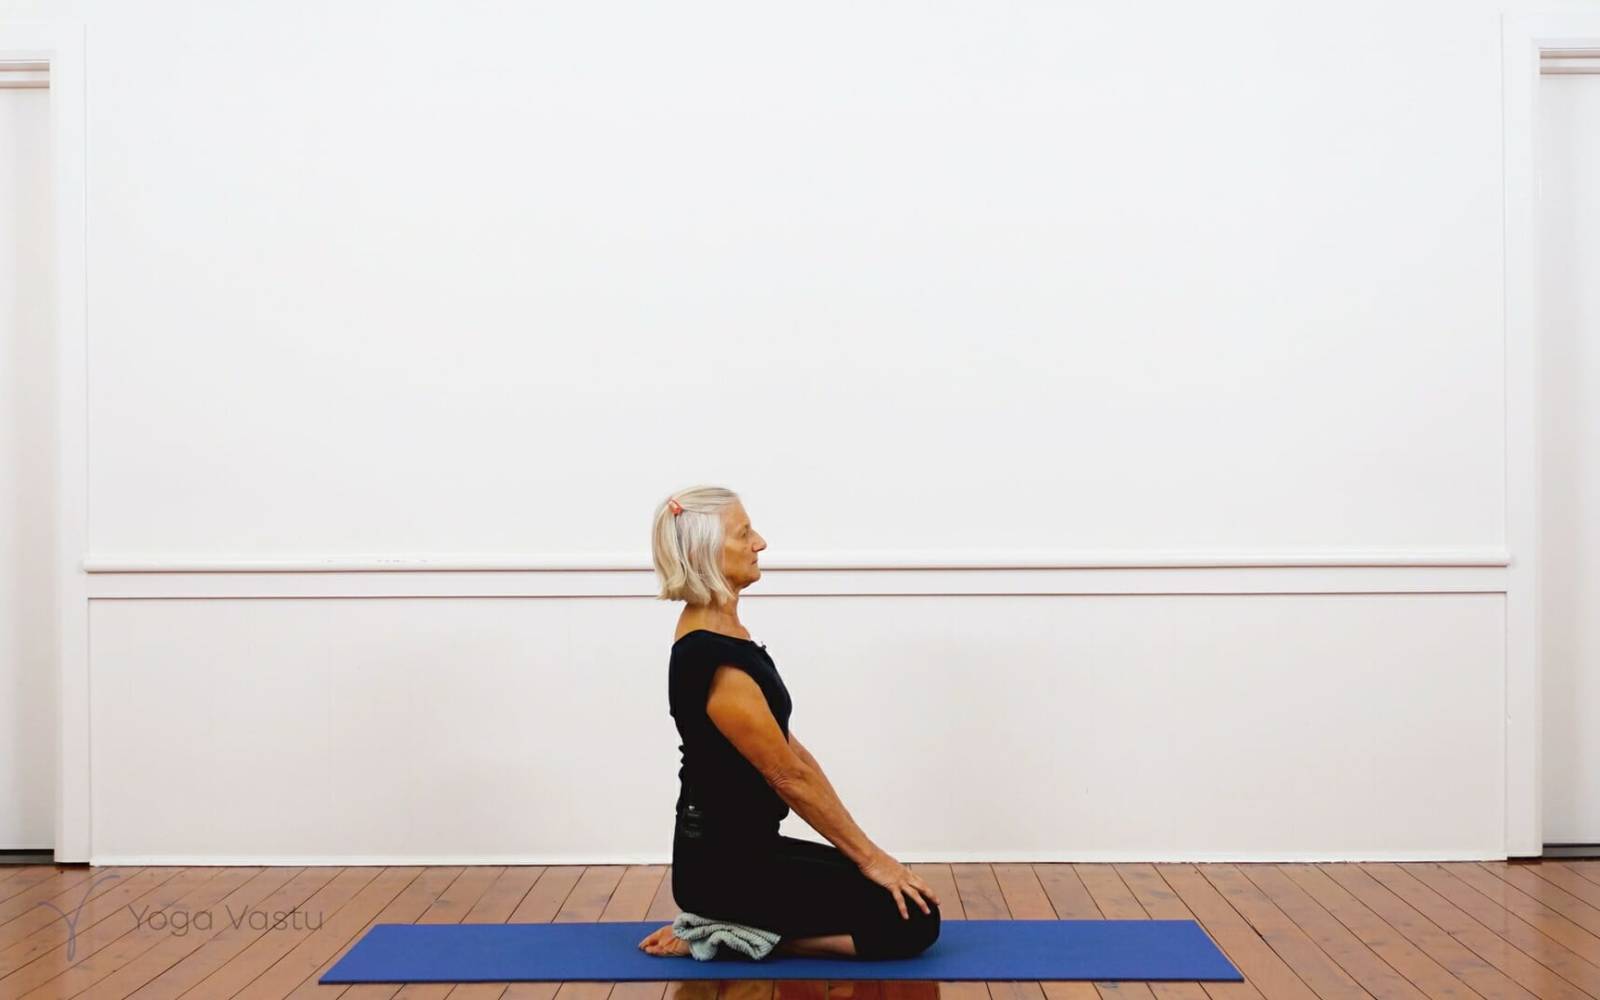
If the fronts of your ankles or feet ache, slide a rolled towel or blanket under the ankles, as in the photo. If the knees complain, put a block or folded blanket between the heels and the buttocks. Our beginner classes use Vajrasana as an accessible kneeling seat, often with these supports.
Key actions
- Feet – keep the tops of the feet evenly on the floor and the ankles in line with the shins. Do not let the ankles roll out so you sit on the outer edges of the feet.
- Knees and thighs – keep the knees together and the thighs parallel. Let the thighs release down towards the shins.
- Weight – spread the weight evenly through both shins and both feet. If you lean to one side, the knee and ankle on that side take the strain.
- Spine – lift from the pelvis. Let the lower back move in, then the back ribs, so the chest opens without the lower back over-arching.
- Shoulders and head – shoulder blades into the back, collarbones broad, head directly over the pelvis.
- Face and breath – soft eyes and jaw, with an even breath.
Props and variations
- Rolled towel or blanket under the ankles – eases stiff ankles and the fronts of the feet. This is the setup shown in the photo.
- Block or blanket between the heels and buttocks – raises the seat and reduces the bend in the knees. Use as much height as you need for the knees to be comfortable.
- Blanket under the knees and shins – protects the knees on a hard floor.
- Knees apart – a little width between the knees can be more comfortable for some hips, and makes room for the abdomen in pregnancy.
- Arm stretches – Vajrasana and Virasana are the usual seats for arm work. Try Parvatasana (fingers interlocked, palms turned up overhead), Gomukhasana arms (hands clasped behind the back, one arm over the shoulder and one from below) and Urdhva Baddanguliyasana.
- Forward version – widen the knees, keep the feet together and fold forward with the forehead resting on the floor or a block. See Virasana Forward.
In the Iyengar method, Virasana is the main kneeling pose and Vajrasana is used less. It is useful when the knees are not ready for Virasana, or for short periods of sitting.
Cautions
- Knees – Vajrasana bends the knees fully. If you have a knee injury, a meniscus problem or a knee replacement, do not sit in it without a teacher’s guidance. Use height under the buttocks, and stop if you feel pain in the knee.
- Ankles and feet – support stiff ankles with a rolled blanket. If you get cramp in the feet, come out, stretch the feet and try again with more support.
- Circulation – if the legs or feet go numb, come out and stretch the legs. Build up the time gradually.
- Pregnancy – widen the knees to make room for the abdomen and sit on a block.
- Recent injury or surgery – wait for clearance after knee or ankle surgery.
Benefits
Vajrasana gives you an upright seat that does not depend on open hips, which is why it is used in so many traditions. With the knees together and the weight even, the pelvis sits level and the spine can lift.
It stretches the fronts of the ankles, feet and thighs. Students often find it a comfortable seat for short pranayama or for arm stretches such as Parvatasana and Gomukhasana. Traditionally it is one of the few poses said to be suitable soon after a meal, so it can be a quiet way to sit after eating.
Common questions
What is the difference between Vajrasana and Virasana?
In Vajrasana you sit on your heels, with the feet together under the buttocks. In Virasana the feet are apart, beside the hips, and you sit on the floor or a block between them. Virasana asks more of the knees and is the kneeling pose the Iyengar method teaches most often.
Where should my feet be in Vajrasana?
Directly under the buttocks, with the tops of the feet on the floor and the toes pointing straight back. The big toes touch and the heels part slightly so you can sit between them. The feet should not turn in or out.
Can you sit in Vajrasana after eating?
Traditionally, yes. Vajrasana and Virasana are among the few poses that are said to be suitable soon after a meal. Keep it to quiet sitting, not active practice.
What should I do if Vajrasana hurts my knees?
Sit on a block or folded blanket placed between the heels and buttocks, which reduces how far the knees bend. If the knees still hurt, come out and sit in Swastikasana or on a chair instead.
What does vajrasana mean?
Vajra is Sanskrit for thunderbolt, and is also translated as diamond. Both names are common in English: thunderbolt pose and diamond pose.
About the teacher
Pixie Lillas: Pixie Lillas first went to the Ramamani Iyengar Memorial Yoga Institute in Pune, India in 1977. She co-founded the Balmain Iyengar Yoga Studio in 1980 and has been director and principal teacher there ever since.