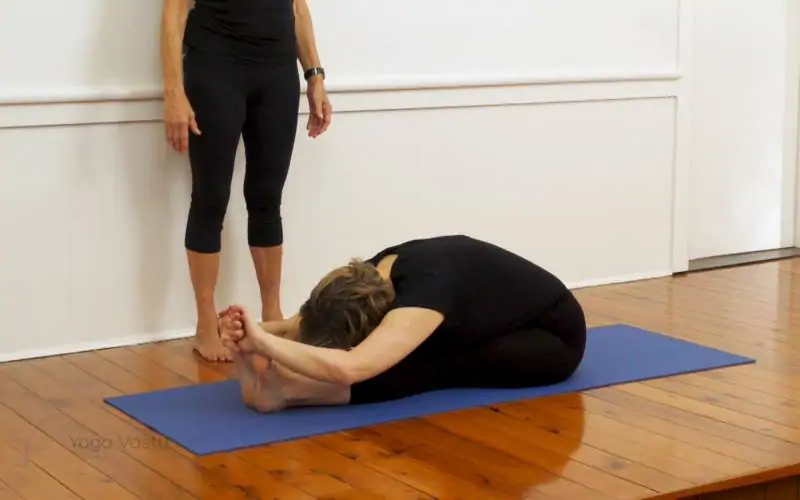
How to do it
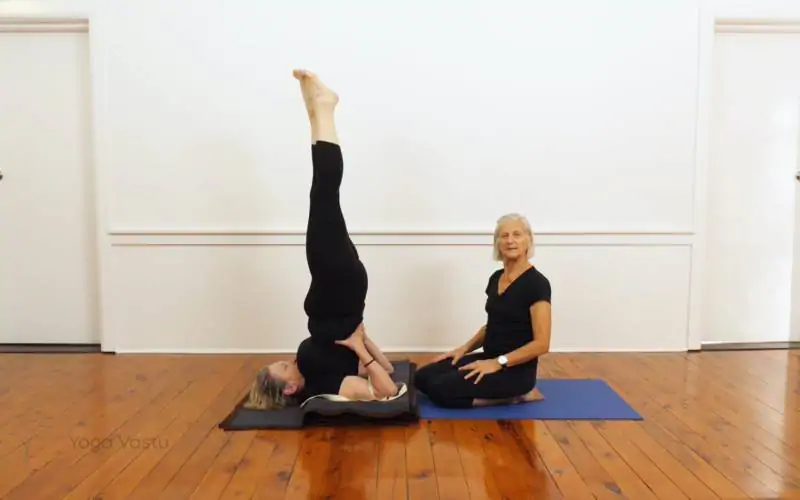
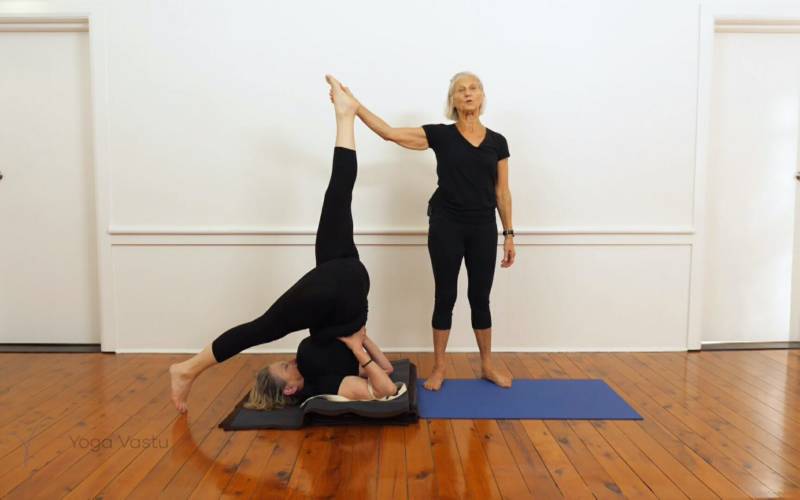
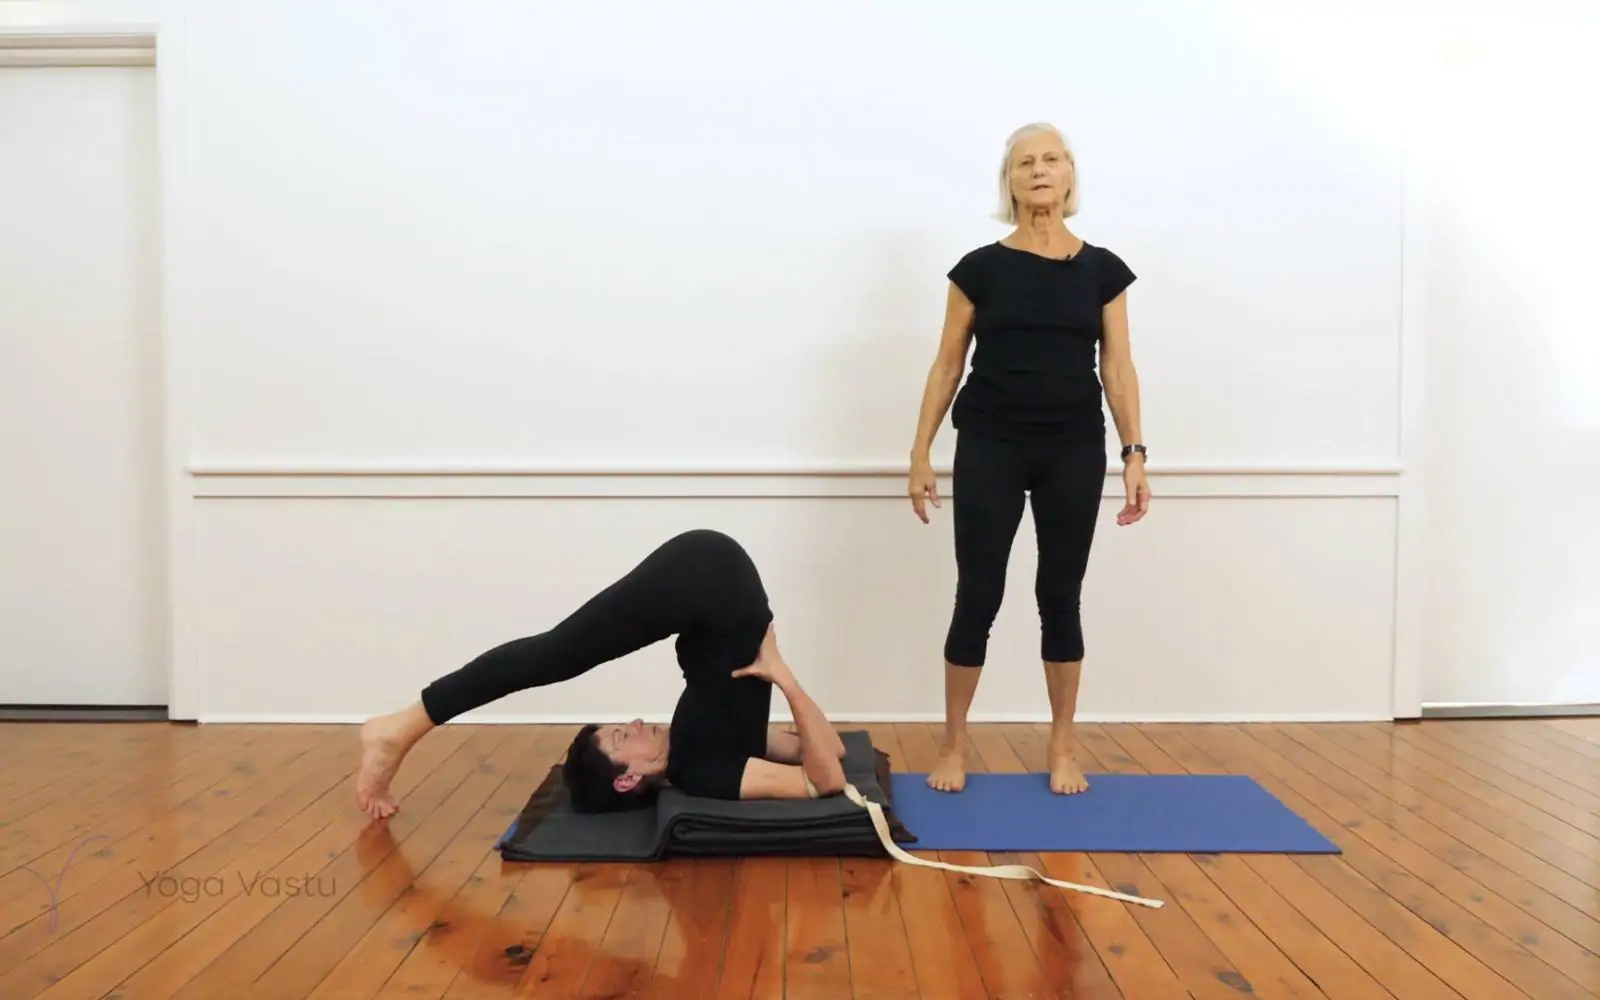
Halasana is usually practised straight after Salamba Sarvangasana and uses the same setup. Fold three or four firm blankets into a neat stack about the width of your mat, with the folded edges lined up on one side. The height lets the neck keep its natural curve so that it carries no weight.
- Lie on your back with your shoulders on the blankets, a few centimetres in from the folded edge, and the back of your head on the floor. There should be space under your neck.
- If you use a belt, loop it around your upper arms just above the elbows, at shoulder width.
- Bend your knees and bring them towards your chest. On an exhalation, swing your hips up and place your hands on your back, fingers pointing towards the buttocks.
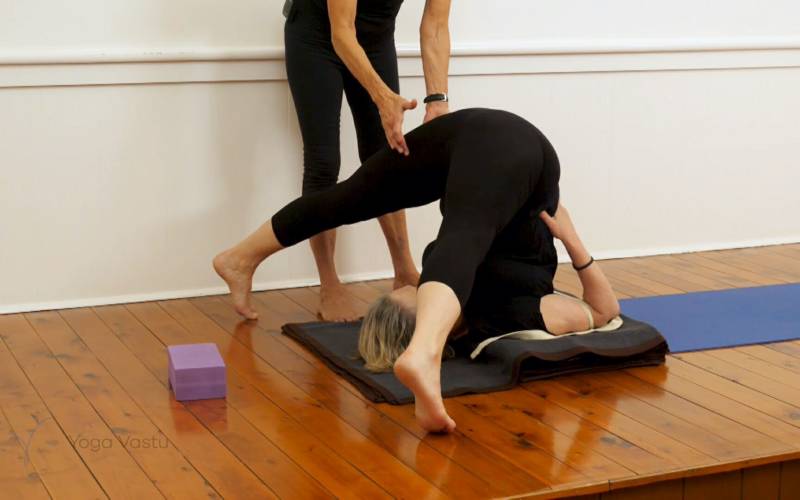
- Take your feet over your head and lower your toes to the floor behind you. Straighten your legs.
- Walk your hands down your back towards the shoulder blades and lift the trunk until it is vertical, with the hips over the shoulders.
- When the trunk is steady, you can release the hands and stretch the arms along the floor away from the feet, palms down, or interlock the fingers. Keep the hands on the back if the trunk drops when you let go.
- Stay for one to three minutes with even breathing. Experienced students build towards five minutes.
- To come down, bring your hands back to your back, bend your knees and roll down slowly, one vertebra at a time, keeping the head on the floor. Rest with your back on the blankets for a few breaths, then turn onto your side before you sit up.
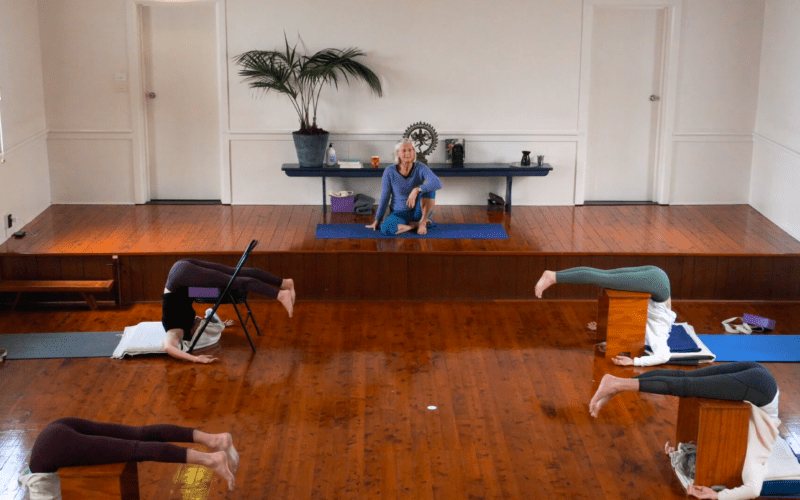
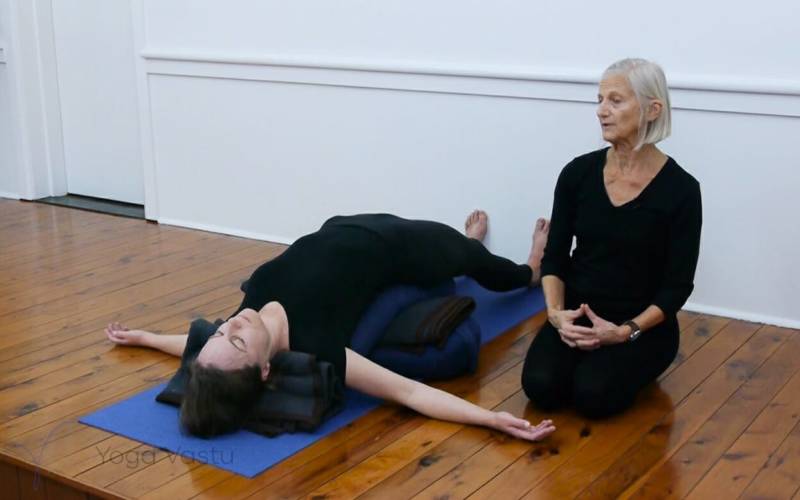
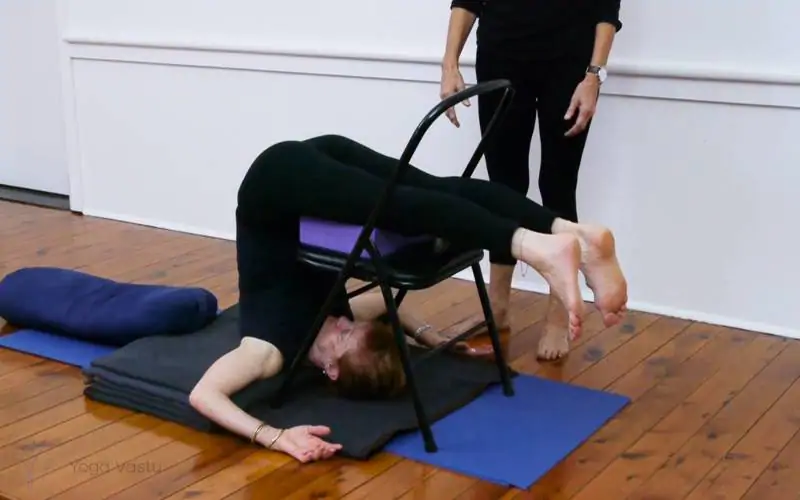
If your feet do not reach the floor, do not push them down. Put a chair behind your head and rest your thighs or feet on the seat (see Props and variations). In class, Halasana sits inside the shoulderstand cycle, with Sarvangasana before it and Karna Pidasana or Supta Konasana after it. I often take a class through Halasana with a chair first, so the actions are clear before the full pose.
Key actions
The work in Halasana is to lift the trunk so that the weight stays on the tops of the shoulders and the upper arms.
- Shoulders – roll the tops of the shoulders under you and draw the shoulder blades into the back. The belt stops the elbows sliding apart, which keeps the chest lifted.
- Back ribs – move the back ribs in towards the front of the body so the chest comes towards the chin. Do not pull the chin down to the chest.
- Trunk – lift the hips straight up over the shoulders. If the back rounds and the hips drift past the shoulders, the weight drops into the neck.
- Legs – with the toes tucked under, press the heels away and lift the thighs up, away from your face. Keep the kneecaps lifted and the backs of the knees long.
- Head and throat – keep the throat soft and the eyes quiet. Do not turn the head while you are up, because turning in an inversion strains the neck.
The breath often feels restricted at first. It eases as the chest lifts away from the chin.
Props and variations
Iyengar teachers adapt Halasana with props so it can be practised safely at every level.
- Blankets – three or four folded blankets under the shoulders are the standard setup. Use enough height that the neck is not flattened against the floor, and fold them firmly so they do not slide apart.
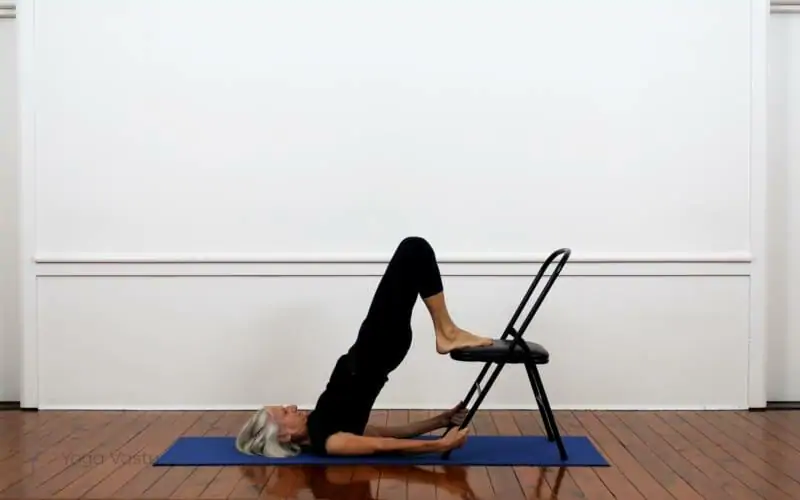
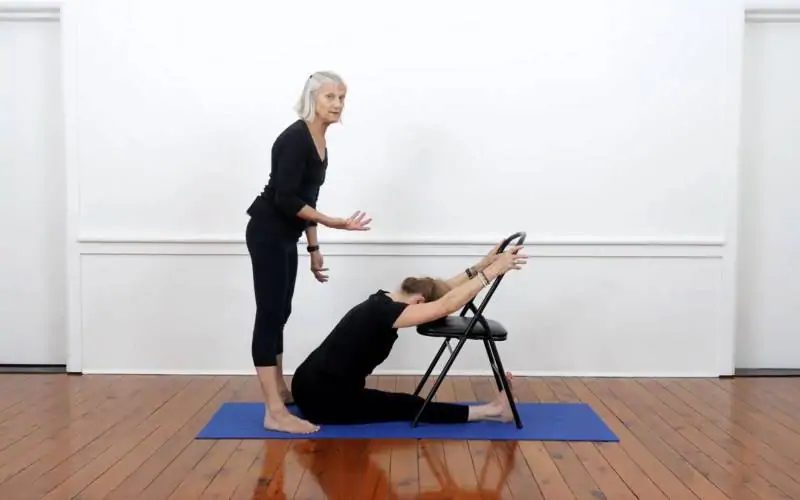
- Chair (Ardha Halasana) – place a chair behind your head and rest the thighs on the seat, with a folded blanket on the seat for comfort. This takes load off the back and neck and lets you stay longer. See Ardha Halasana for the full instructions.
- Feet on a chair or stool – if the legs are straight but the toes do not reach the floor, rest them on a chair seat, a low stool or a stack of blocks.
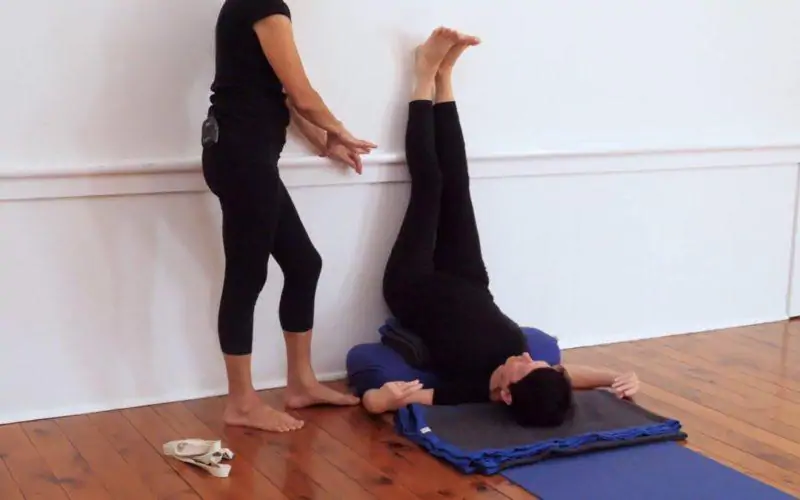
- Wall – set the blankets so that, in the pose, your feet can rest on the wall behind your head. You can walk the feet down the wall into the pose and back up again, one leg at a time if needed.
- Belt – a belt around the upper arms keeps the elbows at shoulder width and helps the chest lift.
- Bench – in longer restorative work the thighs can rest on a padded bench, a version I use to close an intensive day.
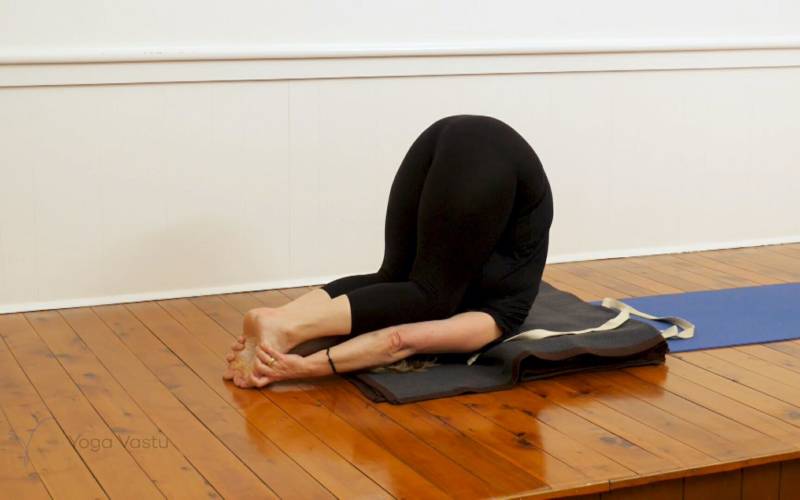
From the full pose, Iyengar sequences lead into Karna Pidasana (knees beside the ears), Supta Konasana (legs wide apart) and Parsva Halasana (both feet taken to one side).
Cautions
Halasana puts the neck at risk when it is done badly, and inversions are not for everyone. Learn it from a teacher before you practise it on your own.
- Neck – if you have a neck injury, cervical disc problems or neck pain, do not practise Halasana without a teacher’s guidance. Come down straight away if you feel strain in the neck or a headache.
- Menstruation – the Iyengar method advises against inversions during menstruation. Practise restorative poses such as Supta Baddha Konasana or Supported Setu Bandha Sarvangasana instead.
- Pregnancy – avoid Halasana unless you have an established practice and are guided by an experienced teacher.
- Blood pressure, heart and eyes – if you have high blood pressure, a heart condition, glaucoma or a detached retina, check with your doctor and a teacher first. A supported version with the thighs on a chair may be suggested.
- Recent injury or surgery – wait until you have been cleared, especially after shoulder, back, abdominal or eye surgery.
- Food – practise inversions on an empty stomach, about two hours after a meal.
Benefits
In the Iyengar tradition Halasana is valued as a calming pose. Students often find it quiets the mind after an active practice, which is why it is placed near the end of a class.
It stretches the back of the body from the neck to the heels. With the shoulders rolled under and the chest lifted, it also works the shoulders and upper back, the same actions that Salamba Sarvangasana needs. With the thighs supported on a chair it becomes a resting pose for days when you are tired.
Traditional texts credit Halasana with effects on the abdominal organs and the throat. What students report most often is simpler: a looser back, steadier breathing and a quieter mind.
Common questions
What does halasana mean?
Hala is Sanskrit for plough. In the pose the body takes the shape of a traditional Indian plough, with the legs stretched out behind the head like the blade.
In plough pose, where should the weight be?
On the tops of the shoulders and the upper arms, never on the neck or the head. Folded blankets under the shoulders and a trunk lifted straight up over the shoulders keep it there.
Is Halasana suitable for beginners?
Yes, with the blanket setup and a teacher. In Iyengar yoga Halasana is one of the first inversions taught at Beginner level. Many beginners start with the thighs resting on a chair (Ardha Halasana) until the back and shoulders are ready for the full pose.
How long should you hold Halasana?
Start with one to three minutes of even breathing. As the pose steadies, experienced students build towards five minutes. Come down sooner if the neck strains or the breath becomes laboured.
When in a class is plough pose practised?
Towards the end, as part of the shoulderstand cycle. It usually follows Salamba Sarvangasana and comes before quieter forward bends and Savasana.
About the teacher
Pixie Lillas: Pixie Lillas first went to the Ramamani Iyengar Memorial Yoga Institute in Pune, India in 1977. She co-founded the Balmain Iyengar Yoga Studio in 1980 and has been director and principal teacher there ever since.